Finding the Right Length of Earring Post: A Step-by-Step Guide
Learn how to accurately measure and choose the perfect length of earring post for your earlobe or cartilage to prevent irritation and embedding.

Why the Length of Earring Post Matters More Than You Think
When curating a flawless ear stack or selecting a simple everyday stud, most buyers focus entirely on the decorative front: the gemstone cut, the gold karat, or the intricate metalwork. However, the hidden hero of comfortable, healthy piercings is the exact length of earring post that passes through your tissue. Selecting a post that is too short can lead to painful embedding, restricted blood flow, and severe irritation bumps. Conversely, a post that is excessively long creates a snag hazard, invites bacterial buildup, and can cause the piercing angle to migrate over time.
According to the Association of Professional Piercers (APP), improper jewelry sizing is one of the leading causes of delayed healing and hypergranulation in both fresh and mature piercings. Whether you are dealing with a standard 20-gauge lobe piercing or a 16-gauge helix, understanding how to measure and select the correct post length is a non-negotiable skill for any jewelry enthusiast. This guide will walk you through the exact millimeter measurements, measurement techniques, and troubleshooting frameworks required to achieve a flawless fit.
Standard Earring Post Lengths Explained
Earring posts are typically manufactured in precise millimeter (mm) increments. While imperial measurements (inches) are sometimes used in legacy body jewelry, the global standard for high-end and implant-grade jewelry relies on the metric system. Below is a comprehensive data table outlining the standard lengths and their ideal applications.
| Post Length (mm) | Post Length (inches) | Ideal Piercing Location | Healing Status |
|---|---|---|---|
| 4mm - 5mm | 5/32" - 3/16" | Thin earlobes, nostril, snug | Fully Healed Only |
| 6mm (1/4") | 1/4" | Standard earlobes, tragus, forward helix | Healed / Standard |
| 8mm (5/16") | 5/16" | Thick earlobes, conch, daith, rook | Healed / Slight Swelling |
| 10mm (3/8") | 3/8" | Industrial, thick lobes, fresh cartilage | Fresh Piercings / Swelling |
| 12mm (1/2") | 1/2" | Very thick tissue, industrial scaffolding | Fresh / High Swelling |
It is crucial to note that cartilage tissue varies wildly from person to person. A 6mm post might sit perfectly flush on one person's tragus but embed deeply into another's conch. This is why custom sizing and precise measurement are vital.
Step-by-Step: How to Measure Your Piercing Depth
To determine the ideal length of earring post for your specific anatomy, you must measure the thickness of your tissue accurately. Guessing based on visual estimation often results in purchasing jewelry that requires costly returns or exchanges. Follow this step-by-step framework to get exact measurements.
Step 1: Gather the Right Tools
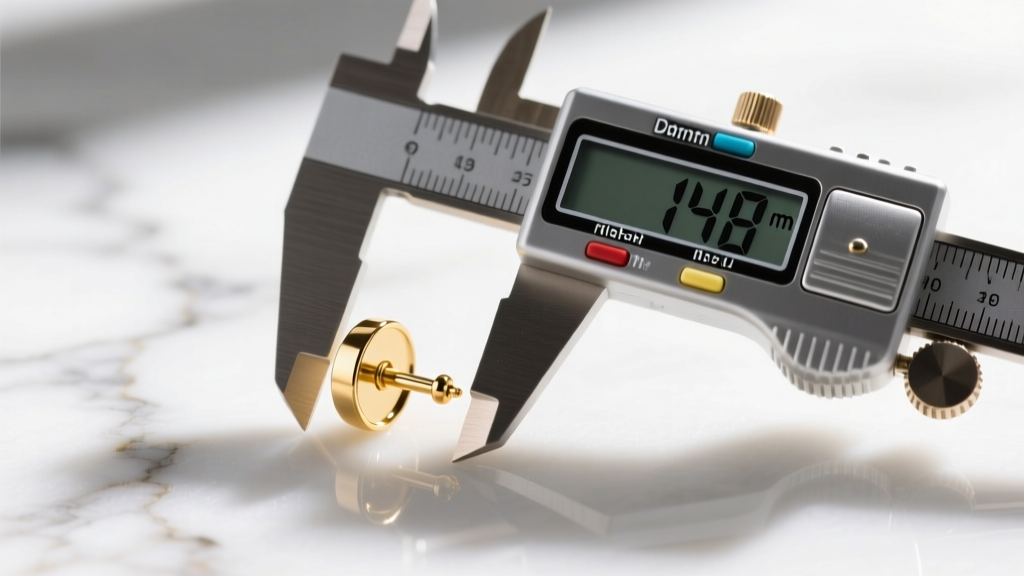
Do not rely on a standard sewing tape measure or a school ruler. You need a pair of digital vernier calipers. These are inexpensive (usually under $15 online) and provide accuracy down to 0.01mm. Ensure the calipers are zeroed out before use.
Step 2: Measure Existing Well-Fitting Jewelry
The safest way to find your size is to measure a piece of jewelry that already fits you perfectly.
- Remove the earring and clean it with sterile saline or mild soap.
- Detach the backing (if using a flat back labret, unscrew or pull off the front decorative end).
- Place the bare post between the jaws of the digital calipers.
- Measure only the wearable surface area—the smooth metal shaft that actually passes through the skin. Do not include the base plate, the threading, or the decorative gem in your measurement.
Step 3: Measure Tissue Directly (The Caliper Pinch Method)
If you do not have well-fitting jewelry to reference, you can measure your ear directly. Gently pinch the earlobe or cartilage fold with the calipers. Apply only enough pressure to touch the skin on both sides without compressing the tissue. Compressing the tissue will yield a falsely short measurement, leading you to buy a post that will embed once the ear relaxes.
Step 4: Account for Swelling and Backing Type
If you are sizing for a fresh piercing, the Cleveland Clinic notes that localized edema (swelling) can increase tissue thickness by 2mm to 4mm in the first week. Always add a 2mm buffer for fresh piercings. Furthermore, the type of backing you use dictates your required length, which we will explore next.
Butterfly Backs vs. Flat Back Labrets: The Sizing Difference
The mechanism that secures your earring drastically alters the required length of earring post. Understanding this distinction will save you from chronic irritation.
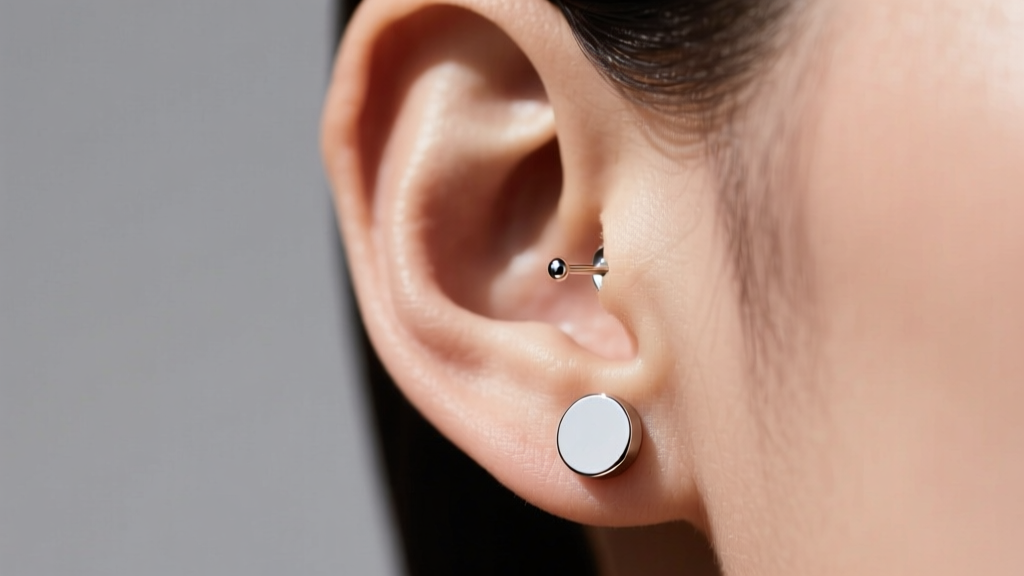
- Friction Butterfly Backs: Traditional push-back earrings require the post to extend at least 2mm to 3mm past the back of the earlobe to allow the butterfly clutch to grip the metal securely. If your lobe is 6mm thick, you need an 8mm or 9mm post. The downside? The exposed metal and the clutch itself trap dead skin cells, sebum, and hair, creating a breeding ground for bacteria.
- Flat Back Labrets (Threadless or Internally Threaded):strong> These feature a flat disc that sits flush against the back of the ear. Because there is no clutch mechanism requiring extra metal, the post length should match your tissue thickness almost exactly (e.g., a 6mm lobe gets a 6mm post). This eliminates snagging and is the gold standard for both healing and healed piercings.
Expert Tip: If you are transitioning from traditional butterfly studs to flat back labrets, your measured post size will likely be shorter than you expect. A standard commercial 8mm butterfly post usually accommodates a 5mm to 6mm lobe, meaning you should purchase a 6mm flat back labret for the same ear.
Troubleshooting Common Post Length Issues
Even with careful measurement, anatomical changes and jewelry manufacturing tolerances can cause fit issues. Here is how to diagnose and fix the most common problems related to post length.
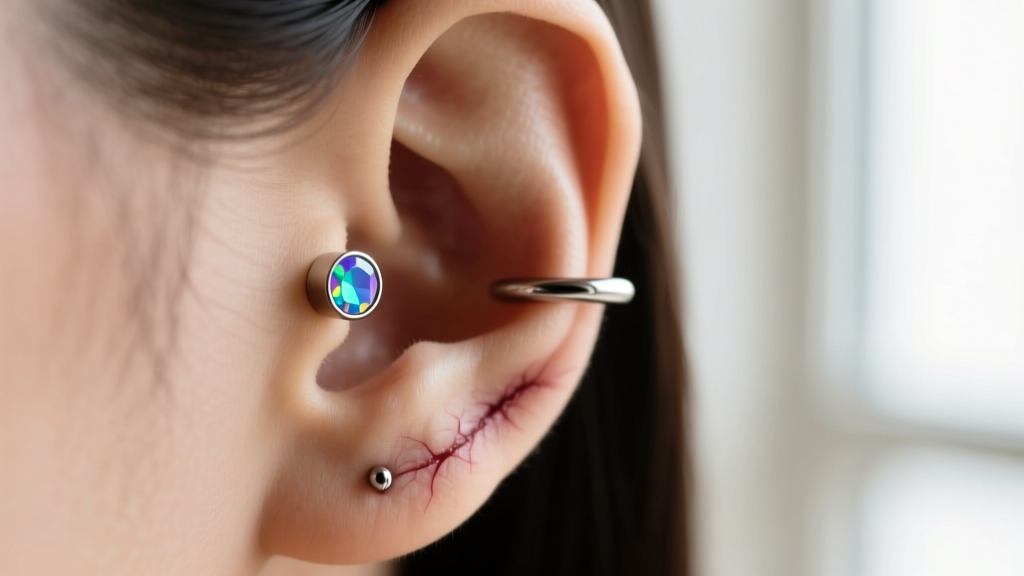
1. The Embedding Crisis (Post Too Short)
Symptoms: The skin swells over the back of the earring disc or the front gemstone. The area feels hot, tender, and throbs with a pulse.
The Fix: This is a minor medical urgency. If the jewelry is fully swallowed by the tissue, a professional piercer or doctor must remove it. If it is merely pressing hard into the skin (causing a deep indentation), immediately upsize the length of earring post by 2mm. Switch to a flat back labret to distribute pressure evenly across the tissue.
2. Hypergranulation and Snagging (Post Too Long)
Symptoms: A red, shiny, weeping bump forms around the piercing hole. The earring moves excessively, clicking against the front and back of the ear.
The Fix: Hypergranulation is often caused by excess moisture and friction trapped in the gap between the skin and an overly long post. Downsize to a post that leaves only 1mm of clearance for movement. Ensure you are cleaning the area with sterile saline spray rather than soaking it, which exacerbates moisture buildup.
3. The Heavy Gemstone Droop
Symptoms: The decorative front of the earring constantly tilts downward or rests against the cheek, even if the post length is technically correct.
The Fix: Heavy gemstones or chunky 2026 gold trends require a thicker gauge to support the weight, not necessarily a longer post. If your 18-gauge (1.0mm) post is drooping, upgrading to a 16-gauge (1.2mm) or 14-gauge (1.6mm) post will provide the structural rigidity needed to keep the gemstone facing forward. Note that stretching a healed lobe to 16G should be done gradually with tapering tools.
Final Thoughts on Material and Sizing
Ultimately, finding the correct length of earring post is an exercise in precision and anatomy awareness. Always prioritize implant-grade titanium (ASTM F-136) or solid 14k/18k gold, especially when wearing posts that sit flush against the skin, as these materials resist the micro-corrosion that causes allergic contact dermatitis. By investing in a pair of digital calipers and understanding the mechanics of your chosen backing style, you can build an ear stack that is not only visually stunning but biologically harmonious with your body.


