Finding the Right Gauge of Regular Earrings: A Step-by-Step Guide
Learn the standard gauge of regular earrings, how to measure your piercing size, and step-by-step troubleshooting for a perfect, comfortable fit.

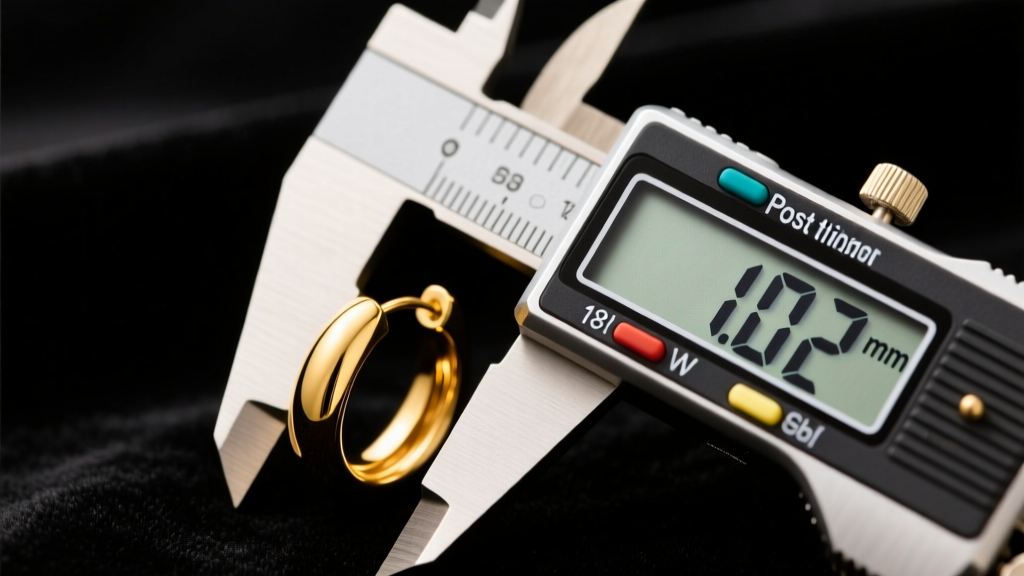
When shopping for new jewelry or visiting a piercing studio, understanding the gauge of regular earrings is the difference between a comfortable, lifelong accessory and a painful, irritating experience. The jewelry industry uses a counterintuitive sizing system that leaves many consumers confused. Why does a smaller number mean a thicker piece of metal? What happens if you try to force a standard mall-kiosk earring into a professionally pierced lobe? This comprehensive, step-by-step guide will demystify earring thickness, teach you how to measure your current jewelry, and provide actionable troubleshooting tips for a perfect fit.
The Baseline: What Is the Standard Gauge of Regular Earrings?
The term "gauge" (often abbreviated as "g" or "ga") refers to the thickness of the jewelry post or wire that passes through your piercing. The system originates from the British Standard Wire Gauge, historically used for measuring metal wire. The most crucial rule to remember is that the gauge system is inverse: the higher the number, the thinner the jewelry. Therefore, a 20-gauge earring is significantly thinner than a 14-gauge earring.
So, what is the actual gauge of regular earrings? It depends on where the jewelry was purchased and who performed the piercing:
- Commercial Standard (20g and 18g): Most mass-produced earrings sold in shopping malls, boutiques, and online fashion retailers are 20-gauge (0.81mm) or 18-gauge (1.02mm). These are thin, lightweight, and designed for standard, older earlobe piercings.
- Professional Piercing Standard (16g and 14g): Reputable piercing studios almost exclusively use 16-gauge (1.29mm) or 14-gauge (1.63mm) for initial lobe piercings. Thicker jewelry prevents the "cheese-cutter effect," a phenomenon where thin, heavy wires slowly migrate and slice through the earlobe tissue over time.
Step-by-Step: How to Measure Your Current Earring Gauge
If you have a favorite pair of earrings but do not know their thickness, guessing can lead to torn tissue or rejected jewelry. Follow this precise method to determine your exact size.
Step 1: Gather the Right Tools
Do not use a standard sewing tape measure or a school ruler; they lack the precision required for sub-millimeter measurements. You will need either a pair of digital calipers (available for under $15 online) or a specialized metal piercing gauge wheel.
Step 2: Prepare the Jewelry
Remove the earring from your ear and clean it thoroughly with sterile saline or mild soap and water. Ensure the post or wire is completely dry, as moisture can slightly skew digital caliper readings.
Step 3: Measure the Post, Not the Decoration
Place the jaws of the digital caliper strictly around the metal post or wire that enters the skin. Avoid measuring the decorative front, the backing clutch, or the threading. Close the caliper jaws gently until they just touch the metal.

Step 4: Convert Millimeters to Gauge
Read the millimeter measurement on your caliper and cross-reference it with the industry standard conversion chart below.
| Gauge Size | Millimeter (mm) | Common Use Case |
|---|---|---|
| 22g | 0.64mm | Nose studs, ultra-thin vintage clips |
| 20g | 0.81mm | Standard commercial lobe earrings |
| 18g | 1.02mm | Standard commercial lobe earrings |
| 16g | 1.29mm | Professional lobe, cartilage, helix |
| 14g | 1.63mm | Professional lobe, industrial, conch |
Lobe vs. Cartilage: Does the Gauge Change?
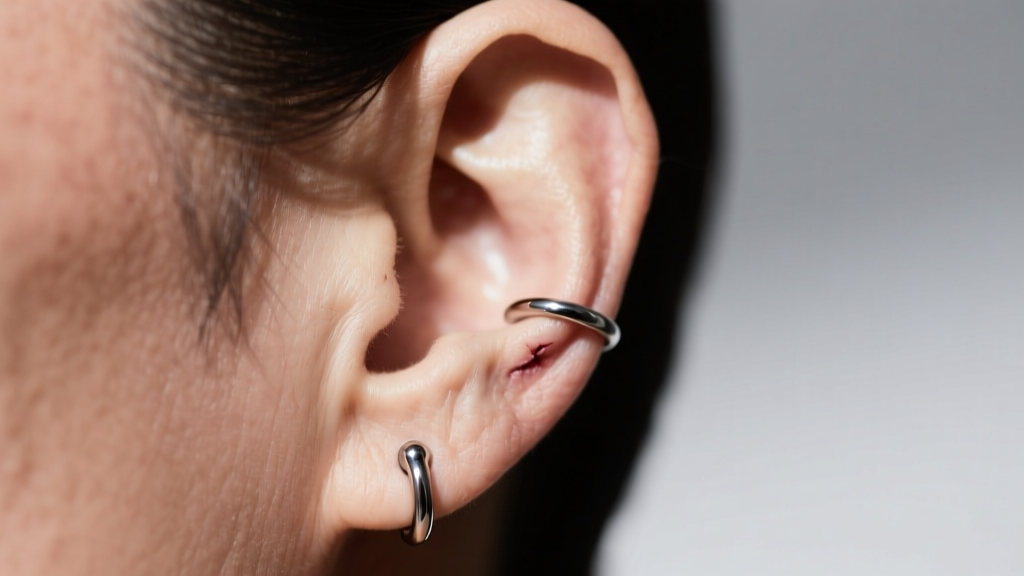
While the gauge of regular earrings for earlobes typically hovers around 18g to 14g, cartilage piercings require different considerations. Cartilage tissue is denser, more brittle, and prone to severe swelling. According to the Association of Professional Piercers (APP), using jewelry that is too thin in a helix or tragus piercing can cause excessive movement, leading to irritation bumps and delayed healing.
For cartilage, 16-gauge is the undisputed industry standard. Some piercers may use 14-gauge for specific structural piercings like an industrial bar or a conch, providing maximum stability. If you attempt to wear a flimsy 20-gauge hoop in a fresh helix piercing, the thin wire will act like a saw against the rigid cartilage, causing micro-tears and potential infection.
Troubleshooting Common Gauge Fit Issues
Even when you know the standard sizes, physical realities can complicate your jewelry choices. Here is how to handle the most common gauge-related dilemmas.
Problem: The Earring Post Won't Go In
The Cause: You are trying to insert an 18-gauge commercial earring into a 14-gauge professional piercing that has slightly shrunk, or you are dealing with minor scar tissue buildup inside the fistula (the piercing channel).
The Fix: Never force the jewelry. Forcing a thin post through a tight hole can scrape the delicate epithelial lining, causing bleeding and blowouts. Instead, take a warm shower to relax the tissue, apply a drop of sterile saline or water-based lubricant to the post, and gently twist it inward. If it still resists, visit a professional piercer who can use a sterile taper to safely guide the jewelry through.
Problem: The Earring Feels Loose or Slides Around
The Cause: You are wearing a 20-gauge earring in a 14-gauge hole. This is common for individuals who had their lobes pierced with a gun (which often uses thin studs) or those who have stretched their lobes over time.
The Fix: Upgrade to a thicker gauge. Wearing thin jewelry in a large hole invites bacteria to pool in the empty space, leading to foul odors and localized infections. Switch to a 14-gauge or 16-gauge seamless hoop or a flat-back labret stud to fill the channel completely.
"A properly fitted piece of jewelry should sit flush against the tissue without compressing it, and the post should be thick enough to support the weight of the decorative end without pulling the piercing channel downward."
— Guidelines from the Association of Professional Piercers
How to Safely Transition Between Gauges
Transitioning your piercing from one size to another requires patience and an understanding of tissue elasticity. If you want to move from a 14-gauge professional standard down to an 18-gauge commercial standard (downsizing), the process is relatively easy but must be done carefully to avoid tearing.
- Wait for Complete Healing: Never change gauges in a piercing that is less than 6 months old. The fistula must be fully mature and calloused.
- Use a Taper: If moving up in size (stretching), use a sterilized steel or glass taper lubricated with jojoba oil. Never jump more than one gauge size (e.g., 1.29mm to 1.63mm) at a time.
- Monitor for Blowouts: If you feel sharp pain or notice a ring of tissue protruding from the back of the piercing, you are stretching too fast. Downsize immediately and allow the tissue to recover.
Material Matters Just as Much as Thickness
Understanding the gauge of regular earrings is only half the battle; the metallurgy of the post is equally critical. When dealing with thicker gauges (14g and 16g), there is more metal surface area in contact with your internal tissue. This makes material purity non-negotiable.
Avoid "surgical steel" or "stainless steel" if you have sensitive skin. These alloys contain nickel, which can leach into the body and cause severe contact dermatitis. The gold standard for body jewelry, as recognized by ASTM International, is Implant-Grade Titanium (ASTM F-136). This material is completely nickel-free, non-magnetic, and biocompatible, meaning your body will not recognize it as a foreign invader. For those who prefer precious metals, opt only for 14k or 18k solid gold that is specifically alloyed for body jewelry (avoiding white gold, which often contains nickel).
Final Thoughts on Sizing and Comfort
Mastering the gauge of regular earrings empowers you to make informed purchasing decisions and maintain the long-term health of your piercings. By keeping a pair of digital calipers in your jewelry box, respecting the differences between commercial and professional sizing, and prioritizing implant-grade materials, you can ensure every piece you wear is as comfortable as it is beautiful. When in doubt, always consult a certified professional piercer rather than risking damage to your tissue with ill-fitting accessories.
For more detailed guidelines on aftercare and material safety, always refer to the official APP aftercare resources to keep your piercings thriving for a lifetime.


