How to Open and Close Captive Bead Earrings for Cartilage
Learn how to safely open, close, and size captive bead earrings for cartilage piercings. Step-by-step guide on gauge, tools, and tension techniques.

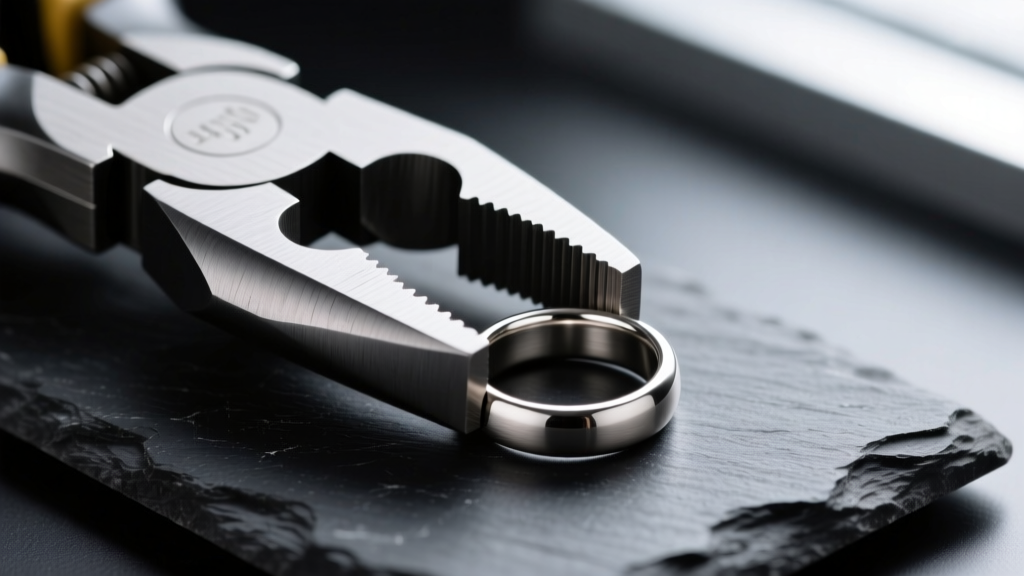
Captive bead earrings, commonly known as captive bead rings (CBRs), are a staple in body modification. Their seamless, continuous design makes them ideal for cartilage piercings like the daith, rook, tragus, and helix. However, the very mechanism that keeps them secure—metal tension—makes them notoriously frustrating to install and remove without the proper technique. Unlike hinged segment rings or threadless labrets, CBRs require a precise understanding of metallurgy, gauge thickness, and specialized tools.
This comprehensive guide will walk you through the exact steps to open, close, and troubleshoot captive bead earrings, ensuring your jewelry remains undamaged and your cartilage piercings stay healthy.
The Physics of Tension in Captive Bead Earrings
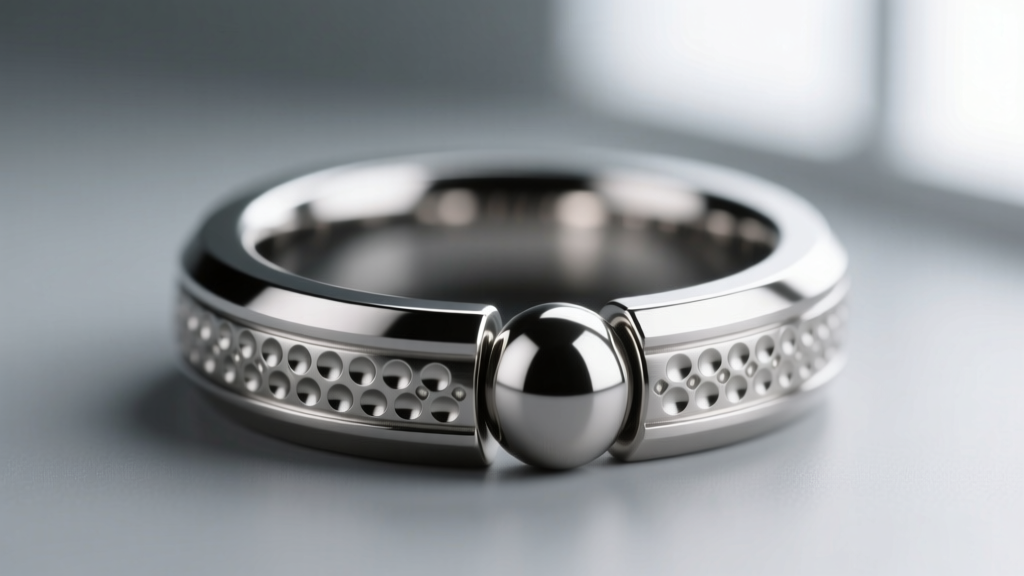
To master captive bead earrings, you must first understand how they function. A CBR relies entirely on the natural temper and memory of the metal. The ring itself is not a perfect circle; it is slightly smaller than its stated inner diameter when resting. The bead features two precision-machined dimples on either side, while the ends of the ring are rounded and polished.
When the ring is expanded, the metal stores potential energy. Once the bead is seated into the gap and the ring is released, the metal attempts to return to its original shape, clamping down on the bead. If the ring is stretched beyond its elastic limit, it will suffer from plastic deformation, losing its temper and its ability to hold the bead securely. This is why brute force is the enemy of CBR maintenance.
Essential Tools for the Job
Attempting to open a 14-gauge or 12-gauge CBR with your bare hands often results in warped jewelry, lost beads, and torn cartilage. Professional piercers rely on specific instruments to manipulate the metal safely.
- Ring Opening Pliers: These feature a grooved, outward-facing nose designed to sit inside the ring and apply even, lateral pressure to spread the gap without twisting the metal out of its planar alignment.
- Ring Closing Pliers: Equipped with nylon or Teflon-coated jaws, these pliers compress the ring back into a perfect circle without scratching or marring the metal finish.
- Pennington Hemostats or Bead Grabbers: Useful for holding the tiny bead steady, especially in hard-to-reach areas like the daith or inner conch.
- Teflon Tape: Wrapping the jaws of your pliers in a single layer of Teflon (plumber's) tape provides an extra buffer to protect anodized titanium or high-polish gold finishes.
Step-by-Step Guide: Opening the Ring
Removing captive bead earrings requires controlled expansion. Follow these steps to preserve the structural integrity of the ring.
1. Prep and Position
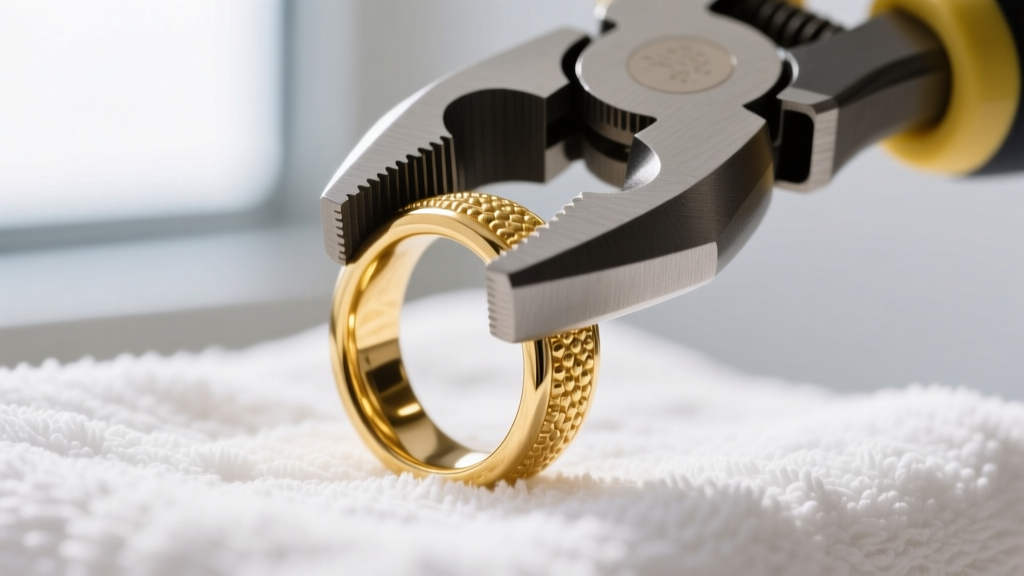
Wash your hands thoroughly and work over a soft towel or a designated jewelry tray. CBR beads are notorious for launching across the room when tension is released. Hold the ring firmly between your non-dominant thumb and forefinger, positioning the bead at the 12 o'clock position.
2. Insert the Pliers
Insert the closed jaws of your ring opening pliers into the center of the ring. Ensure the grooves on the pliers catch the inside edge of the metal.
3. Apply Lateral Pressure
Gently squeeze the handles of the pliers to push the jaws outward. You only need to expand the gap by roughly 1 to 2 millimeters—just enough to clear the width of the bead. Never twist the pliers, as this will warp the ring into a saddle shape, ruining its planar alignment.
4. Remove the Bead
Once the gap is wide enough, the bead will simply fall out or can be gently nudged free with your fingernail. Slowly release the pliers to let the ring close back to its resting state.
Step-by-Step Guide: Closing and Seating the Bead
Installing captive bead earrings is often more challenging than removing them, particularly in healed cartilage piercings where the tissue is dense and unforgiving.
1. Thread the Ring
Lubricate the ring with a water-based lubricant or sterile saline to help it glide through the fistula. Insert the ring through the piercing, leaving the gap accessible on the outside of the ear.
2. Expand and Align
Using your ring opening pliers, expand the gap slightly wider than the bead. Hold the ring steady. With your free hand (or a hemostat), pick up the bead and align one dimple with the rounded end of the ring.
3. Snap into Place
Press the first end of the ring into the dimple. While maintaining pressure to keep that side seated, use your thumb to push the opposite side of the ring into the second dimple. You should feel and hear a distinct 'snap' as the tension locks the bead in place.
4. Verify the Seal
Run your finger over the bead. It should not spin freely. If the bead rotates 360 degrees with zero resistance, the ring lacks tension and needs to be carefully tightened with ring closing pliers.
Sizing Matrix: Gauge and Inner Diameter
Choosing the correct dimensions for captive bead earrings is critical for cartilage health. A ring that is too tight will cause pressure necrosis, while a ring that is too large will catch on hair and clothing. Below is a standard sizing matrix based on professional piercing guidelines.
| Piercing Type | Standard Gauge | Typical Inner Diameter (ID) | Biomechanical Notes |
|---|---|---|---|
| Daith | 16G (1.2mm) | 5/16" (8mm) or 3/8" (10mm) | Requires a larger ID to accommodate the thick fold of the crus of the helix without pinching. |
| Rook | 16G (1.2mm) | 5/16" (8mm) | The rook is a tight fold; a 3/8" ring may cause migration or pressure points. |
| Tragus | 16G (1.2mm) | 1/4" (6mm) or 5/16" (8mm) | Smaller IDs sit flush against the head, preventing interference with earbuds or phones. |
| Helix | 16G or 14G | 3/8" (10mm) or 7/16" (11mm) | Standard outer helix piercings require larger diameters to account for initial swelling. |
| Conch | 14G (1.6mm) | 1/2" (12mm) to 5/8" (16mm) | Large diameter CBRs in the conch require heavy-gauge metal to maintain tension across the wide gap. |
Troubleshooting Common CBR Failures
Even high-quality captive bead earrings can present mechanical issues. Here is how to diagnose and fix the most common failures.
The Bead Keeps Falling Out
If your bead pops out during sleep or when brushing your hair, the ring has lost its temper. This happens when the metal is repeatedly stretched beyond its elastic limit. The Fix: Remove the bead, place the ring on a soft surface, and gently squeeze it with ring closing pliers to restore its circular shape and tension. If the metal feels soft or mushy, it has suffered from metal fatigue and must be replaced.
The Ring Won't Close Flush
If there is a visible gap on either side of the bead, debris may be the culprit. Dead skin cells, sebum, and soap scum can calcify inside the machined dimples of the bead, preventing the ring ends from seating fully. The Fix: Soak the bead in warm water and a mild, fragrance-free soap, then use a soft toothbrush to clean out the dimples. Dry thoroughly before reinserting.
The Ring is Warped or Twisted
A ring that looks like a potato chip rather than a flat circle was opened incorrectly, usually by pulling the ends apart laterally instead of expanding the diameter. The Fix: You can attempt to flatten it using two pairs of flat-nose pliers wrapped in Teflon tape, but if the metal has work-hardened, it is safer to replace the jewelry to avoid tissue irritation.
Material Grades and Biocompatibility
Because cartilage piercings are highly susceptible to irritation bumps and prolonged healing, the material of your captive bead earrings is just as important as the fit. According to the Association of Professional Piercers (APP) Material Guidelines, only specific, biocompatible metals should be worn in the body.
For fresh or healing cartilage piercings, ASTM F136 Implant-Grade Titanium is the gold standard. It is entirely nickel-free, highly corrosion-resistant, and can be anodized to create vibrant colors without the use of toxic dyes or platings. Niobium is another excellent choice, offering similar biocompatibility with a slightly softer, more malleable temper, which makes it incredibly easy to manipulate when opening and closing CBRs.
While solid 14k or 18k gold is acceptable for healed piercings, avoid 'surgical steel' or mystery metals from mall kiosks. As noted in the APP guidelines for fresh piercings, lower-grade stainless steels contain nickel and rely on a passive oxide layer that can be compromised by the friction of a poorly fitted captive bead ring, leading to contact dermatitis.
Pro Tip: When purchasing captive bead earrings, always buy the ring and the bead from the same manufacturer. Dimple depth and ring-end rounding vary wildly between brands. Mixing a 5mm bead from Brand A with a 3/8" ring from Brand B will almost always result in poor tension and a lost bead.
Mastering the manipulation of captive bead earrings takes patience and the right tools. By respecting the physics of the metal, adhering to proper sizing matrices, and utilizing professional-grade pliers, you can enjoy the seamless, classic aesthetic of CBRs in your cartilage piercings without the frustration of lost beads or warped jewelry.


