Ultimate Care Guide for Post Back Earrings & Clutches
Discover expert cleaning and maintenance tips for post back earrings. Learn how to remove sebum buildup, secure clutches, and prevent ear irritation.

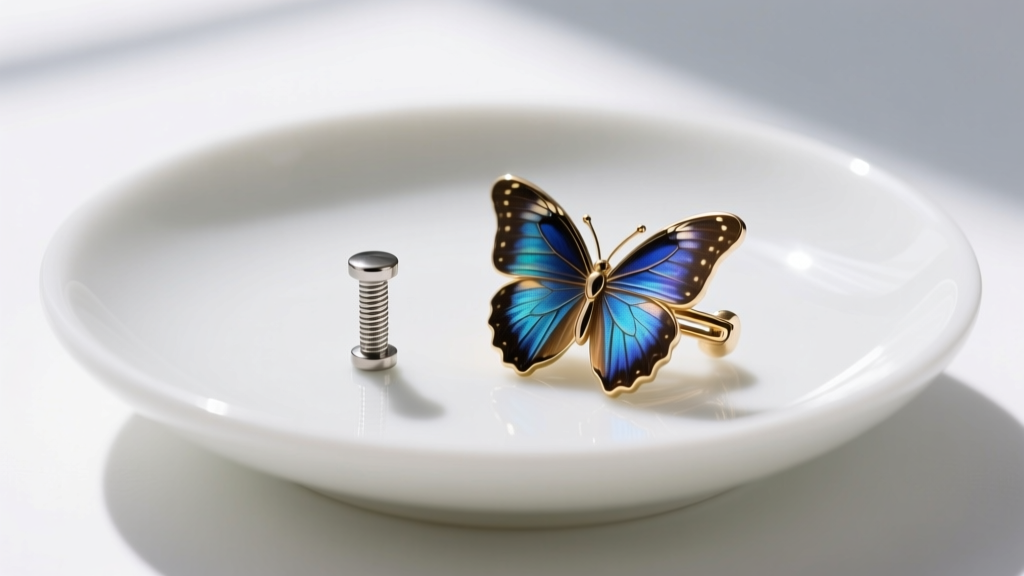
The Anatomy of Post Back Earrings and Why They Get Dirty
Post back earrings are the undisputed workhorses of any jewelry collection, yet they are uniquely susceptible to a specific type of biological and environmental buildup. Unlike leverbacks or continuous hoops, the post-and-clutch mechanism creates a micro-environment trapped against the earlobe. This enclosed space collects a mixture of sebum (skin oils), dead keratinocytes (skin cells), sweat, and residual hair products. Over time, this combination oxidizes and hardens into a waxy, foul-smelling substance colloquially known in the jewelry industry as "earring cheese."
Beyond the biological factors, the mechanical design of post back earrings introduces maintenance challenges. The friction groove—the small indentation near the end of the post designed to hold the butterfly clutch in place—is a prime trap for microscopic debris. If left uncleaned, this debris can compromise the tension of the back, leading to lost earrings, or worse, harbor bacteria that cause localized contact dermatitis. Understanding the exact gauge and material of your posts is the first step toward implementing a proper, damage-free cleaning protocol.
Material-Specific Cleaning Protocols
Not all post back earrings can be treated equally. The metallurgical composition of the post dictates which chemical agents are safe and which will cause irreversible tarnishing, pitting, or plating loss. Below is a comprehensive breakdown of standard earring materials and their specific care requirements.
| Material Grade | Standard Gauge | Recommended Cleaner | What to Avoid |
|---|---|---|---|
| Implant-Grade Titanium (ASTM F136) | 18G (1.02mm) / 16G (1.29mm) | 91% Isopropyl Alcohol, Saline, Ultrasonic | Hydrochloric acid, bleach |
| 316L Surgical Steel | 20G (0.81mm) / 18G (1.02mm) | Mild dish soap, warm water, soft brush | Prolonged saline soaks (causes rust/pitting) |
| 14k / 18k Solid Gold | 20G (0.81mm) / 21G (0.72mm) | Ammonia-free jewelry dip, mild degreaser | Chlorine, toothpaste (abrasive) |
| Sterling Silver (925) | 20G (0.81mm) | Silver polishing cloth, specialized silver dip | Ultrasonic cleaners (if oxidized), rubber bands |
According to the Association of Professional Piercers (APP), implant-grade titanium (ASTM F136) remains the gold standard for post back earrings due to its complete biocompatibility and resistance to corrosion. If you suffer from sensitive earlobes, upgrading your daily wearers to this specific titanium grade and maintaining them with simple 91% isopropyl alcohol wipes will drastically reduce irritation.
Step-by-Step Deep Cleaning Routine
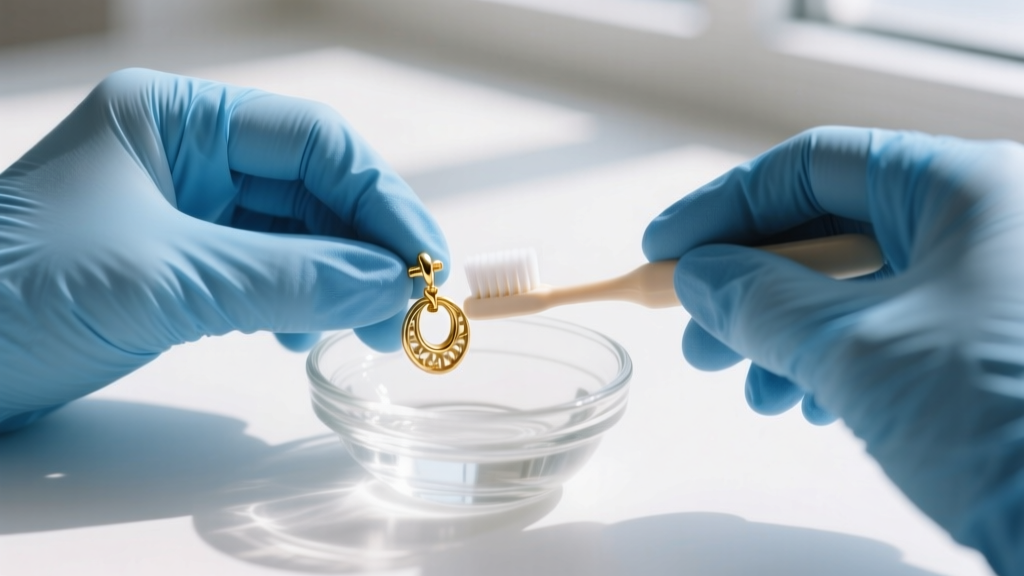
To properly sanitize and degrease your post back earrings without damaging delicate gemstone settings or metal finishes, follow this professional jeweler's cleaning sequence. This method is particularly effective for diamond and sapphire studs set in solid gold or platinum.
Phase 1: Degreasing and Loosening
- The Soak: Fill a small glass bowl with warm (not hot) water and add three drops of a high-quality, phosphate-free degreasing dish soap (such as Dawn). Submerge the earrings for 10 to 15 minutes. This breaks down the lipid bonds of the sebum.
- The Agitation: Remove the earrings and use a brand-new, extra-soft baby toothbrush. Gently brush the post, paying special attention to the friction groove and the base of the post where it meets the setting (the cup).
- The Rinse: Rinse thoroughly under lukewarm distilled water. Avoid tap water, as the dissolved minerals can leave hard water spots on high-polish metals and faceted gemstones.
Phase 2: Sanitization and Drying
Once the physical debris is removed, sanitization is critical. Apply 91% or 99% isopropyl alcohol to a lint-free cotton swab and wipe down the entire post and the interior of the earring back. Lower concentrations (like 70%) contain too much water and can promote rusting in lower-grade steel alloys. Dry the components immediately with a microfiber cloth or use a hair dryer on the "cool" setting to blow moisture out of the clutch mechanism.
The Ultrasonic Method vs. Chemical Soaks
Ultrasonic cleaners use high-frequency sound waves to create microscopic cavitation bubbles that blast debris from hard-to-reach areas. While highly effective for plain metal posts and diamond solitaires, the Gemological Institute of America (GIA) warns against using ultrasonic vibrations on porous gems like pearls, opals, or emeralds, as well as on hollow-tube or plated post back earrings, which can suffer plating delamination from the intense acoustic energy.
Maintaining the Backs: Butterfly, Screw, and Friction Clutches
The post is only half the equation; the earring back (clutch) requires dedicated mechanical maintenance to ensure your jewelry stays securely in place.
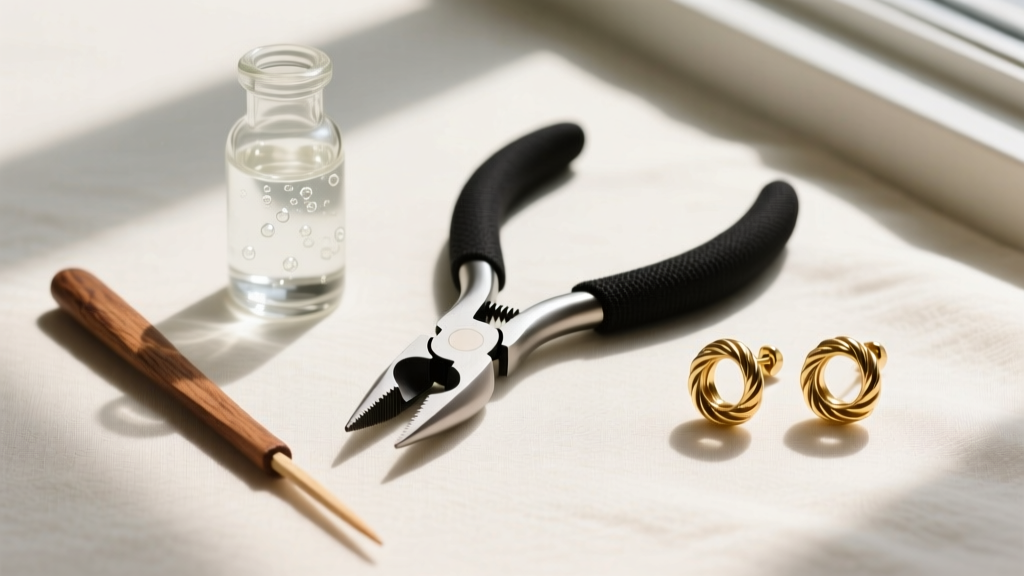
- Butterfly (Friction) Clutches: Over time, the two metal loops that grip the post lose their tension, causing the earring to slide off. To restore tension, slide the clutch onto a spare post or a toothpick, and use flat-nose nylon-jaw pliers to gently squeeze the loops closer together. Never use steel-jaw pliers, as they will mar the metal and create micro-scratches that trap more bacteria.
- La Pousette (Screw) Backs: These premium locking backs feature a threaded post and a spring-loaded clutch. The primary failure mode here is cross-threading or debris jamming the internal spring. Use a wooden toothpick dipped in alcohol to clean the threads of the post. When attaching the back, always turn it counter-clockwise until you feel a slight "click" (the threads aligning), then screw it on clockwise. Never force it.
- Silicone / Rubber O-Rings: Popular for heavy statement studs, silicone backs degrade when exposed to UV light, oils, and alcohol. Clean these strictly with mild soap and water, and replace them every 6 to 12 months as they become brittle and prone to tearing.
Troubleshooting Common Post Back Failures
Even with meticulous care, mechanical and chemical issues can arise. Here is how to troubleshoot the most common problems associated with post back earrings.
Dermatological Insight: If you experience itching, redness, or weeping skin immediately behind the earlobe, the issue is rarely an infection. According to the American Academy of Dermatology, this is almost always allergic contact dermatitis triggered by nickel leaching from the post or the clutch. The trapped sweat acts as an electrolyte, accelerating the leaching process. Switching to ASTM F136 titanium posts and applying a thin layer of medical-grade silicone barrier cream to the post before insertion will eliminate this reaction.
Stuck or Seized Clutches: If a butterfly back becomes stuck due to hardened sebum or bent metal, do not pull blindly, as this will bend the post and potentially tear the earlobe. Apply a single drop of mineral oil or olive oil to the junction where the post meets the clutch. Let it sit for five minutes to penetrate and lubricate the friction groove, then twist gently while pulling.
Bent Posts: Standard 20-gauge (0.81mm) gold and silver posts are highly malleable. If a post bends, it can be carefully straightened using smooth-jawed flat pliers. However, if the metal has been bent back and forth multiple times, it will suffer from work-hardening and metal fatigue. A post that snaps off inside the earlobe is a medical emergency; discard any post that shows visible stress fractures or kinks.
Preventative Care and Storage Best Practices
How you store your post back earrings when they are not in your ears directly impacts how much cleaning they will require later. Never toss post back earrings loosely into a jewelry box. The posts will become tangled, bent, and scratched by harder gemstones.
Store each pair in an individual, airtight polyethylene ziplock bag with the backs securely fastened onto the posts. This prevents the backs from getting lost and keeps the posts perfectly straight. For sterling silver post back earrings, include a small piece of anti-tarnish paper (infused with silver sulfide inhibitors) in the bag to neutralize atmospheric sulfur. By combining material-aware cleaning protocols with proper mechanical maintenance and storage, your post back earrings will remain hygienic, secure, and visually pristine for decades.


