How to Put On a Earring: Troubleshooting Closed Holes
Learn how to put on a earring when your piercing is tight or closed. Expert troubleshooting for flat backs, huggies, and stubborn earlobes.

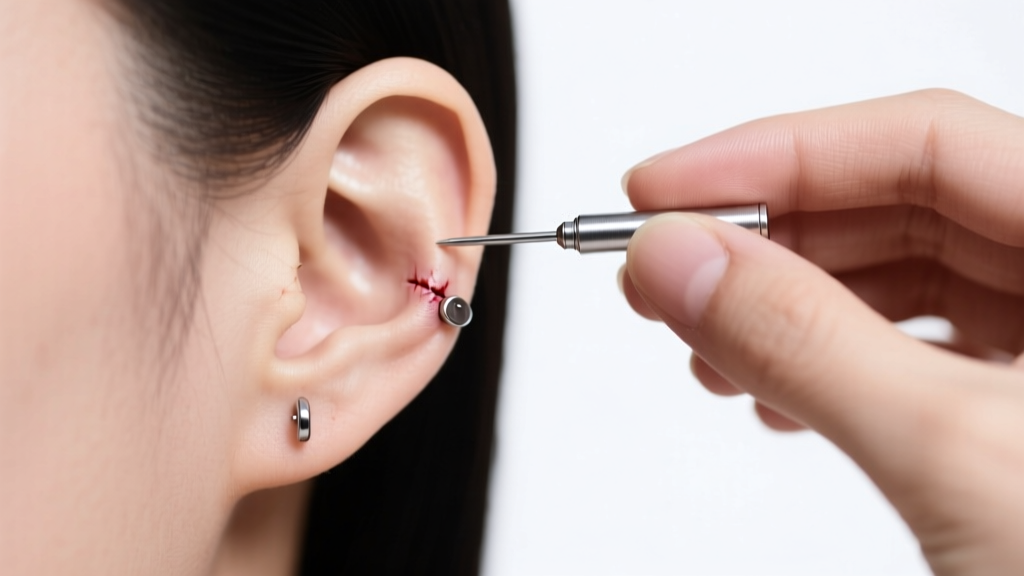
There are few jewelry-related frustrations quite as agonizing as a seemingly vanished piercing. When frustrated users type 'how to put on a earring' into search engines, they are almost always dealing with a contracted fistula (the tissue tube of a healed piercing), a buildup of lymph fluid, or a misaligned clasp. Whether you are dealing with a delicate 20-gauge lobe stud or a heavy 14-gauge cartilage clicker, forcing the jewelry is a guaranteed way to cause micro-tears, swelling, and potential infection.
This comprehensive troubleshooting guide breaks down the exact mechanics of stubborn piercings, providing actionable, professional-grade solutions to safely reinsert your jewelry without damaging the tissue.
Why Your Piercing Resists: The Anatomy of a Stubborn Hole
Before attempting to force jewelry through your ear, it is crucial to understand why the hole is resisting. The fistula is a living tube of epithelial tissue. When deprived of jewelry, it reacts in three distinct ways:
- Epithelial Contraction: The body naturally attempts to close the wound. In older, fully healed piercings, the hole won't close entirely, but the diameter will shrink significantly, sometimes dropping from a 16G (1.29mm) down to a 20G (0.81mm) circumference overnight.
- Sebum and Lymph Buildup: Dead skin cells, sebum, and dried lymph fluid can create a physical 'plug' inside the fistula. This feels like a hard blockage when you try to push a post through.
- Angle Discrepancy: Cartilage piercings (like the helix, tragus, or conch) are pierced at highly specific angles to match the anatomy of the ear. If you are pushing the jewelry in at even a 5-degree variance from the original piercing angle, the blunt end of the post will hit the fistula wall, causing pain and swelling.
Step-by-Step: How to Put On a Earring Using the Taper & Floss Method
If your jewelry is not gliding in easily, stop pushing. Blind force causes 'blowouts' where the fistula tears internally. Instead, use the professional taper and floss technique to safely guide the jewelry.
1. Soften and Clean the Fistula
Take a warm shower or apply a warm, sterile saline compress to the ear for 3 to 5 minutes. This softens the epithelial tissue and melts any sebum plugs. Dry the area gently with a non-woven gauze pad (avoid cotton swabs, which leave fibers behind).
2. The Dental Floss Guide Trick
If you do not have a professional insertion taper, take a piece of clean, unwaxed dental floss. Thread the floss through the piercing hole from the back to the front. Gently pull the floss back and forth to clear any debris and map the exact angle of the fistula. Leave the floss in the hole.
3. Taper and Insert
Apply a microscopic drop of sterile saline or water-based lubricant to the tip of your earring post or a professional steel insertion taper. Follow the path of the floss or taper, letting the tool find the natural exit hole. Never push against resistance; if you feel a 'wall,' you are at the wrong angle.
Troubleshooting Specific Earring Types
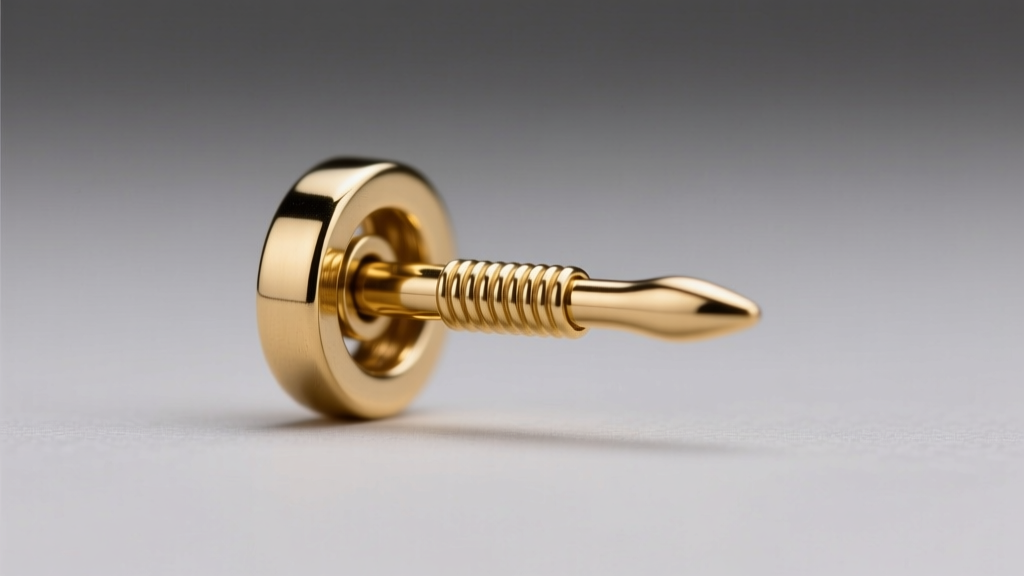
Different earring mechanisms present unique physical hurdles. As of 2026, threadless and hinged jewelry dominate the market, but they require specific handling techniques when piercings are tight.
Flat Back / Labret Studs (Threadless & Internally Threaded)
Flat back studs are notorious for being difficult to insert from the back of the ear, especially in tragus or helix piercings where visibility is zero.
- Threadless (Pin-and-Socket): Brands like NeoMetal and BVLA use a tension-fit pin. If the pin is perfectly straight, it will slide right out or refuse to grip. You must bend the pin slightly (about 10 to 15 degrees) near the base to create the friction required to lock it into the receiving tube.
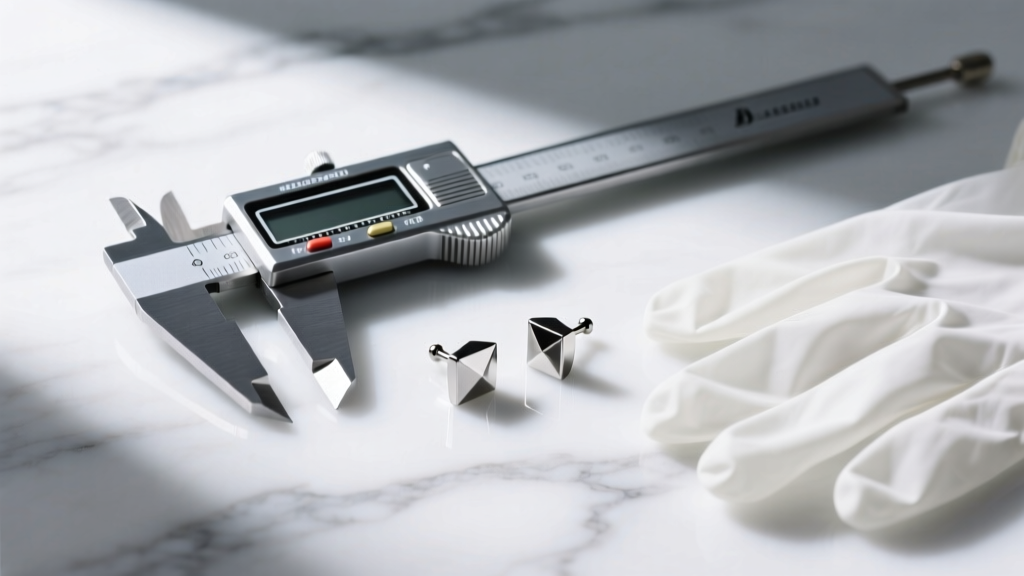
- Internally Threaded: If the threads are catching on the fistula, the post is likely too thick for the contracted hole, or the threads are damaged. Use a digital caliper to verify the gauge. If a 16G won't fit, you must step down to an 18G titanium post temporarily to stretch the tissue back to its original size over a few weeks.
Hinged Hoops and Clickers (Cartilage Alignment)
Hinged segment rings (clickers) require the hinge pin to enter the receiving tube perfectly straight. If your piercing has shrunk, the hoop's diameter might be too small to allow the hinge to align with the exit hole.
Pro Tip: If a clicker refuses to 'click' shut, do not squeeze it with pliers. The pin is likely bent or the receiving tube is clogged with sebum. Clean the tube with a soft toothbrush and warm water, and inspect the pin under a magnifying mirror.
Friction Backs and Butterfly Clasps (Lobe Fumbling)
Standard friction backs push against the earlobe, which can cause the post to angle downward, creating a false blockage. To solve this, pull the earlobe gently taut and downward while inserting the post, ensuring a straight line of entry before snapping the butterfly back onto the groove.
Material & Gauge Data: When to Stop Forcing It
Understanding your jewelry's exact specifications is critical. Forcing a low-quality or incorrectly sized piece of jewelry can lead to contact dermatitis or severe swelling, which will close the hole entirely.
| Jewelry Type | Common Failure Mode | Troubleshooting Fix | Ideal Material & Gauge |
|---|---|---|---|
| Threadless Flat Back | Pin slips out or won't grip | Bend pin 10-15 degrees for tension | ASTM F-136 Titanium, 16G or 14G |
| Hinged Segment Ring | Pin won't align with tube | Use a taper to stretch hole; clean tube | 14k or 18k Solid Gold, 16G |
| Butterfly Friction Back | Post catches on fistula wall | Pull lobe taut; switch to flat back | Implant-Grade Steel, 18G or 20G |
| Externally Threaded | Threads tear the fistula | Discard immediately; use internal/threadless | N/A (Avoid entirely) |
According to the Association of Professional Piercers (APP), externally threaded jewelry should never be used, as the threads act like a cheese wire, tearing the delicate fistula lining upon insertion. Always opt for internally threaded or threadless options crafted from implant-grade titanium (ASTM F-136), which is highly biocompatible and reduces the inflammation that causes holes to tighten.
When to See a Professional Piercer
There is a fine line between a stubborn piercing and a closed one. If you have tried the warm compress, the floss trick, and the taper method without success, the fistula may have closed on the surface while remaining open internally. This is known as a 'webbed' or 'sealed' fistula.
Do not attempt to pierce it yourself with a needle or a sharp earring post. A professional piercer can use a sterile, single-use needle to gently reopen the epithelial layer, or use a specialized glass taper to safely stretch the tissue back to its original gauge. As noted in the APP Frequently Asked Questions, seeking professional help for tight piercings prevents scar tissue formation (hypertrophic scarring) and preserves the original angle of the piercing.
Summary Checklist for Success
- Never force jewelry; pain means you are damaging tissue.
- Use warm saline to soften the fistula and clear sebum plugs.
- Utilize a taper or unwaxed dental floss to map the piercing angle.
- Ensure your threadless pins are slightly bent for proper tension.
- Verify your gauge size with a digital caliper if the jewelry feels too thick.
- Visit a reputable APP-certified piercer if the hole feels completely sealed.
By treating your piercings with anatomical respect and utilizing the correct insertion tools, you can safely navigate the frustration of tight holes and keep your favorite earrings in rotation for years to come.


