How to Remove Butterfly Back Earrings: Gift & Care Guide
Discover the ultimate occasion gift guide for stud earrings and learn exactly how to remove butterfly back earrings safely when they get stuck.

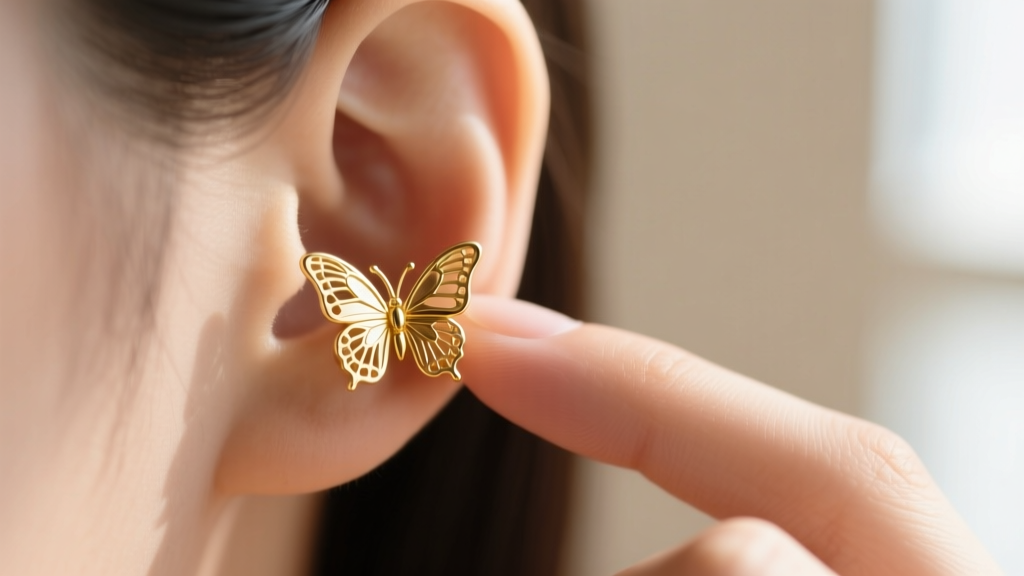
The Occasion Guide: Gifting Butterfly Back Studs
Gifting fine jewelry is a cornerstone of milestone celebrations, and stud earrings remain the most universally appreciated choice. Whether you are shopping for a first piercing, a Sweet 16, or a milestone anniversary, the classic stud secured by a friction clutch—commonly known as a butterfly back—is the industry standard. However, as any seasoned jewelry wearer knows, these secure clasps can become notoriously difficult to remove over time.
Before we dive into the troubleshooting mechanics of how to remove butterfly back earrings, it is vital to match the right material and gauge to the specific occasion. Gifting the correct metallurgical grade not only ensures the recipient's comfort but also prevents the allergic swelling that causes earring backs to become permanently trapped in the first place.
Occasion Matching & Material Matrix
| Occasion | Recommended Material | Standard Gauge | Estimated Price Range |
|---|---|---|---|
| First Piercing (Child/Teen) | ASTM F-136 Implant-Grade Titanium | 20g (0.8mm) or 18g (1.0mm) | $30 - $85 |
| Graduation / Sweet 16 | 14k Solid Gold with Freshwater Pearl | 18g (1.0mm) | $150 - $350 |
| Anniversary / Milestone | 18k Gold with VVS Diamonds | 18g (1.0mm) or 16g (1.2mm) | $600 - $2,500+ |
According to the Association of Professional Piercers (APP), implant-grade titanium is the only safe choice for unhealed or newly pierced lobes due to its biocompatibility and lack of nickel. If you are gifting earrings to someone with sensitive skin, avoiding standard 'surgical steel' is paramount, as it contains nickel that can trigger contact dermatitis, leading to severe swelling that traps the butterfly back against the earlobe.
The Anatomy of a Stuck Friction Back
To understand how to remove butterfly back earrings safely, you must understand why they get stuck. A standard friction back relies on mechanical tension. The metal scroll (the 'butterfly' wings) features a central hole with two small indentations that snap into the grooves carved into the earring post.
Three primary culprits cause these backs to seize:
- Sebum and Keratin Cement: Dead skin cells, natural ear oils (sebum), and shower residue accumulate inside the scroll. Over months of continuous wear, this biological matter hardens into a cement-like bond between the post grooves and the clutch.
- Allergic Contact Dermatitis: The American Academy of Dermatology (AAD) notes that nickel allergies can cause delayed swelling. If the earlobe swells around a 20-gauge post, the tissue can engulf the back of the earring, making it physically impossible to grip the clutch.
- Gauge Mismatch & Micro-Tearing: Forcing a thicker 18-gauge post through a delicate 20-gauge piercing hole causes micro-tears. The resulting scar tissue swells tightly around the metal, locking the back in place.
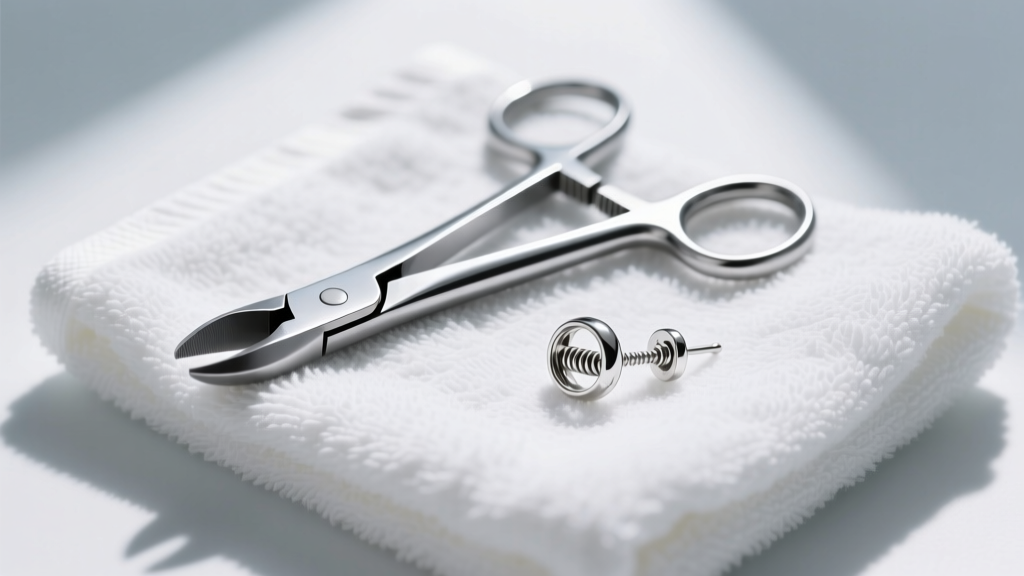
Step-by-Step: How to Remove Butterfly Back Earrings
If you or your gift recipient are dealing with a seized earring back, do not resort to brute force. Pulling aggressively can tear the earlobe or snap the post, leaving the sharp metal embedded in the tissue. Follow this clinical, step-by-step protocol to safely release the tension.
Phase 1: Soften and Sanitize
Never attempt to remove a stuck back with dry hands or dry metal. Begin by washing your hands thoroughly with antibacterial soap. Next, soak a clean cotton pad in warm sterile saline solution (0.9% sodium chloride) and hold it against the earlobe and the butterfly back for 3 to 5 minutes. The warmth increases localized blood flow to reduce tissue tension, while the saline begins to break down the hardened sebum trapped inside the clutch grooves.
Phase 2: The Traction Grip Method
The most common failure point in removal is a lack of friction. Human fingers easily slip off smooth gold or silver clasps. To counter this, put on a pair of clean, textured nitrile or latex medical gloves. The rubber provides immense grip. Hold the front stud firmly between your non-dominant thumb and index finger to stabilize the post. With your dominant hand, grip the butterfly wings. Do not just pull straight back; instead, apply a gentle micro-wiggle motion (up and down, not side to side) while pulling outward. This lateral movement helps the internal scroll indentations disengage from the post grooves.
Phase 3: The Hemostat Technique (For Seized Backs)
If the rubber glove method fails, or if the earlobe is too swollen to access the back, you need mechanical leverage. Professional piercers use locking hemostats (medical forceps).
- Obtain a pair of sterilized, non-serrated hemostats (serrated teeth will crush the delicate metal scroll, permanently locking it).
- Clamp the hemostat jaws gently but firmly around the base of the butterfly clutch, ensuring you are gripping the metal and not the swollen earlobe tissue.
- Lock the hemostat ratchet by one or two clicks—just enough to maintain a secure grip without crushing the clutch.
- Stabilize the front of the earring with your fingers, and use the hemostat to twist the clutch slightly while pulling away from the ear.
Warning: If the earlobe is highly inflamed, hot to the touch, or oozing yellow/green discharge, do not attempt removal at home. The tissue may have grown over the post. Visit a professional piercer or a dermatologist immediately to prevent severe infection or tissue necrosis.
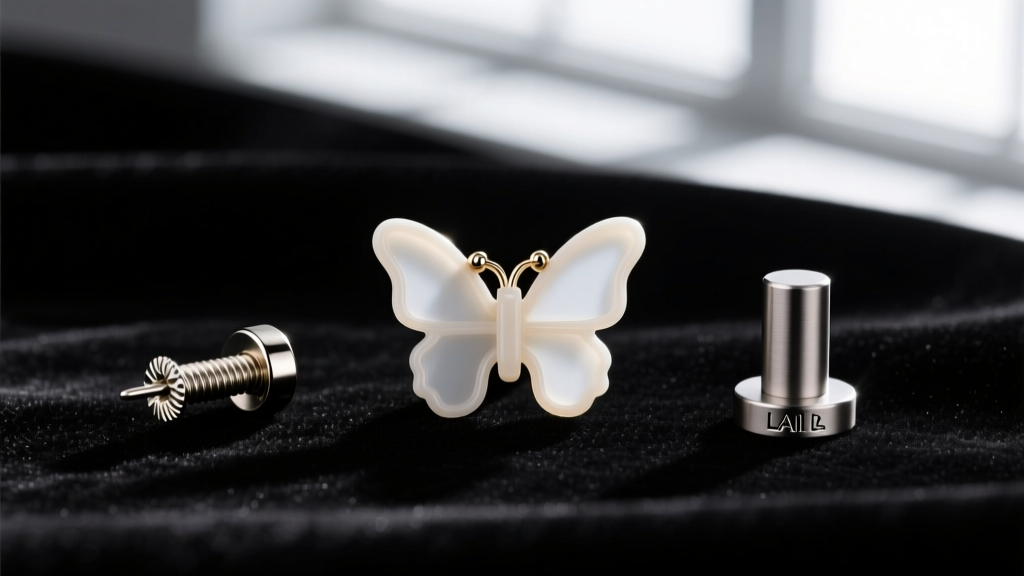
Upgrading the Gift: Modern Alternatives to Friction Backs
If you are curating a jewelry gift in 2026, consider elevating the recipient's experience by bypassing the traditional butterfly back entirely. The jewelry industry has developed vastly superior securing mechanisms that offer the same safety without the removal anxiety or sebum buildup.
Threaded Screw-In Backs
High-end jewelers are increasingly adopting internally threaded screw-in backs. Instead of relying on tension grooves, the earring post features microscopic threading, and the back screws onto it securely. This completely eliminates the risk of the back popping off in your sleep or getting lost in your hair, and it removes the 'cement' effect caused by friction grooves. Brands specializing in fine jewelry everyday wear often utilize 14k gold threaded backs for their diamond studs, ensuring the gift is both luxurious and practical.
Flat-Back Labret Studs
Originally designed for cartilage and lip piercings, flat-back titanium labrets have become the gold standard for sensitive earlobes. The post is a smooth, continuous cylinder with no grooves, and the back is a flat disc that pushes on or threads internally. Because there are no butterfly wings to trap dead skin, and the flat disc rests flush against the back of the ear, they are incredibly comfortable for sleeping and entirely immune to the 'stuck clutch' phenomenon. Gifting a set of premium flat-back studs with interchangeable 14k gold or gemstone fronts is an exceptionally thoughtful, modern alternative to the classic friction stud.
Post-Removal Care and Lobe Rehabilitation
Once the stubborn butterfly back is successfully removed, the earlobe requires immediate aftercare. The prolonged pressure from a tight clutch often leaves a deep indentation or mild contact dermatitis. Cleanse the lobe gently with a sterile saline wound wash. Avoid harsh chemicals like rubbing alcohol or hydrogen peroxide, which destroy newly forming skin cells and delay healing.
If you plan to re-insert an earring immediately, ensure you are using a high-quality, polished post made of implant-grade titanium or solid 14k/18k gold, and lubricate the post with a tiny dab of pure jojoba oil or vitamin E oil to ensure smooth insertion. By understanding both the gifting nuances and the mechanical realities of how to remove butterfly back earrings, you ensure your jewelry gift remains a source of joy, rather than a source of clinical frustration.


