How to Safely Remove a Stubborn Embedded Earring Back
Learn how to safely remove an embedded earring back with our step-by-step medical and jewelry expert guide, plus prevention tips for sensitive lobes.

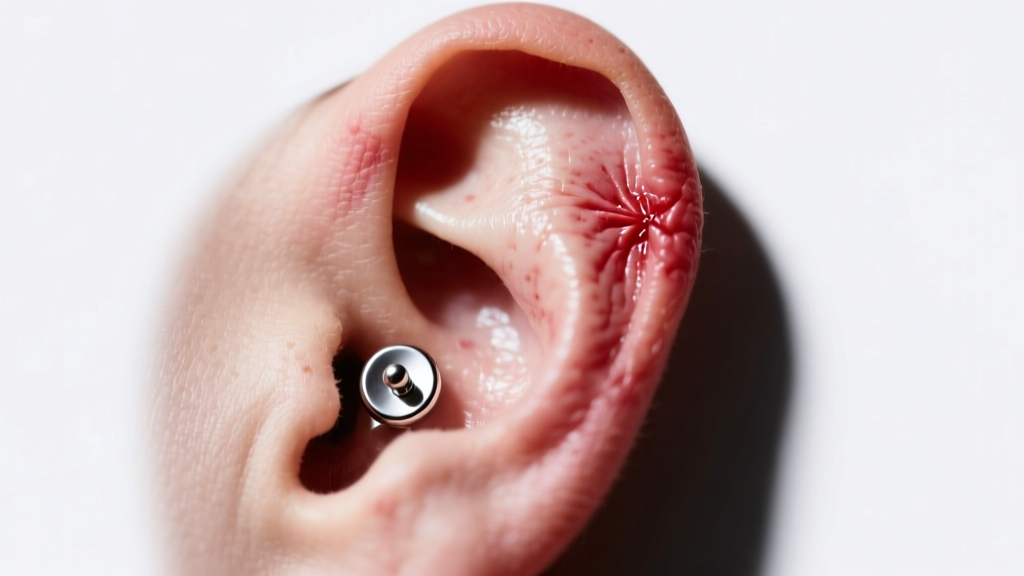
Discovering that your earring backing has disappeared into your earlobe tissue is a jarring experience. An embedded earring back occurs when the skin swells around or completely heals over the clutch, trapping the jewelry. This is most common with standard butterfly clutches on posts that are too short to accommodate natural fluctuations in lobe volume. As of 2026, professional piercers and dermatologists strongly advise against aggressive DIY excavation, which can lead to severe scarring or staphylococcal infections.
This comprehensive guide provides a clinical, step-by-step protocol for safely addressing a partially embedded earring back, knowing when to seek professional triage, and upgrading your jewelry wardrobe to prevent future tissue trauma.
The Physiology of Jewelry Embedding
Before attempting removal, it is crucial to understand the mechanical failure that caused the embedding. Standard commercial earrings typically feature a 20-gauge (0.8mm) or 18-gauge (1.0mm) post with a length of just 5mm to 6mm. When you sleep on your side, experience an allergic reaction to nickel alloys, or sustain minor blunt trauma to the ear, the lobe tissue retains lymph fluid and swells (edema).
If the lobe expands by even 2mm, a standard 6mm post no longer provides adequate clearance. The butterfly clutch is forced directly into the posterior tissue, cutting off localized circulation. Over 48 to 72 hours, the body treats the clutch as a foreign invader, initiating epithelialization—the process where skin cells migrate over the object to seal it inside the body.
Essential Tools for Safe Extraction
Do not use your fingernails, standard sewing needles, or unsterilized cosmetic tweezers. You need tools that provide mechanical leverage without slipping.
- Stainless Steel Hemostats: These locking medical forceps allow you to clamp onto the earring back securely without maintaining constant hand pressure.
- 0.9% Sterile Saline Wound Wash: Essential for softening hardened lymph crusts and flushing the area. Avoid homemade salt solutions, as improper ratios can cause hypertonic tissue dehydration.
- OTC Numbing Gel (Optional): A 4% Lidocaine topical gel can reduce localized nerve response if the tissue is highly inflamed.
- Disposable Nitrile Gloves: To prevent the introduction of opportunistic bacteria from your hands into the micro-tears.
Step-by-Step Guide: Removing the Embedded Clutch
If the earring back is partially visible or you can feel its distinct outline just beneath the surface of the skin, follow this precise extraction protocol.
Step 1: Soften and Cleanse the Tissue
Saturate a sterile gauze pad with 0.9% saline wound wash and hold it against the back of the earlobe for 5 to 7 minutes. The warmth and moisture will soften any dried lymph fluid (crusties) acting as a biological glue between the metal and the skin.
Step 2: Apply Counter-Tension
This is the most critical mechanical step. With your non-dominant hand, grasp the front of the earring stud. Gently but firmly push the stud forward (away from the back of the ear). This counter-tension forces the post to slide forward, often pushing the embedded clutch slightly out of the swollen tissue pocket.
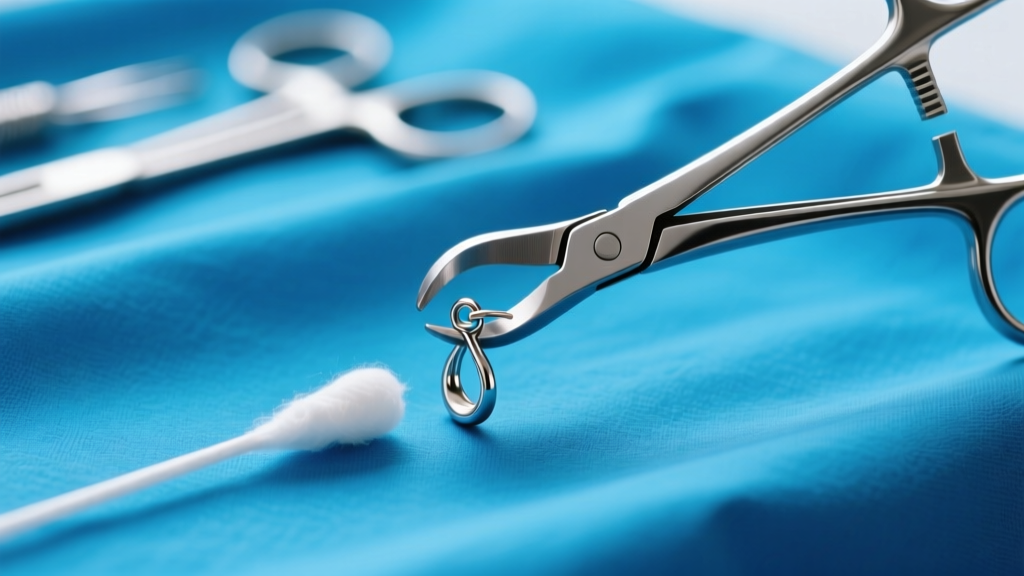
Step 3: Clamp and Slide
Using your sterilized hemostats, clamp the teeth directly onto the exposed edge of the earring back. Do not pull at an angle, which will act like a hook and tear the internal fistula (the piercing channel). Pull strictly along the straight axis of the metal post. If the clutch features a double-groove butterfly design, you may need to gently twist it a quarter-turn to disengage the grooves from the post notch.
Expert Warning: If you meet heavy resistance or the skin begins to blanch (turn white from pressure) and tear, stop immediately. Forcing the clutch through unyielding tissue will result in a blowout and permanent keloid scarring.
Triage: When to See a Professional
According to the Association of Professional Piercers (APP), you should never attempt to cut the skin yourself to retrieve jewelry. You must seek professional medical or piercing assistance if:
- Complete Epithelialization: The skin has completely healed over the back, and you cannot see any metal.
- Signs of Infection: The lobe is hot to the touch, emitting a foul odor, or leaking thick, opaque yellow/green pus (indicative of a bacterial infection, not just normal lymph).
- Systemic Symptoms: You develop a fever or swollen lymph nodes in your neck.
In these scenarios, a professional piercer can use a sterile taper to push the post out, or a minor urgent care clinic can perform a quick, sterile incision under local anesthetic to remove the embedded hardware.
Prevention Matrix: Upgrading Your Jewelry Hardware
The most effective way to prevent an embedded earring back is to abandon traditional butterfly clutches entirely. The modern standard for lobe health, especially for those prone to swelling or who sleep in their jewelry, is the flat-back labret or specialized secure-lock systems.
| Backing Type | Post Length Options | Embedding Risk | Best Use Case |
|---|---|---|---|
| Standard Butterfly Clutch | 5mm - 6mm (Fixed) | High | Short-term wear only; removed before sleep. |
| Flat Back (Labret) | 6mm, 8mm, 10mm | Very Low | 24/7 wear, sleeping, sensitive/swollen lobes. |
| Silicone O-Rings | Fits any post length | Low | Active lifestyles; allows tissue expansion. |
| Screw-In Secure Back | 6mm - 8mm | Medium | High-value diamond studs requiring security. |
When purchasing new jewelry, always verify the material grade. The American Academy of Dermatology (AAD) recommends implant-grade titanium (ASTM F-136) or solid 14k/18k gold to eliminate nickel-induced contact dermatitis, which is a primary trigger for the swelling that leads to embedding.
Post-Removal Aftercare Protocol
Once the embedded earring back is successfully removed, the internal fistula and external skin will be compromised. Treat the area as a fresh wound.
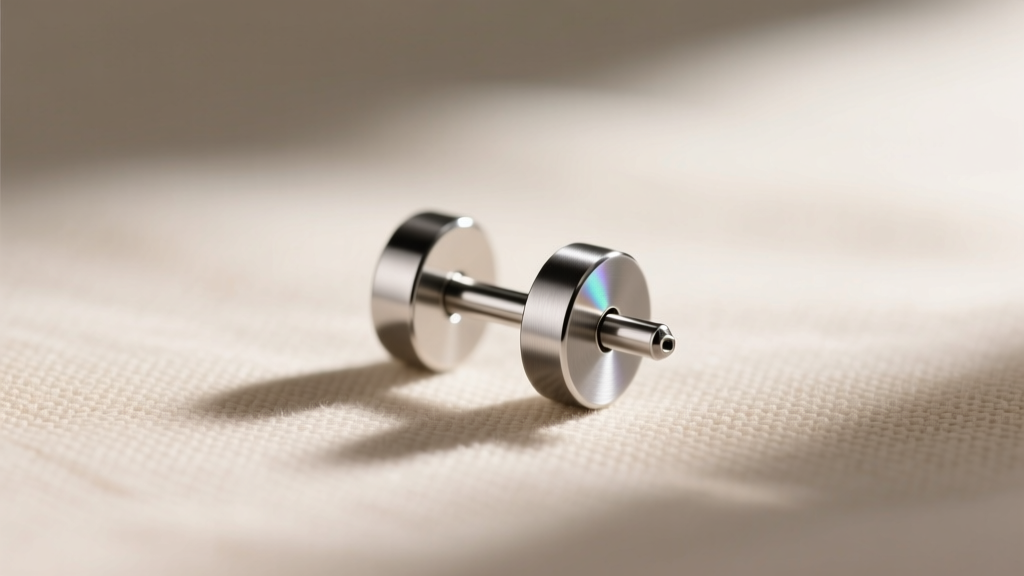
- Downsize or Upsize: If you must keep an earring in to prevent the hole from closing, insert a sterile, implant-grade titanium flat-back labret with an 8mm post to accommodate lingering swelling.
- Cleanse Twice Daily: Spray the front and back of the lobe with sterile saline. Gently pat dry with non-woven gauze. Avoid cotton balls, as the fibers can wrap around the post and cause micro-abrasions.
- Avoid Harsh Chemicals: Do not apply rubbing alcohol, hydrogen peroxide, or tea tree oil. These agents destroy newly forming fibroblasts and delay the healing of the crushed tissue.
- Sleep Positioning: Use a travel neck pillow, placing your ear in the center hole, to ensure zero compression on the healing lobe for the next 7 to 10 days.
By understanding the mechanics of your jewelry and respecting the physiological limits of your tissue, you can maintain healthy, comfortable piercings without the panic of trapped hardware.


