How to Take Off Starter Earrings with Butterfly Backs Safely
Learn exactly how to take off starter earrings with butterfly backs. Expert tips on overcoming stuck friction posts, swollen lobes, and dried lymph safely.

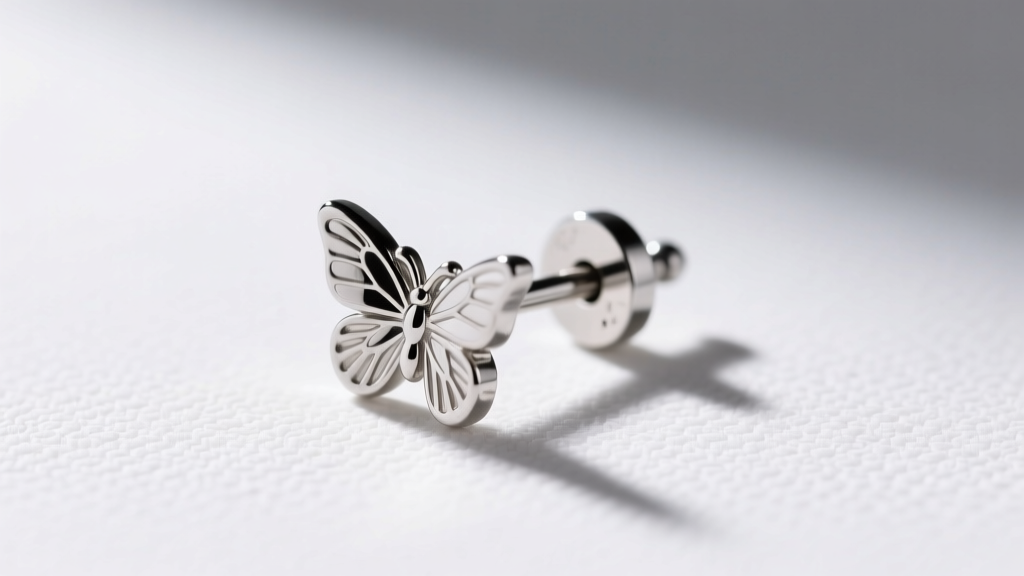
Getting your ears pierced is a milestone, but the eventual task of changing your jewelry often brings an unexpected wave of anxiety. If you are wondering how to take off starter earrings with butterfly backs, you are not alone. The friction-fit mechanism, while secure during the healing phase, is notoriously unforgiving when it is time for an upgrade. As jewelry experts, we see countless cases of bent posts, irritated lobes, and panicked DIY removal attempts.
This technical deep dive will explain the exact mechanics of butterfly backs, why they become permanently stuck, and the professional methodologies for safe removal without damaging your healing fistula (the piercing channel).
The Anatomy of a Starter Earring and Butterfly Back
To safely remove the jewelry, you must first understand the engineering of the friction post. Standard starter earrings typically feature a straight post manufactured from 316L surgical stainless steel or, in lower-grade commercial settings, a nickel-containing base metal. These posts usually range from 20-gauge (0.81mm)18-gauge (1.02mm)
The 'butterfly back' (technically known as a friction back or push back) consists of a stamped metal base with two tensioned 'wings' and a central barrel. Inside this barrel is a microscopic groove designed to catch the notch etched near the end of the earring post. When pushed on, the metal wings flex outward, creating radial tension that locks the barrel into the post's groove. While effective at preventing accidental loss, this tension is highly susceptible to environmental interference—namely, the body's natural healing fluids.
Why Butterfly Backs Get Stuck: The Technical Failure Modes
Before attempting removal, it is crucial to diagnose why the earring is stuck. Forcing a stuck earring can tear the delicate epithelial tissue inside the fistula. There are three primary failure modes:
- Biofilm Cementing: During the 6-to-8-week healing period, the body secretes lymph, sebum, and dead leukocytes. This fluid pools around the post notch and dries into a hard, cement-like biofilm (often called 'crusties'). This debris physically blocks the butterfly barrel from sliding over the notch.
- Tissue Embedment: If the earring was fastened too tightly initially, or if the lobe experienced delayed swelling due to a nickel allergy or contact dermatitis, the tissue can swell over the notch and press directly against the metal barrel. According to the American Academy of Dermatology, nickel allergies are a leading cause of localized piercing swelling, which effectively swallows the backing.
- Post Deformation: Because 20-gauge and 18-gauge posts are relatively thin, sleeping on the starter earrings can slightly bend the post. A bent post will not align with the central barrel of the butterfly back, causing it to jam during removal.
Step-by-Step Guide: How to Take Off Starter Earrings with Butterfly Backs
Follow this clinical, step-by-step protocol to break the tension seal and remove the jewelry without trauma.
Phase 1: Preparation and Biofilm Softening
Never attempt to pull a dry, crusty earring out. You must rehydrate the biofilm. Prepare a sterile 0.9% sodium chloride (saline) solution. Do not use tap water, as it introduces pathogens to the open wound. Soak a clean, non-woven gauze pad in the warm saline and hold it against the front and back of the earlobe for exactly 3 to 5 minutes. This softens the fibrin and sebum matrix locking the notch. Gently wipe away any visible crust around the post entry and exit points.
Phase 2: The Grip and Tension Release Technique
Bare fingers lack the friction required to overcome the radial tension of a fresh butterfly back, and natural skin oils will cause you to slip, leading to accidental yanking.
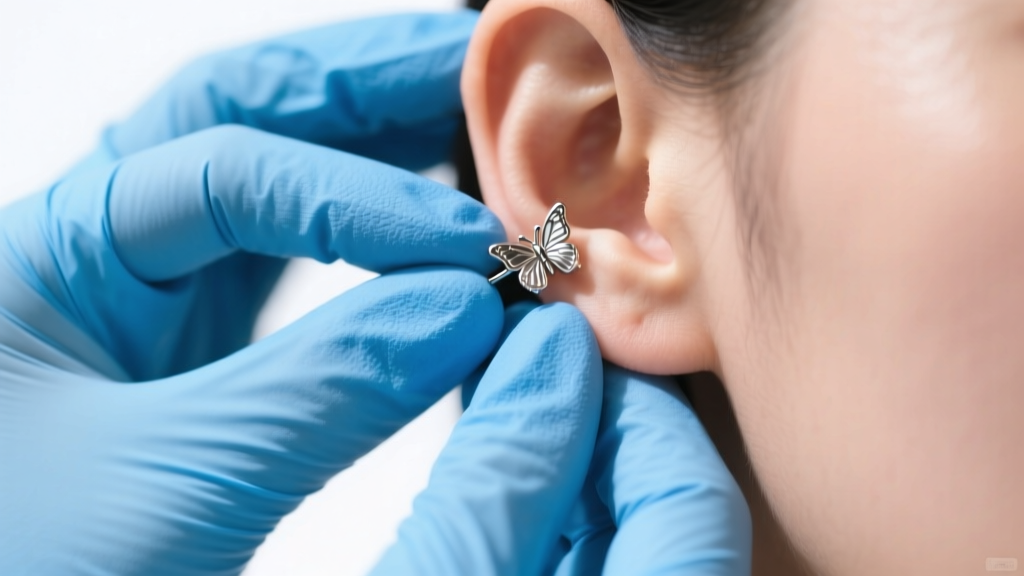
- Don Nitrile Gloves: Put on a pair of medical-grade nitrile gloves. The textured surface provides a 40% better grip than bare skin and maintains a hygienic barrier.
- Stabilize the Front: With your non-dominant hand, pinch the front stud head firmly against the front of the earlobe. This prevents the post from pushing backward into the tissue.
- Apply Counter-Pressure: With your dominant hand, grip the butterfly wings. Do not just pull straight back. Instead, apply a very slight 'wiggling' or rotational micro-movement (no more than 2 millimeters side-to-side) while pulling outward. This rotational force breaks the microscopic seal of the dried lymph inside the barrel.
- The Release: Once the barrel clears the post notch, you will feel a distinct 'pop' or release of tension. Slide the back the rest of the way off and gently guide the post out of the fistula from the front.
Troubleshooting Embedded or Severely Stuck Backs
If the Phase 2 technique fails, the backing is likely embedded or mechanically jammed. Do not use pliers from a household toolbox. Standard hardware pliers have serrated teeth that will crush the soft metal of the butterfly back, permanently deforming it and locking it onto the post.
If the lobe is red, hot to the touch, and the metal is sinking into the skin, the backing is embedded. The Association of Professional Piercers (APP) strongly advises against DIY removal of embedded jewelry, as cutting the tissue to free the backing requires sterile surgical environments. Visit a professional piercer immediately; they possess specialized, non-serrated jewelry removal tools and can safely swap the jewelry in one motion.
Tool Comparison: What to Use When Fingers Fail
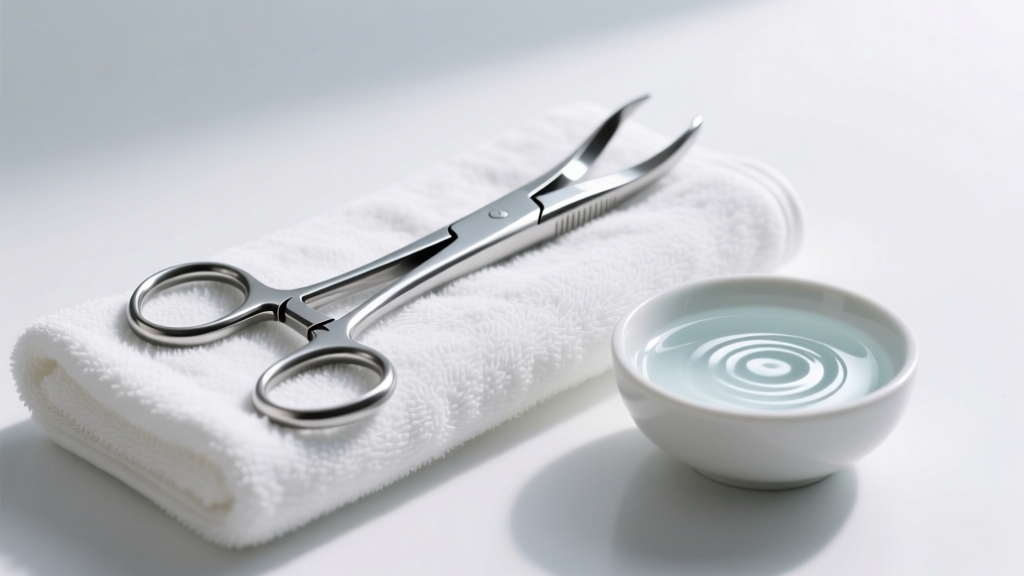
If the earring is not embedded but simply too tight for finger removal, professionals rely on specific tools. Below is a technical comparison of removal methods.
| Removal Method | Mechanism of Action | Pros | Cons & Risks |
|---|---|---|---|
| Bare Fingers | Friction and direct pulling force. | Convenient, no tools required. | High slip risk; skin oils reduce grip; can cause tissue tearing if you slip. |
| Nitrile Gloves | High-friction synthetic polymer grip. | Excellent grip; hygienic barrier; cheap. | Still relies on manual finger strength; ineffective if post is bent. |
| Curved Hemostats (Non-Serrated) | Mechanical leverage and locking jaws. | Provides immense, controlled gripping power; locks onto the backing. | Requires training; serrated versions will destroy the earring backing. |
| Warm Saline Compress | Chemical and thermal breakdown of biofilm. | Pain-free; reduces swelling; softens crusties. | Takes 5-10 minutes; does not provide physical pulling force on its own. |
Post-Removal Care and Upgrading Your Jewelry
Once you have successfully figured out how to take off starter earrings with butterfly backs, the immediate next step is upgrading the jewelry. Starter earrings are designed for the piercing gun or initial needle insertion, not for long-term wear. The thick posts and flat backs can trap moisture and bacteria against the skin.
When inserting your new jewelry, opt for ASTM F-136 Implant-Grade Titanium. This specific alloy is entirely nickel-free, highly biocompatible, and features a mirror-finish polish that prevents biofilm from adhering to the metal surface. Furthermore, transition away from butterfly backs entirely. Professional piercers recommend flat-back labrets with either internal threading or a threadless (push-pin) mechanism. These sit flush against the back of the ear, eliminate the tension-notch failure point, and will never embed into your earlobe while you sleep.
Expert Tip: Never leave a piercing channel empty after removing starter earrings, even for a few minutes. A 6-week-old fistula can shrink and close in less than an hour. Always have your upgraded, sterilized jewelry ready to insert immediately upon removal of the starter post.
By understanding the mechanical tension of the butterfly back and utilizing proper grip and softening techniques, you can safely transition from starter jewelry to high-quality, body-safe pieces without compromising the integrity of your new piercing.


