How to Take Off Butterfly Back Earrings: Safe Removal Guide
Learn how to take off butterfly back earrings safely. Expert troubleshooting for stuck, tight, or embedded push-back earring posts and clasps.

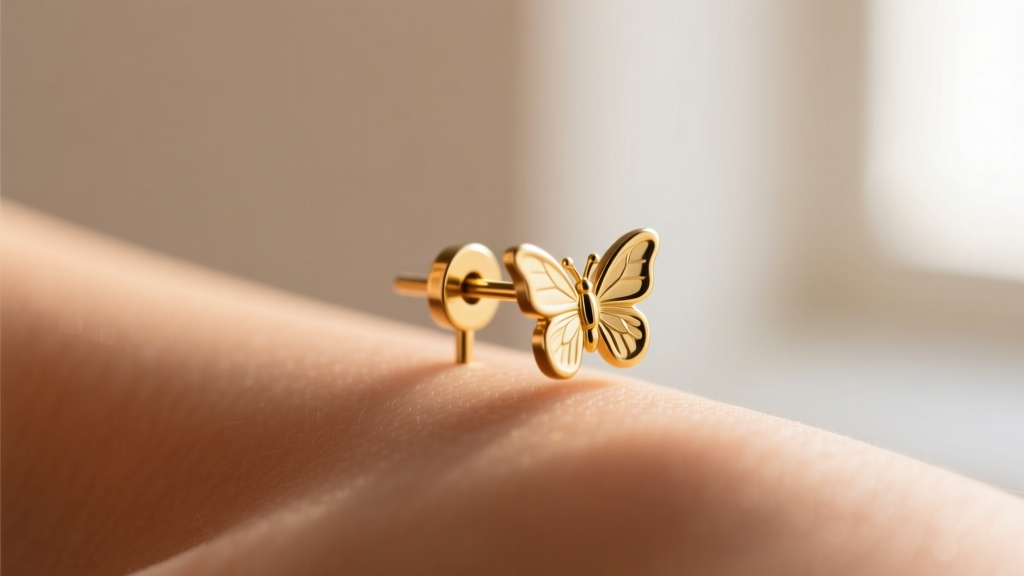
The Anatomy of a Butterfly Back (and Why It Gets Stuck)
Butterfly backs—also known as push-backs or friction clutches—are the default fastening mechanism for roughly 80% of commercial stud earrings. While they are inexpensive to manufacture, they are notoriously problematic for long-term wear. To understand how to take off butterfly back earrings when they refuse to budge, you must first understand their mechanical failure points.
A standard butterfly back relies on two curled metal loops that create tension against a notched groove on the earring post. Standard lobe posts are typically 20-gauge (0.81mm) or 18-gauge (1.02mm). The groove itself is usually less than 1mm wide. Over time, this microscopic trench becomes a trap for sebum (skin oils), dead skin cells, and hair products. When this organic matter calcifies, it acts like biological cement, locking the metal tension loops into the groove.
Furthermore, many commercial butterfly backs are stamped from low-grade alloys containing nickel. According to the American Academy of Dermatology, nickel contact dermatitis can cause localized swelling in the earlobe. This swelling literally swallows the earring post, embedding the butterfly back into the flesh and making standard removal impossible without intervention.
Step-by-Step: How to Take Off Butterfly Back Earrings Normally
If your earlobe is not swollen and the earring is simply being stubborn, avoid the instinct to twist or wiggle the back. Wiggling creates lateral friction that can tear the delicate fistula (the piercing channel).
- Wash and Dry Hands: Ensure your fingers are free of lotions or oils that will reduce your grip.
- Stabilize the Front: Pinch the front of the earring stud firmly between the thumb and index finger of your non-dominant hand.
- Pinch the Wings: Use your dominant thumb and index finger to pinch the flat 'wings' of the butterfly back.
- Pull Parallel: Pull the back straight away from the earlobe, perfectly parallel to the post. Do not rock it side-to-side.
Troubleshooting: What to Do When the Back is Stuck or Embedded
When the standard method fails, you are likely dealing with one of two specific failure modes. Identifying which scenario you are facing is critical to safely removing the jewelry without causing tissue damage.
Scenario A: The Clasp is Wedged Too Tight (Sebum Buildup)
If the earlobe looks normal but the metal back will not slide past the groove, you are dealing with calcified sebum. The metal loops are locked in place by hardened biological debris.
The Warm Compress Method: Soak a clean cotton pad in warm (not hot) saline solution or warm water with a drop of gentle, fragrance-free soap. Hold it against the back of the earlobe for 3 to 5 minutes. The heat and moisture will emulsify the sebum, breaking down the 'cement' holding the clutch in place. Dry the area thoroughly with a microfiber cloth, then attempt the parallel pull again.
The Tissue Grip Trick: If your fingers keep slipping off the smooth metal wings, fold a piece of paper towel or a textured tissue over the butterfly back. This provides the necessary friction to apply steady, even pressure without crushing the metal loops.
Scenario B: The Post is Embedded in the Earlobe (Swelling)
If the earlobe is red, hot, or swollen, and the butterfly back is partially or fully submerged in the skin, do not force it. Forcing an embedded back will tear the tissue and exacerbate the swelling.
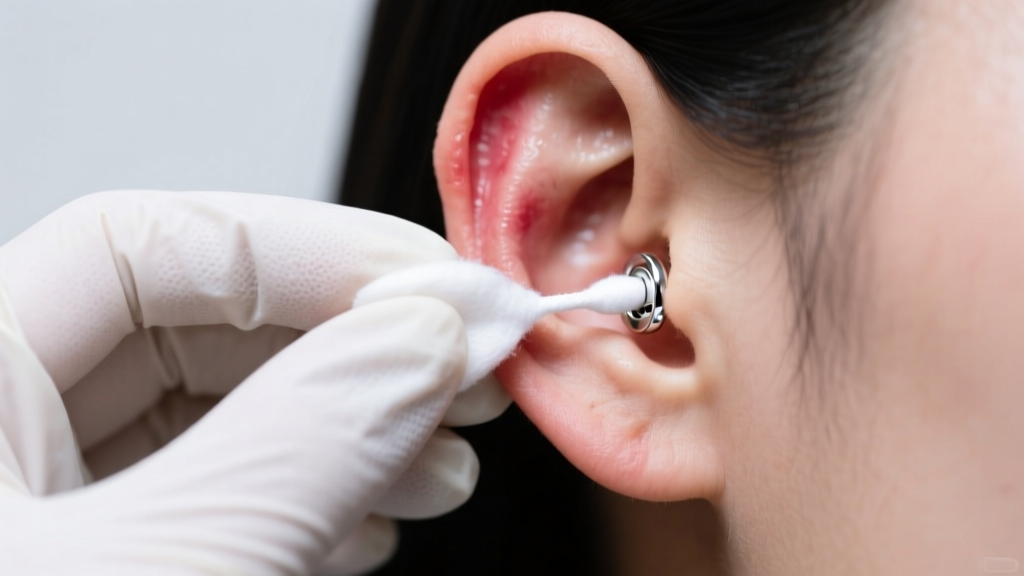
The Cold Constriction Method: Wrap an ice cube in a clean paper towel and hold it against the earlobe for 60-second intervals. The cold will cause vasoconstriction, reducing localized edema (swelling) and pulling the tissue away from the metal groove. Once the swelling subsides slightly, apply a sterile saline soak to soften the skin and gently pull the back straight off.
Tools and Lubricants for Stubborn Push-Backs
When manual grip fails, specific tools and lubricants can provide the mechanical advantage needed. However, some common household 'hacks' can permanently ruin your jewelry or injure your ear.
| Method / Tool | Efficacy | Risk Level | Expert Notes |
|---|---|---|---|
| Paper Towel Grip | High | Very Low | Adds necessary friction to smooth metal wings without altering the jewelry. |
| Warm Saline Soak | High | Low | >Emulsifies sebum. Essential for posts that haven't been removed in weeks.|
| Jojoba / Vitamin E Oil | Medium | Low | Good for lubrication, but can trap bacteria if not cleaned out of the fistula afterward. |
| Needle-Nose Pliers | High | Extreme | Never use on the ear. Pliers will crush the post, creating sharp metal burrs that will tear the piercing channel upon removal. |
Master Piercer Warning: "The most common cause of ruined earlobe piercings isn't the initial needle; it's the use of pliers to crush a stuck butterfly back. Once you deform that 20-gauge post, it becomes a barbed hook. Always visit a professional if manual grip fails."
Preventative Care: Upgrading Your Earring Backs
The ultimate solution to the friction-back problem is to stop using them altogether. The Association of Professional Piercers (APP) strongly advises against butterfly backs for healing piercings and recommends flat-back labrets for long-term lobe health. Flat backs eliminate the groove entirely, preventing sebum buildup and eliminating the risk of the post embedding into the neck or behind the ear while sleeping.
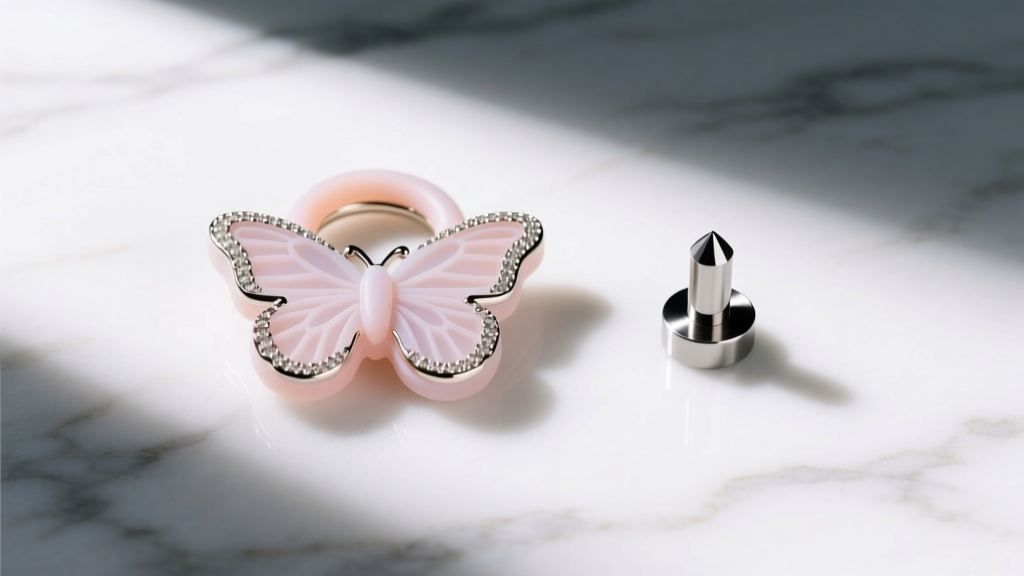
If you are not ready to replace your entire earring collection, you can upgrade your existing posts for less than $10:
- Silicone O-Rings: Slide a 1mm or 2mm silicone O-ring (available at craft or hardware stores) over the post instead of the metal butterfly back. They provide secure tension without grooves and are hypoallergenic.
- Plastic Friction Clutches: Hypoallergenic clear plastic backs are smoother and less likely to trap debris than stamped metal, though they still require regular cleaning.
- Threaded Adapters: For high-end jewelry, you can purchase threadless or internally threaded adapters that allow you to convert standard friction posts into secure, screw-in or snap-in mechanisms.
When to See a Professional Piercer or Doctor
While most stuck earrings can be resolved at home with patience and warm soaks, certain symptoms require immediate professional intervention. If the earlobe is throbbing, emitting yellow or green exudate (pus), or if the metal back is completely buried beneath the skin layer, stop attempting removal.
A professional piercer has specialized tools, such as taper insertion pins and hemostats, to safely back the post out without tearing the fistula. If the embedding is severe and accompanied by systemic symptoms like a fever or red streaks radiating from the lobe, bypass the piercing studio and visit an urgent care clinic or dermatologist immediately to prevent a localized staph infection from spreading.
By understanding the mechanics of your jewelry and treating the tissue with respect, you can master how to take off butterfly back earrings safely, preserving both your piercing health and your favorite studs for years to come.


