How to Get a Stuck Earring Back Off Without Hurting Your Ear
Learn how to get a stuck earring back off safely. Expert troubleshooting for seized butterfly, screw, and friction backs without damaging your piercing.

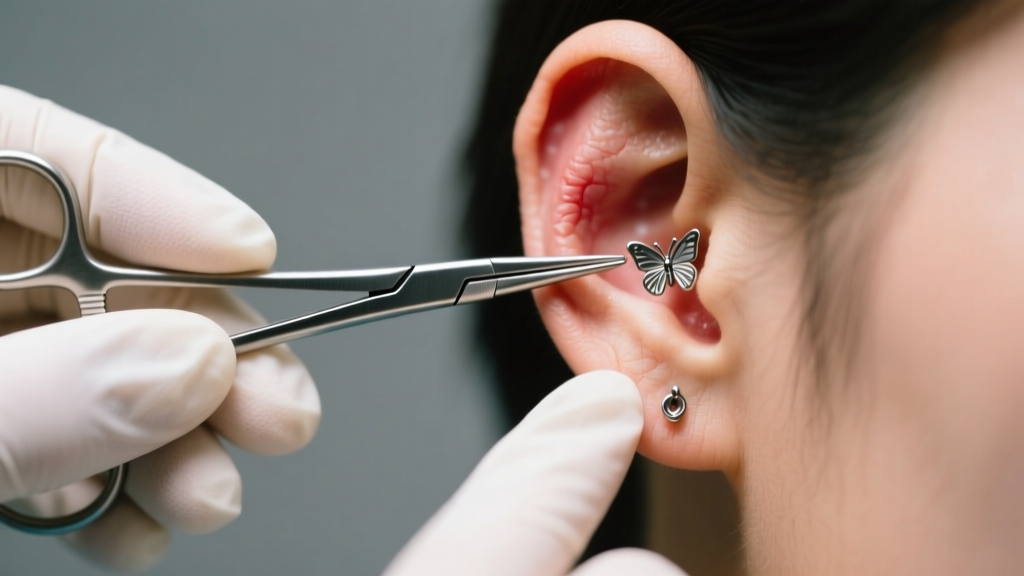
There are few jewelry-related emergencies that induce as much immediate panic as a seized earring clutch. Whether you are dealing with a standard friction back that has cemented itself to your post, or a screw-back that has cross-threaded inside the fistula, the instinct to yank and twist can lead to severe tissue trauma. If you are searching for exactly how to get a stuck earring back off without causing micro-tears to your piercing channel, you need to approach the problem like a professional piercer. This requires understanding the biomechanics of the jewelry, utilizing the correct grip aids, and knowing when to abandon DIY methods in favor of professional intervention.
The Biomechanics of a Seized Clutch
To troubleshoot a stuck earring, you must first understand why it is stuck. Standard 'butterfly' or friction backs rely on the mechanical tension of two curved metal tabs gripping the grooved post. Over time, three primary failure modes cause these backs to seize:
- Sebum and Keratin Calcification: The body naturally sheds dead skin cells (keratin) and produces sebum (oil) inside the fistula. When mixed with hard water minerals (calcium carbonate) from showering, this creates a biological cement that locks the clutch to the post.
- Corrosion and Oxidation: If your jewelry is made from 316L surgical steel or low-grade alloys rather than ASTM F-136 implant-grade titanium, microscopic rust and oxidation can fuse the metal components together.
- Epithelial Embedding: If the earring was fastened too tightly against the earlobe, swelling can cause the skin to grow entirely over the back of the earring. This is a medical issue, not just a mechanical one.
Essential Troubleshooting Arsenal
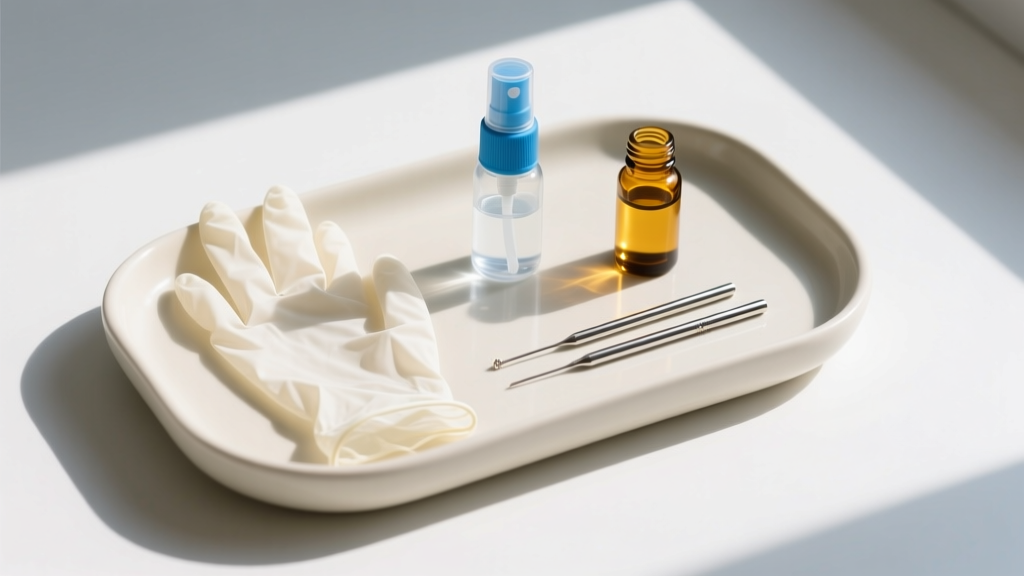
Before attempting removal, gather the proper tools. Bare fingers are the enemy of stuck jewelry; human skin naturally produces oils that reduce friction, making it nearly impossible to grip a 1.0mm (18-gauge) or 1.2mm (16-gauge) post securely.
- Nitrile Gloves ($8 - $12 per box): Provide the necessary tactile grip without the allergy risks associated with latex. The textured surface multiplies your pulling force.
- Fine-Point Hemostats ($10 - $15): Locking forceps used by piercers to grip the earring back securely without crushing the metal. Ensure they have smooth jaws to prevent scratching precious metals.
- Sterile 0.9% Sodium Chloride ($5 - $8): Wound wash saline to soften biological crust and debris.
- 100% Pure Jojoba Oil ($10 - $15): Jojoba closely mimics human sebum and acts as an exceptional, skin-safe lubricant to break down calcified buildup. Avoid petroleum jelly, which can degrade silicone o-rings on certain jewelry types.
Step-by-Step: Removing a Stuck Friction Back
When dealing with a standard push-on butterfly back, the golden rule is never twist. Twisting acts like a drill bit, shredding the delicate epithelial lining of your fistula and inviting infection. Instead, follow this axial removal protocol:
- Soften the Debris: Saturate a cotton swab or sterile gauze with warm 0.9% saline and hold it against the back of the earring for 3 to 5 minutes. This rehydrates and softens the keratin and sebum cement.
- Apply Lubricant: Using a clean swab, apply a small drop of jojoba oil directly to the seam where the post meets the clutch. Allow it to seep into the gap via capillary action for two minutes.
- Stabilize the Front: Have a helper (or use your non-dominant hand) hold the decorative front of the earring firmly against the front of the earlobe using a gloved thumb and forefinger. This prevents the post from pushing into the tissue during removal.
- The Axial Pull: Using your nitrile-gloved dominant hand (or hemostats clamped gently onto the wings of the butterfly back), pull the back straight out along the exact axis of the post. Apply steady, increasing pressure. Do not jerk or yank.
Troubleshooting Screw-Backs and Threadless Ends
High-end body jewelry often utilizes internally threaded screw-backs or threadless tension-fit ends. These present unique mechanical challenges.
The Cross-Thread Failure Mode
Internally threaded jewelry (where the screw is on the post, and the threads are inside the decorative end or back) is standard for 14G (1.6mm) and 12G (2.0mm) body jewelry. If a screw-back feels completely locked, it has likely been cross-threaded—meaning it was forced on at an angle, stripping the micro-threads. Do not use pliers to force it off. Instead, apply gentle, steady counter-clockwise pressure while slightly wiggling the back to help the threads realign. If it refuses to budge, a professional piercer can use specialized pin vises to grip the post without damaging the threading.
Threadless Tension Ends
Threadless jewelry relies on a bent pin creating tension inside a hollow receiving tube. If a threadless back or end is stuck, it is usually because the pin was bent at too sharp of an angle during insertion. Grip the front and back with two pairs of nitrile-gloved hands, and pull firmly while applying a slight bending motion to break the tension seal.
When to Seek Professional Help: The Embedding Emergency
If you cannot see the metal post protruding through the back of your earlobe, the earring is likely embedded. This occurs when an earring back is fastened too tightly, or when the ear swells due to trauma, allergic contact dermatitis, or infection, causing the body to heal over the jewelry.
'If jewelry becomes embedded in the skin, do not attempt to cut it out yourself. Seek assistance from a professional piercer or a medical doctor immediately to prevent severe scarring and infection.' — Association of Professional Piercers (APP)
Attempting to dig an embedded earring out with tweezers or needles at home introduces staphylococcus bacteria directly into the bloodstream. A professional piercer can use a sterile scalpel to make a microscopic incision to expose the clutch, or a doctor can administer a local anesthetic to remove it safely. According to the American Academy of Dermatology, any sign of heat, throbbing pain, or yellow/green discharge accompanying a stuck earring warrants immediate medical evaluation, as the jewelry may be trapping an active abscess.
Preventative Maintenance Matrix
Once you have successfully removed the stuck earring, implement this maintenance schedule to ensure your friction, screw, and threadless backs never seize again. Upgrading to ASTM F-136 implant-grade titanium from brands like Neometal or Industrial Strength will virtually eliminate corrosion-based seizing.
| Maintenance Task | Frequency | Tools Required | Purpose & Benefit |
|---|---|---|---|
| Saline Soak & Rinse | Weekly | Sterile 0.9% NaCl Spray | Flushes out dead keratin and prevents sebum buildup inside the clutch. |
| Jojoba Oil Lubrication | Monthly | 100% Pure Jojoba Oil | Conditions the metal and skin, preventing hard water calcification on the post. |
| Clutch Tension Check | Every 6 Months | Flat-nose jewelry pliers | Gently squeezes the butterfly tabs back together to restore lost mechanical grip. |
| Thread Realignment | As Needed | Magnifying glass, taper | Ensures internally threaded screw-backs are entering the post perfectly straight. |
By treating your jewelry with the same mechanical respect you would give to precision instruments, you eliminate the panic of seized clasps. Keep a pair of nitrile gloves and a bottle of jojoba oil in your bathroom cabinet, and you will never have to forcefully rip a stuck earring out of your ear again.


