How to Remove Stuck Earring Back: Safe Step-by-Step Guide
Learn how to remove stuck earring back types safely. Step-by-step methods for push backs, screw backs, and friction clutches without damage.

The Anatomy of a Seized Earring Back
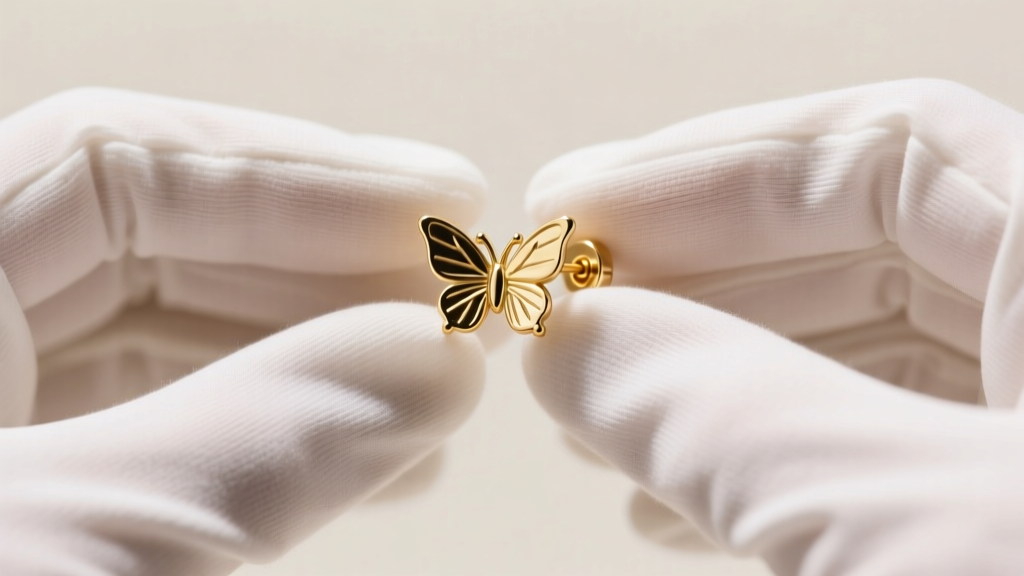
Few jewelry emergencies induce panic quite like a seized earring clutch. Whether you are dealing with a standard 20-gauge (0.81mm) lobe stud or a 16-gauge (1.29mm) cartilage hoop, knowing how to remove stuck earring back mechanisms safely is a critical skill for any jewelry wearer. Before applying force, it is essential to understand why the backing is stuck. The culprit is rarely the metal itself, but rather a combination of biological buildup and mechanical friction.
The most common cause of a stuck push back (butterfly clutch) is the accumulation of sebum. Sebum is a natural secretion composed of keratinocytes, lipids, and dead skin cells. When trapped inside the tiny metal loops of a friction back, it hardens into a cement-like substance, effectively gluing the backing to the earring post. Furthermore, if your jewelry is made from low-grade alloys or 316L surgical steel rather than ASTM F-136 implant-grade titanium, microscopic oxidation and nickel corrosion can cause the metal components to literally fuse together over time.
Essential Tools for Safe Removal
Do not rely on bare fingers or household tools. To safely extract a stuck backing without tearing the delicate fistula (the piercing channel), assemble the following toolkit:
- Nitrile Gloves: Bare skin lacks the micro-friction needed to grip smooth metal. Nitrile gloves (usually $8-$12 for a box of 100) provide the necessary grip without the allergy risks associated with latex.
- Warm Sterile Saline (0.9% Sodium Chloride): Used to soften hardened sebum and biological debris.
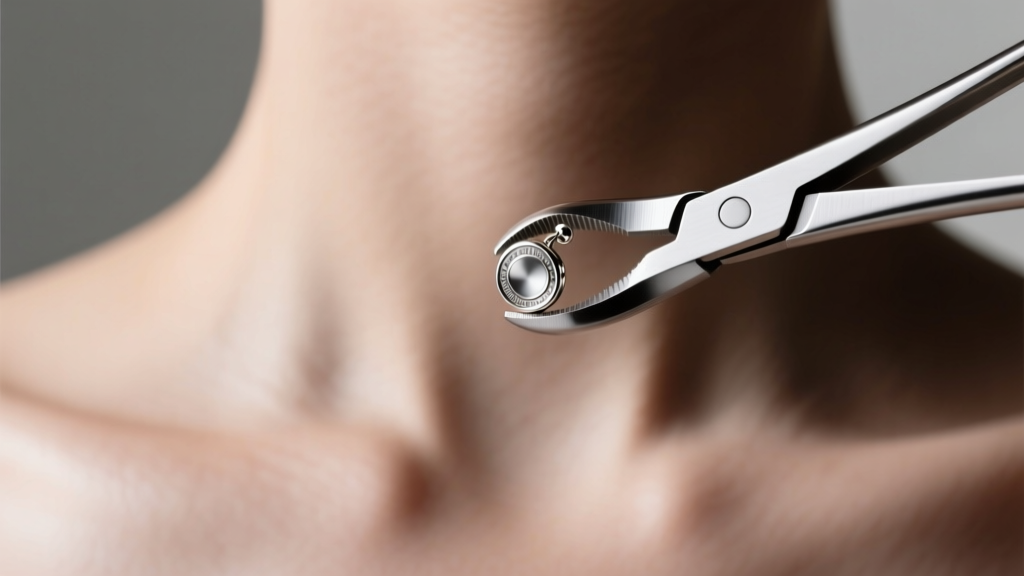
- Sterilized Hemostats (Locking Forceps): A medical-grade tool ($5-$15 at pharmacy or beauty supply stores) that locks onto the earring back, providing immense, controlled leverage without crushing the post.
- Magnifying Mirror & Task Lighting: Essential for visualizing the exact point of friction or cross-threading.
Step-by-Step: How to Remove Stuck Earring Back by Type
The removal technique varies drastically depending on the mechanics of the jewelry. Follow the specific guide below for your earring type.
1. Friction Push Backs (Butterfly Clutches)
Friction backs rely on two small metal loops that grip the notched earring post. When stuck, pulling straight out often results in pain and swelling.
- Soak and Soften: Soak a cotton pad in warm sterile saline and hold it against the earlobe and backing for 3 to 5 minutes. This rehydrates and softens the hardened sebum.
- The Grip: Put on your nitrile gloves. With your non-dominant hand, firmly pinch the earring post from the front of the earlobe to stabilize it.
- The Wiggle-Pull: With your dominant hand, grip the wings of the butterfly back. Do not pull straight out. Instead, gently twist the back back and forth (like a tiny steering wheel) while applying slow, steady outward pressure. The twisting motion breaks the sebum seal.
2. Screw Backs
Screw backs are highly secure but prone to cross-threading, where the threads strip and lock against each other.
- Stabilize the Front: Hold the decorative front of the earring completely still. Any movement here will continue to tighten the cross-threaded back.
- Apply Lateral Pressure: While turning the back counter-clockwise (lefty-loosey), apply a very slight lateral (sideways) pressure to the backing. This helps the stripped threads catch and realign on the post.
- Use Hemostats if Needed: If the backing is too small to grip, clamp the hemostats gently onto the flat edge of the screw back and turn counter-clockwise.
3. Threadless (Push-Pin) Jewelry
Threadless jewelry uses tension; the pin is slightly bent before insertion. If stuck, it is usually due to swelling or debris in the hollow shaft.
- Grip Both Ends: Hold the front gem and the back disc firmly.
- Push and Twist: Push the two ends slightly together (compressing the tension) and twist the back disc while pulling outward. The compression releases the internal tension grip.
Troubleshooting Seized or Embedded Backs
Sometimes, a standard removal fails. Here is how to handle severe scenarios based on professional piercing troubleshooting protocols.
The Corroded Metal Lock: If you are wearing cheap fashion jewelry and the back is fused via oxidation, apply a single drop of skin-safe mineral oil or vitamin E oil to the joint. Let it sit for 10 minutes to penetrate the micro-crevices, then use the hemostat method. Never use WD-40 or harsh chemical solvents near the eyes or mucous membranes.
The Embedded Back (Swelling): If the earring post is too short for your current swelling (common in new 16G cartilage piercings), the back may be embedded in the skin. Do not dig it out. According to the Association of Professional Piercers (APP), attempting to cut or dig out an embedded backing can cause severe tissue scarring and keloid formation. Apply a cold compress to reduce swelling, and visit a professional piercer who can use sterile tapers and specialized jewelry removal tools.
Never use standard hardware pliers from a household toolbox on your earlobes. The crushing force can easily bend a 20G or 18G post, permanently trapping the back and damaging your piercing channel beyond repair.
Comparison: Earring Back Types and Stuck Risk Factors
Understanding the inherent risks of your jewelry hardware can help you prevent future emergencies. Below is a comparative analysis of common earring backing systems.
| Back Type | Security Level | Stuck Risk Factor | Best Material Upgrade |
|---|---|---|---|
| Butterfly Friction | Low-Medium | High (Sebum traps in loops) | ASTM F-136 Titanium |
| Screw Back | Very High | Medium (Cross-threading) | 14k/18k Solid Gold |
| Laconic / Locking | High | Low (Mechanical hinge) | 316L Surgical Steel |
| Silicone O-Rings | Medium | Very Low (No metal friction) | Medical-Grade Silicone |
| Flat Back Labret | Very High | Low (Threadless tension) | ASTM F-136 Titanium |
Prevention: Upgrading Your Earring Hardware
The most effective way to avoid learning how to remove stuck earring back mechanisms is to eliminate the problematic hardware entirely. Standard butterfly backs are notorious for harboring bacteria and seizing up. The American Academy of Dermatology (AAD) frequently notes that friction backs can cause contact dermatitis and localized infections due to trapped moisture and debris.
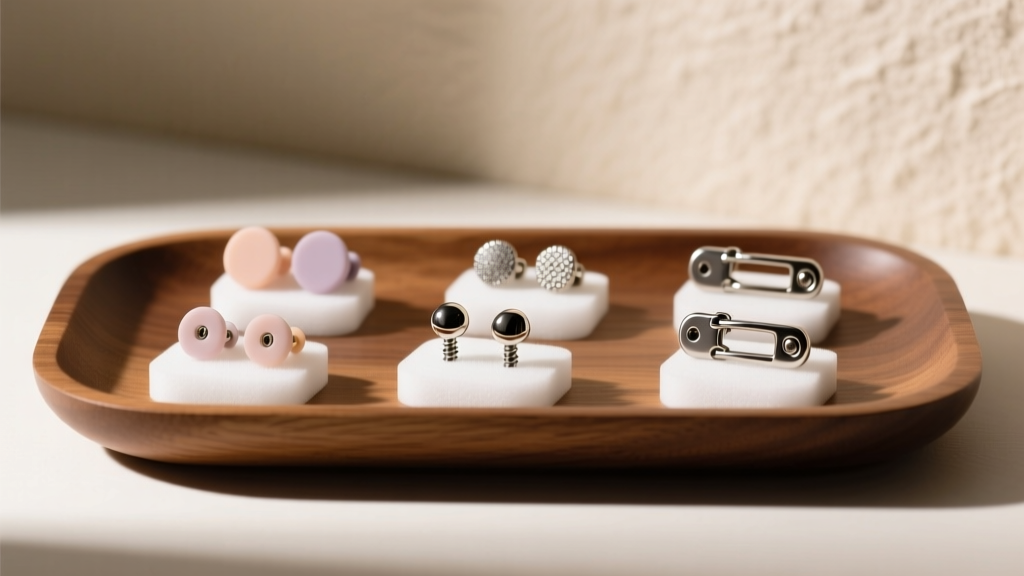
Upgrade to Flat Back Labrets: For both lobes and cartilage, internally threaded or threadless flat back labrets (priced between $15 and $35 per piece from reputable brands like Blomdahl or Maria Tash) are the gold standard. The flat disc sits flush against the back of the ear, eliminating the crevices where sebum accumulates. Because they use precision-machined ASTM F-136 titanium, they will never corrode or fuse to the post.
Use Silicone O-Rings: If you must wear standard friction posts, discard the metal butterfly backs and replace them with medical-grade silicone O-rings or friction clutches. Available for about $3 for a pack of 20, these provide a secure grip via friction but cannot corrode, and they are easily sliced off with sterile scissors in an absolute worst-case emergency.
When to See a Professional Piercer
While most stuck backs can be resolved at home with patience and the right grip, there are strict limits to DIY removal. You should immediately cease your efforts and visit an APP-certified professional piercer if:
- The skin around the piercing is hot to the touch, pulsing, or discharging yellow/green exudate (signs of active infection).
- The post has completely disappeared beneath the skin surface due to swelling.
- You have been pulling and twisting for more than 15 minutes, resulting in a bruised, highly sensitive earlobe.
- The earring is a continuous ring or segment ring where the segment has become impacted inside the hollow tubing.
Professional piercers possess sterile hemostats, ring-opening pliers, and the anatomical knowledge to remove compromised jewelry without causing tissue trauma. By upgrading to high-quality, precision-machined titanium jewelry and maintaining a daily sterile saline cleaning routine, you can ensure your earrings remain secure, comfortable, and incredibly easy to change whenever you desire.