How to Remove Flat Back Earrings That Are Stuck: Fix & Buying Guide
Learn how to remove flat back earrings that are stuck safely. Expert fixes, prevention tips, and a buyer's guide for threadless jewelry.

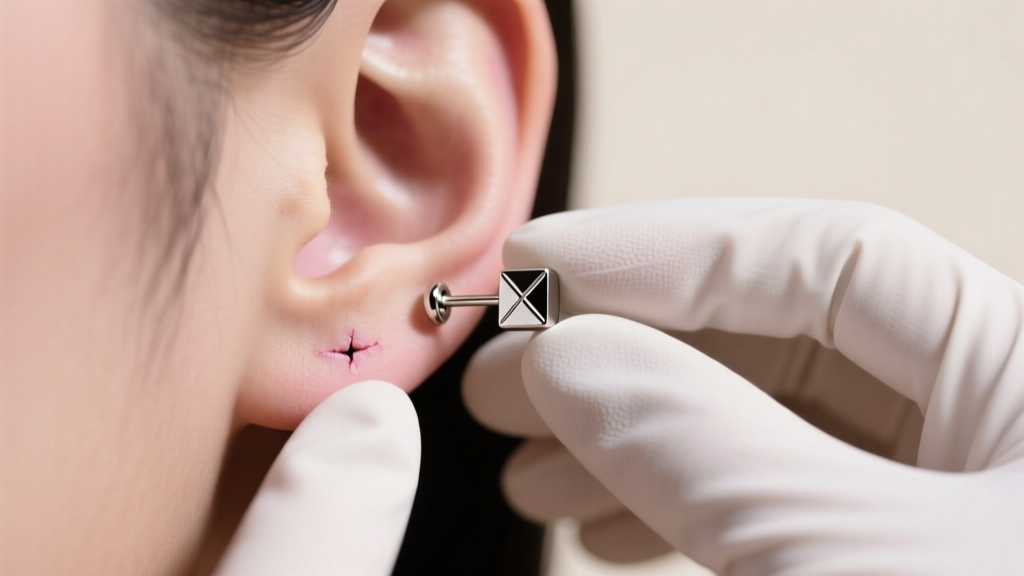
Flat back earrings—often referred to as labret studs—are the gold standard for modern lobe, helix, tragus, and conch piercings. Their low-profile design prevents hair snagging and provides superior comfort for side-sleepers. However, when it comes time to change your jewelry, you may encounter a frustrating and painful problem: the jewelry simply will not budge. If you are frantically searching for how to remove flat back earrings that are stuck, you are not alone. Sebum buildup, cross-threading, and tissue swelling can turn a simple jewelry swap into a stressful ordeal.
This comprehensive guide provides immediate, professional-grade triage steps to safely extract your stuck earrings without damaging your piercing fistula. Once the jewelry is out, we transition into a definitive buyer’s guide, detailing the exact materials, gauge tolerances, and threading mechanisms you need to look for to ensure your next purchase never gets stuck again.
Immediate Triage: How to Remove Flat Back Earrings That Are Stuck
Before you reach for pliers or apply excessive force, you must identify which type of flat back you are wearing. The removal mechanism for a threadless (push-pin) earring is entirely different from an internally threaded screw. Applying the wrong technique can result in stripped threading, torn tissue, or a broken post.
Scenario A: The Threadless (Push-Pin) Earring is Stuck
Threadless jewelry, popularized by brands like NeoMetal and Junipurr, relies on the tension of a slightly bent pin inside a hollow post. When stuck, it is usually due to dried sebum acting as a biological glue, or the pin being bent at too sharp of an angle during insertion.
- The Grip Method: Wash your hands and put on a pair of nitrile examination gloves. Skin-on-metal grip is rarely sufficient for stuck tension jewelry. The nitrile provides the necessary friction to pull the pieces apart.
- The Warm Compress: If gloves fail, soak a clean gauze pad in warm (not hot) sterile saline and hold it against the front and back of the earlobe for 3 to 5 minutes. This softens the hardened keratin and sebum trapping the joint.
- The Pull-and-Twist: Grip the front gem with your dominant hand and the flat back disc with your non-dominant hand. Pull firmly in opposite directions while applying a very slight, gentle twisting motion. Do not yank violently.
Scenario B: The Internally Threaded Earring is Stuck
Internally threaded jewelry features a screw on the post that threads into the front gem. When these get stuck, it is almost always due to cross-threading (where the screw was forced in at an angle) or calcified buildup inside the threading.
- Stabilize the Back: If the front gem spins endlessly without unscrewing, the post is spinning with it. You need to hold the flat back disc completely still. Use a pair of silicone-tipped hemostats or lock forceps to gently clamp the flat back disc. Never use bare metal pliers, as they will crush the titanium or gold and scratch the surface.
- Counter-Clockwise Leverage: With the back stabilized, use your nitrile-gloved fingers to twist the front gem counter-clockwise. If it refuses to move, apply a warm compress to expand the metal microscopically and soften the biological debris.
- The Piercer Intervention: If the threading is severely cross-threaded and locked, stop. According to the Association of Professional Piercers (APP), forcing stripped metal can cause micro-tears in the fistula. Visit a professional piercer who can use specialized tools to safely cut or extract the locked jewelry.
The Anatomy of a Jam: Why Flat Backs Get Stuck
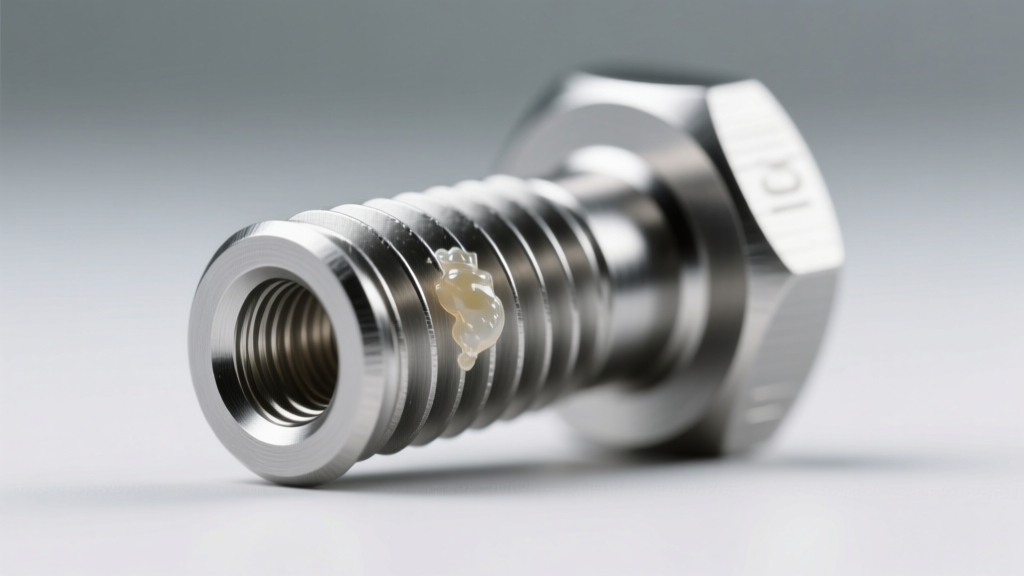
To prevent future issues, it is vital to understand the mechanical and biological failure points of flat back earrings. A stuck earring is rarely a random occurrence; it is usually the result of one of three specific factors:
- Biological Calcification: The human body naturally sheds dead skin cells (keratin) and produces sebum. In the warm, humid environment of a piercing, this mixture accumulates in the microscopic gaps between the front gem and the post. Over 6 to 12 months, this organic matter hardens into a cement-like substance, effectively gluing the jewelry together.
- Cross-Threading from Poor Manufacturing: High-end brands machine their internal threads to a fraction of a millimeter. Cheap, mass-produced earrings often have burrs or misaligned threads. When you attempt to screw them in, they catch, strip, and lock permanently.
- Allergic Tissue Swelling: If you are wearing low-grade surgical steel containing nickel, your body may mount a localized allergic response. This causes the tissue surrounding the fistula to swell tightly around the post, creating immense physical pressure that traps the flat back disc against the skin, making it nearly impossible to grip and turn.
Buying Guide: What to Look For to Prevent Stuck Earrings
Once you have successfully extracted the stuck jewelry, the next step is ensuring you never have to repeat the process. When shopping for replacement flat backs, you must evaluate the material grade, the threading mechanism, and the brand's machining tolerances.
Material Grades: The Foundation of Frictionless Wear
The material of your earring dictates how your body reacts to it. Swelling from allergic reactions is a primary cause of trapped jewelry. Always look for the following material certifications:
- ASTM F-136 Implant-Grade Titanium: This is the absolute gold standard for body jewelry. It is completely nickel-free, highly polished, and biocompatible. It will not cause tissue swelling, ensuring the flat back always sits comfortably against the skin without being swallowed by the lobe.
- 14k or 18k Solid Gold (Nickel-Free): Premium brands like BVLA and Maria Tash use alloyed gold that is safe for long-term wear. Check the BVLA Material Standards to ensure the gold is specifically alloyed for body jewelry, as standard commercial gold often contains nickel or zinc.
- Avoid 316L Surgical Steel for Long-Term Wear: While 316L is common, it contains up to 14% nickel. Over time, nickel exposure can cause low-grade contact dermatitis, leading to the exact type of tissue swelling that traps flat backs.
Threading Mechanisms: Threadless vs. Internally Threaded
The mechanism that holds the earring together is the most critical factor in determining how easy it is to remove. Never purchase externally threaded jewelry (where the screw is on the post), as the threads will scrape and damage the piercing channel every time you remove it.
| Feature | Threadless (Push-Pin) | Internally Threaded |
|---|---|---|
| Mechanism | Tension-bent pin inserted into a hollow post. | Screw on the post threads into the front gem. |
| Stuck Risk | Low (unless pin is bent too sharply or glued by sebum). | Moderate (risk of cross-threading or stripped screws). |
| Removal Ease | High (pull apart with nitrile gloves). | Moderate (requires two-handed twisting and stabilization). |
| Best For | High-movement areas, frequent jewelry swappers. | Permanent long-term wear, heavy gemstone fronts. |
| Price Range | $35 - $80+ (per end and post) | $40 - $100+ (per end and post) |
For most consumers, threadless jewelry is the superior choice. As detailed in the NeoMetal Threadless Guide, the tension mechanism eliminates the risk of cross-threading entirely. If you maintain a basic cleaning routine, a threadless flat back will slide out effortlessly every time.
Gauge Sizes & Tolerances: The Hidden Culprit
A frequent reason flat backs get stuck is a mismatch in gauge tolerances between different brands. Body jewelry gauges are not universally identical across all manufacturers.
- 14 Gauge (1.6mm): Standard for most lobe, helix, and tragus piercings. If you mix a 14g post from a budget brand with a 14g front from a premium brand, the pin or threading may be slightly oversized, causing a jam.
- 16 Gauge (1.2mm): Common for cartilage and delicate lobes. 16g threadless pins are incredibly thin; bending them requires a very gentle curve. If you bend a 16g pin at a harsh 45-degree angle, it will wedge into the post and become nearly impossible to pull out.
- 18 Gauge (1.0mm): Used for nose bones and ultra-fine cartilage. 18g internal threading is microscopic and highly prone to stripping. For 18g jewelry, always default to threadless push-pins to avoid destroyed threads.
Pro Tip: Always buy the post and the front gem from the same manufacturer, or stick to brands known for universal compatibility (like NeoMetal and Junipurr), to ensure the pin diameter perfectly matches the internal hollow of the post.
Maintenance Routine for Frictionless Wear
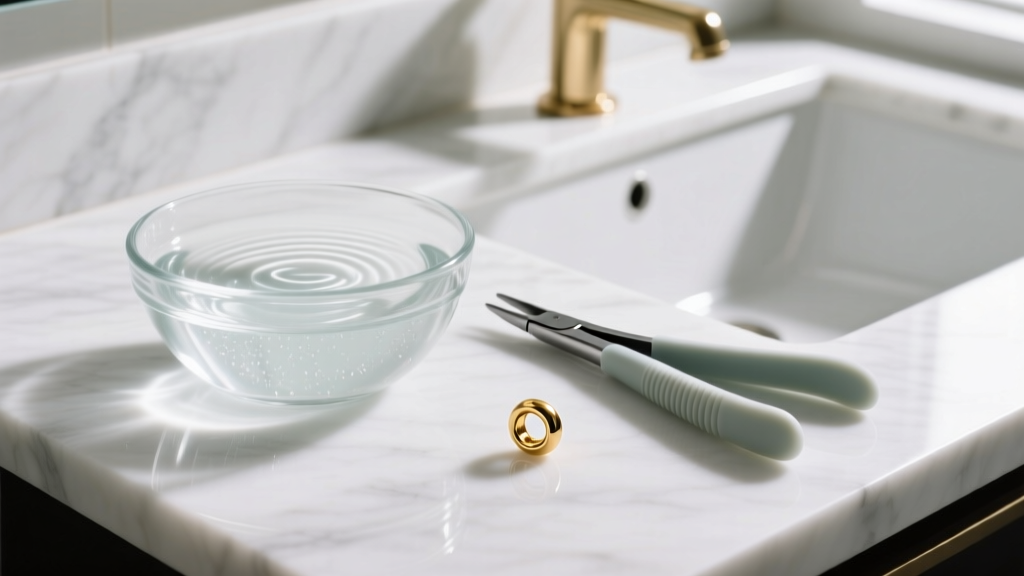
Even the highest quality ASTM F-136 titanium jewelry will get stuck if neglected. Implementing a simple maintenance routine will dissolve sebum buildup before it hardens into biological cement.
The 30-Day Swivel and Soak
Once your piercing is fully healed, you should perform a maintenance check every 30 to 60 days.
- Wash your hands thoroughly with antibacterial soap.
- Gently grip the front gem and the flat back disc.
- Give the jewelry a gentle 360-degree rotation. For threadless jewelry, gently push the front in and pull it out a fraction of a millimeter to break any microscopic sebum seals.
- Use a sterile saline wound wash spray to flush the junction where the gem meets the post.
If you notice resistance when twisting internally threaded jewelry, do not force it. Remove the earring, soak it in a small bowl of warm water and mild castile soap for 10 minutes, and use a soft-bristled toothbrush to gently clean the internal threads before reinserting.
Conclusion: Know When to Call a Professional
Knowing how to remove flat back earrings that are stuck is an essential skill for any jewelry enthusiast, but knowing your limits is equally important. If you have tried the nitrile glove grip, the warm saline compress, and the hemostat stabilization technique without success, stop immediately. Continuing to pull, twist, and yank at a locked piece of metal will only result in severe swelling, bruising, and potential damage to the piercing channel.
Visit a reputable, APP-certified professional piercer. They possess specialized silicone-padded locking forceps, magnification loupes, and the mechanical expertise to dislodge stubborn jewelry in seconds without harming your ear. By investing in high-quality, implant-grade threadless or internally threaded jewelry from reputable brands, and adhering to a simple 30-day maintenance routine, you can enjoy the comfort and security of flat back earrings without ever fearing they will become permanently locked in your ear again.


