How to Get a Flat Back Earring Out: Expert Removal Guide
Learn exactly how to get a flat back earring out safely. Expert techniques for threadless and threaded labrets, including tool specs and gauge tips.

The Anatomy of Flat Back Earrings: Threadless vs. Internally Threaded
Before you can safely remove your jewelry, you must identify its mechanical retention system. Flat back earrings—commonly worn in cartilage, lobes, and tragus piercings—generally fall into two categories: threadless (push-pin) and internally threaded. Understanding the difference is the first step in learning how to get a flat back earring out without causing tissue trauma or damaging high-end jewelry from brands like BVLA or Neometal.
Threadless (Push-Pin) Earrings: These rely on tension. The decorative end features a slightly bent pin that inserts into the hollow post. The tension of the bent metal against the inner wall of the post holds the jewelry together. They are incredibly popular for 16g and 14g cartilage piercings because they lack the micro-threads that can harbor bacteria.
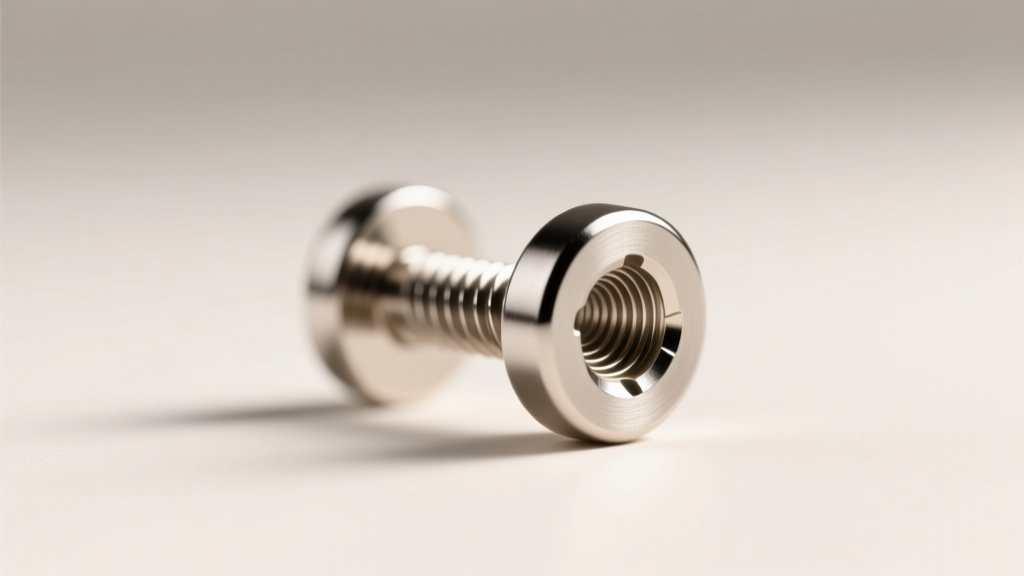
Internally Threaded Earrings: In this system, the screw threads are located on the inside of the flat back post, while the decorative end has a smooth, threaded pin that screws into it. This is the gold standard recommended by the Association of Professional Piercers (APP) because the smooth pin passes through the piercing fistula, preventing tissue irritation.
Why Flat Backs Get Stuck: The Biomechanics of Friction
If you are struggling to remove your earring, it is rarely just a matter of weak grip. Several biomechanical and environmental factors contribute to a seized flat back:
- Lymph and Sebum Buildup: Dead skin cells, sebum, and dried lymph fluid can act like biological cement, fusing the decorative end to the post or caking around the threading.
- Swelling and Tissue Compression: If your piercing is irritated, the tissue swells and compresses the post, creating immense lateral friction against the flat back disc.
- Cross-Threading: For internally threaded jewelry, forcing the end on at an angle can strip or cross-thread the microscopic 1.2mm or 1.6mm screw patterns, locking the metal in place.
- Over-Bending the Pin: With threadless jewelry, bending the pin too sharply (beyond a 15-degree angle) during insertion can create so much tension that manual removal becomes nearly impossible.
Step-by-Step: How to Get a Flat Back Earring Out (Threadless Push-Pin)
Removing threadless jewelry requires a specific push-and-pull mechanic. Never simply pull straight outward, as this will only tighten the tension grip.
1. Prep and Soften
Soak a sterile, non-woven gauze pad in warm sterile saline. Press it against the earring for 3 to 5 minutes. This softens any biological 'cement' (crusties) locking the joint. Dry the area completely; moisture destroys your grip friction.
2. The Grip-and-Bend Technique
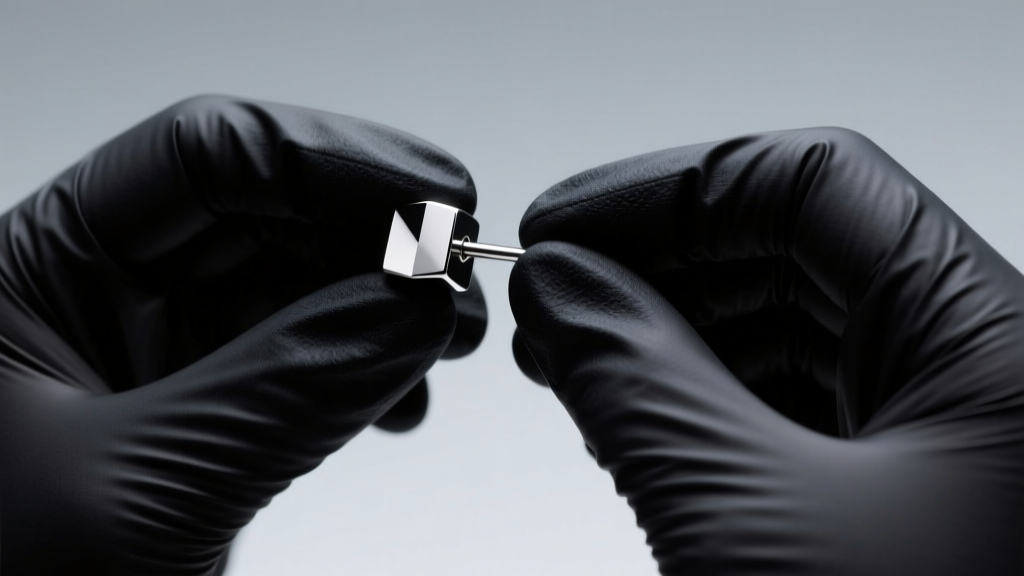
Put on a pair of snug, powder-free black nitrile gloves. Nitrile provides a vastly superior coefficient of friction compared to bare skin. Pinch the flat back disc firmly between the thumb and index finger of your non-dominant hand. With your dominant hand, grip the decorative end. Instead of pulling straight out, gently bend the decorative end at a 45-degree angle away from the post while simultaneously pushing the flat back disc forward. The tension will release with a distinct 'snap'.
Step-by-Step: Removing Internally Threaded Flat Backs
Internally threaded jewelry requires counter-torque. The goal is to rotate the decorative end counter-clockwise while holding the flat back completely stationary.
The Bare-Hand Method: Wash and thoroughly dry your hands. Use your non-dominant hand to reach behind the ear and press the flat back disc firmly against the back of the piercing to prevent it from spinning. Use your dominant thumb and index finger to twist the decorative gem counter-clockwise.
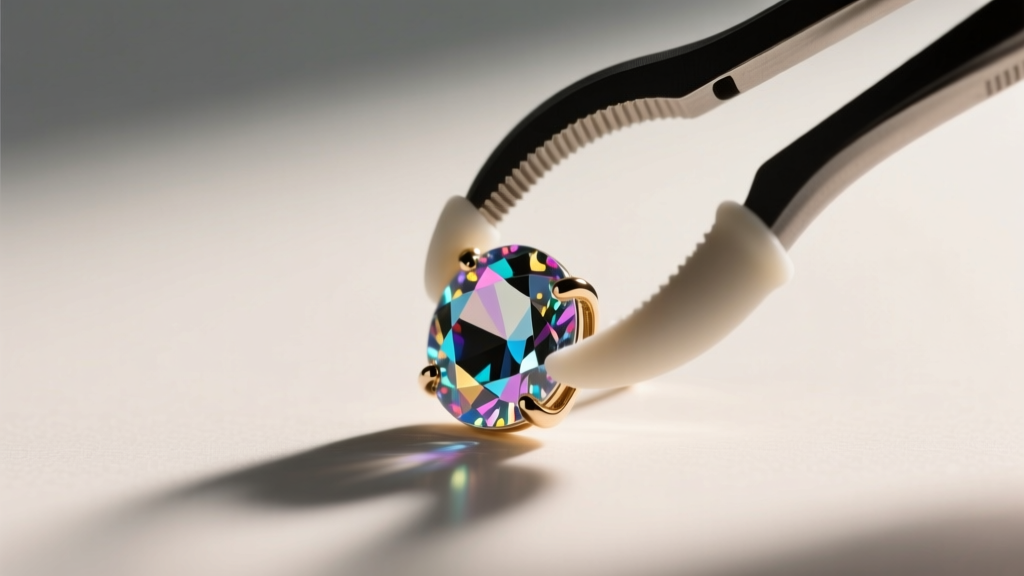
The Hemostat Method: If the earring is tightly secured, you will need mechanical leverage. Use curved, silicone-tipped hemostats (locking pliers). Clamp the silicone jaws gently but firmly over the decorative end. The silicone prevents scratching the gold or titanium and protects any set gemstones. Lock the hemostat, hold the back disc stationary, and rotate the tool counter-clockwise.
Advanced Troubleshooting: When the Earring Simply Won't Budge
If standard methods fail, you are likely dealing with cross-threading or extreme tissue swelling. Below is a technical breakdown of grip enhancement methods and when to use them.
| Grip Method | Tool Required | Best Used For | Risk Level |
|---|---|---|---|
| Nitrile Gloves | Powder-free Nitrile | Standard threadless and threaded removal | Very Low |
| Silicone Pads | Textured silicone sheet | Slippery gemstone ends and smooth titanium discs | Low |
| Silicone Hemostats | Curved silicone-tipped forceps | Tightly secured threaded ends, limited dexterity | Medium (can scratch if tips are torn) |
| Latex Gloves | Textured Latex | Maximum friction for seized threadless pins | High (allergy risk, can tear) |
Fixing Cross-Threaded Jewelry
If an internally threaded earring is cross-threaded, it will feel locked and grind when you try to turn it. Do not force it, as you will strip the threading permanently. Instead, apply a microscopic drop of sterile saline to the seam to act as a lubricant. Apply gentle inward pressure while turning counter-clockwise until you feel the threads 'catch' and realign, then continue unscrewing. If it remains stuck, a piercer can use a specialized reverse-taper tool to back the threads out safely.
Preventative Maintenance and Material Upgrades
The easiest way to ensure you never struggle with learning how to get a flat back earring out is to prevent seizing in the first place. Routine maintenance and material selection play massive roles in jewelry mobility.
According to guidelines published by the Association of Professional Piercers, keeping the piercing site free of excessive moisture and harsh chemicals prevents the buildup of crusties that fuse jewelry components together. Avoid sleeping on damp hair, as the trapped moisture accelerates lymph drying around the flat back disc.
Expert Material Note: If you frequently experience swelling that makes your flat back disc sink into the tissue, you are likely wearing a reactive metal or a post that is too long. Upgrade to ASTM F136 implant-grade titanium. This specific alloy is highly biocompatible, drastically reducing allergic inflammation and ensuring the tissue remains calm, making jewelry changes significantly easier.
When to See a Professional Piercer
There is a fine line between a stubborn earring and a medical emergency. You should immediately cease DIY removal attempts and visit an APP-certified piercer if:
- The flat back disc has become completely embedded in swollen tissue (a condition known as embedding or migration).
- You experience sharp, shooting pain when applying rotational or lateral pressure to the post.
- The jewelry is visibly bent or damaged inside the fistula.
- You are dealing with an active, severe infection characterized by hot, red, and throbbing tissue.
Professional piercers possess specialized tools, such as taper insertion pins, non-serrated jewelry forceps, and sterile lubricants, allowing them to extract seized jewelry in seconds without causing micro-tears to the delicate fistula lining. By understanding the mechanics of your jewelry and utilizing the proper grip techniques, you can maintain your high-end body jewelry safely and comfortably for years to come.


