Safely Restoring Vintage Goldette Earrings: Repair Guide
Learn how to safely clean, repair, and wear vintage Goldette earrings. Expert troubleshooting for clip-ons, missing rhinestones, and base metal allergies.

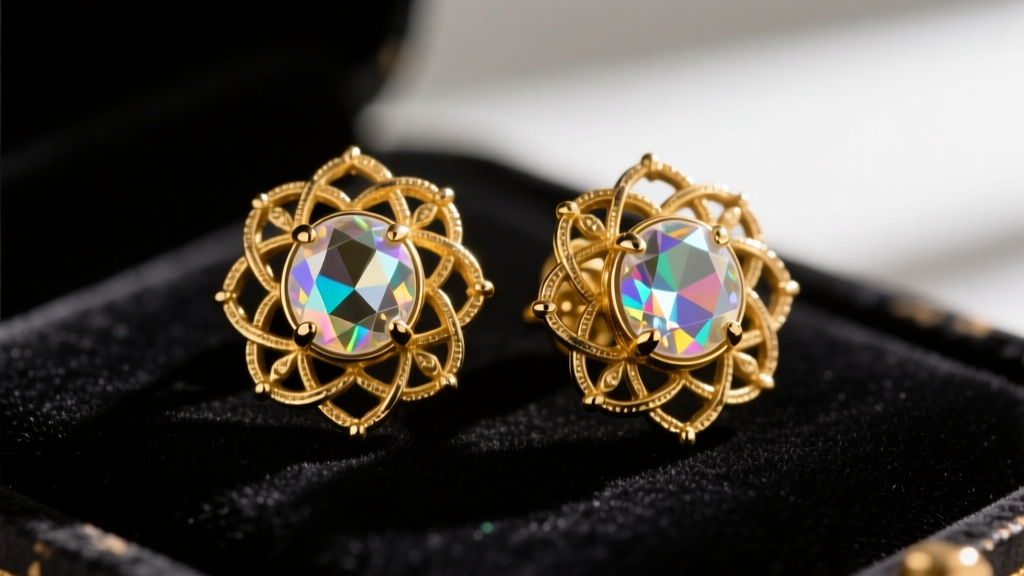
Goldette earrings are highly coveted in the vintage costume jewelry market. Founded by Betty Goldstein in New York, the Goldette brand produced intricate, lightweight, and heavily detailed gold-toned pieces from the 1920s through the 1980s. However, because these are vintage costume pieces rather than solid gold, collectors and wearers frequently encounter specific degradation issues. From degrading screw-back pads to desilvered rhinestones and base metal allergies, restoring these earrings requires a specialized approach that respects the original materials.
This comprehensive troubleshooting guide will walk you through the exact methodologies for repairing, cleaning, and safely wearing vintage Goldette earrings without destroying their historical value or delicate gold wash.
Identifying Authentic Goldette Hallmarks and Materials
Before attempting any repairs, it is crucial to verify the authenticity and era of your earrings. Goldette pieces are typically stamped with the word 'Goldette' on the reverse of the earring finding or the back of the main motif. Pieces manufactured after 1955 will often include the copyright symbol (©). Understanding the base materials is equally important for troubleshooting:
- Base Metal: Most Goldette earrings are crafted from stamped brass or a zinc-alloy (often referred to as pot metal), which is then electroplated with a thin layer of gold.
- Plating: The gold tone is not solid. It is a surface wash that can easily be stripped by harsh chemicals or ultrasonic cleaners.
- Stones: The brand heavily utilized glass rhinestones, particularly the Aurora Borealis (AB) finish introduced in the mid-1950s, which are often foil-backed to enhance brilliance.
Troubleshooting Mechanical Failures: Screw-Backs and Clip-Ons
The most common point of failure on vintage Goldette earrings is the earring mechanism. Because pierced earrings were less common in the mid-20th century, Goldette relied heavily on screw-back and clip-on findings.
Fixing Stuck or Stripped Screw-Backs
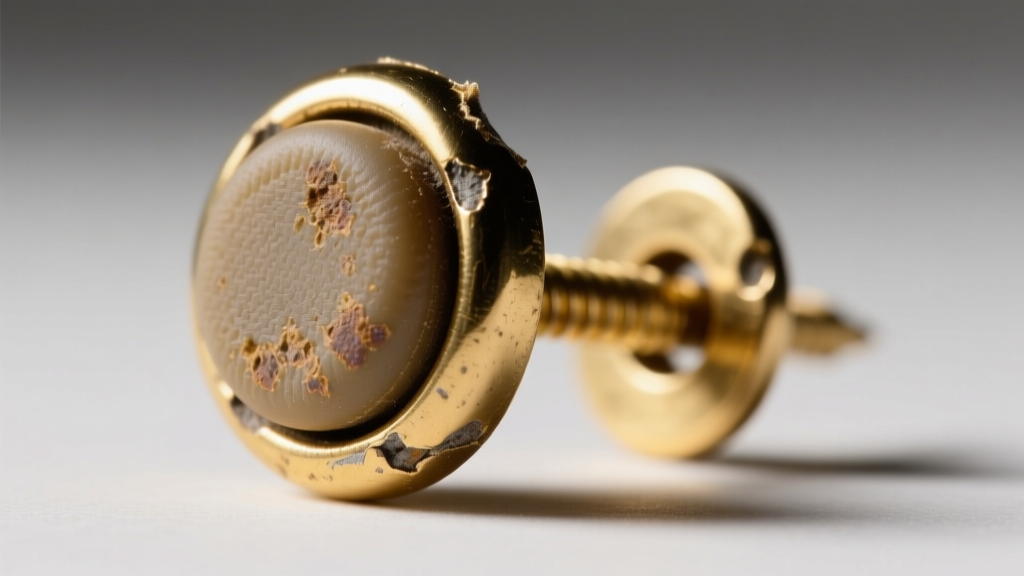
Vintage screw-back earrings feature a small rubber or silicone pad on the flat plate that presses against the earlobe. Over decades, this rubber degrades, melts, and turns into a sticky, black residue that ruins the gold plating and fails to grip the ear.
- Remove the Degraded Pad: Do not scrape it with metal tools, as you will scratch the gold plating. Instead, dip a cotton swab in 91% isopropyl alcohol and hold it against the rubber pad for 60 seconds to soften the adhesive.
- Clean the Plate: Gently wipe away the dissolved rubber. If residue remains, use a wooden toothpick to carefully lift the edges.
- Replace the Pad: Purchase modern replacement silicone screw-back pads (usually 3mm or 4mm in diameter). Apply a microscopic dot of GS Hypo Cement to the metal plate and press the new pad into place. Let it cure for 24 hours.
Adjusting Tension on Clip-On Paddles
If your Goldette clip-ons cause pain or slip off, the tension on the metal paddle is likely warped. Use nylon-jaw pliers to gently bend the paddle. Never use standard steel jewelry pliers, as the teeth will permanently gouge the soft gold-toned brass. Bend the paddle slightly outward to reduce pinching, or inward to increase grip, testing on your earlobe incrementally.
Rhinestone Rescue: Replacing Missing or Cloudy Stones
Goldette earrings are famous for their sparkling rhinestones, but moisture is their greatest enemy. If a stone looks cloudy, gray, or black, the foil backing has oxidized—a process known as desilvering. You cannot clean a desilvered stone; it must be replaced.
Sourcing and Setting Replacement Stones
According to the Costume Jewelry Collectors International, maintaining the original aesthetic of vintage pieces requires exact matches in cut and foil color. Measure the empty prong setting with a digital caliper to determine the exact millimeter size (commonly 3mm, 4mm, or 5mm for Goldette pieces).
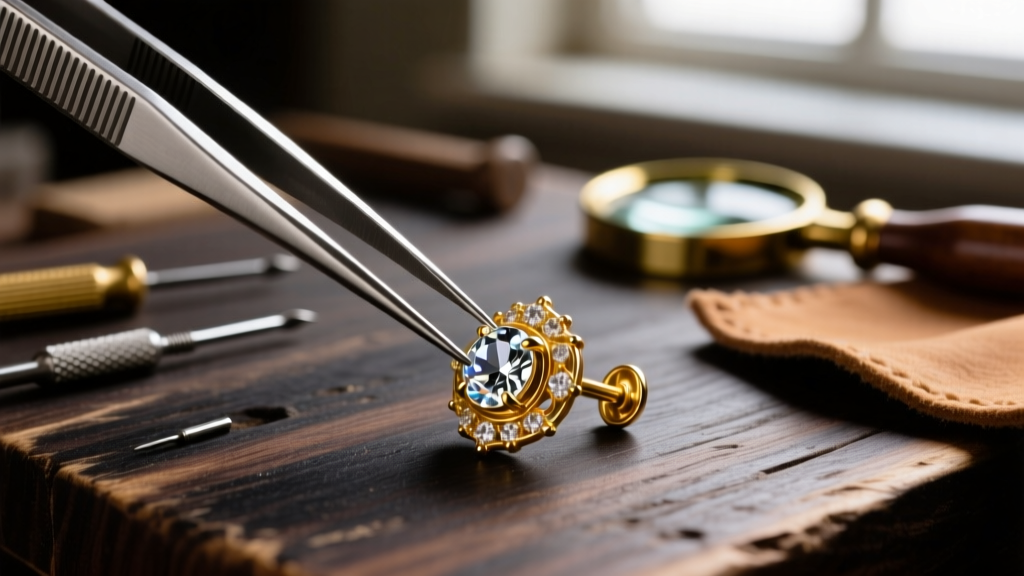
- Extracting the Old Stone: Use a sewing needle to gently lift the four metal prongs outward. Do not snap them off; pot metal prongs are brittle and will break if bent back and forth.
- Setting the New Stone: Drop the new foiled glass rhinestone into the setting. Using a bezel pusher or the flat side of a tweezers, gently fold the prongs back over the girdle of the stone.
- Adhesive Warning: Never use super glue (cyanoacrylate) near rhinestones. The fumes will cause a permanent white 'fog' on the glass surface. If adhesive is needed for a loose stone, use a tiny amount of E6000 applied with a toothpick, avoiding the foil backing entirely.
The Allergy Dilemma: Managing Base Metal Sensitivities
Because Goldette earrings are crafted from base metals plated with gold, wearers with nickel or copper sensitivities often experience contact dermatitis once the plating wears thin on the earring post or clip paddle. Re-plating vintage costume jewelry at home is virtually impossible without stripping the piece entirely.
Instead of attempting DIY electroplating, use barrier methods or convert the findings. Applying a specialized jewelry shield spray or a hypoallergenic clear coating (like Eurolac) to the parts of the earring that touch the skin can provide a temporary barrier. However, for a permanent solution, converting the earrings to modern, hypoallergenic posts is the most effective route.
| Issue | Root Cause | Expert Solution | Tools Required |
|---|---|---|---|
| Sticky Screw-Back Pad | Rubber degradation over time | Dissolve with 91% alcohol, replace with silicone pad | Cotton swabs, GS Hypo Cement, 3mm silicone pads |
| Cloudy/Black Rhinestone | Foil backing oxidation (desilvering) | Remove stone, source exact mm match, reset prongs | Digital caliper, sewing needle, bezel pusher |
| Skin Irritation / Rash | Base metal (nickel/copper) exposure | Apply hypoallergenic barrier or convert to titanium post | Eurolac jewelry shield, laser welder (for conversion) |
| Flaking Gold Tone | Moisture trapped under plating | Do not polish; stabilize with micro-crystalline wax | Renaissance Wax, soft camel-hair brush |
Cleaning Protocols: What Never to Do
The most frequent mistake collectors make is treating vintage Goldette earrings like modern fine jewelry. Never use ultrasonic cleaners, steam cleaners, ammonia, or alcohol-based jewelry dips. These methods will instantly strip the gold wash and destroy the foil backing on the rhinestones.
For routine maintenance, rely on dry cleaning methods. Use a soft camel-hair makeup brush to gently dust away skin oils and cosmetic residue from the filigree work. If the metal is heavily soiled, use a barely damp microfiber cloth with a drop of pH-neutral dish soap (like Dawn) and distilled water. Dry the piece immediately with a hair dryer on the 'cool' setting to prevent water spots and moisture from seeping into the stone settings. For long-term storage and oxidation prevention, the Lang Antiques University recommends coating vulnerable base metal areas with a thin layer of micro-crystalline wax to seal out atmospheric moisture.
Conversion: Adapting Goldette Earrings for Pierced Ears
Many modern collectors prefer to wear their vintage Goldette pieces as pierced earrings. Converting screw-backs or clip-ons requires removing the original finding and attaching a new post.
Expert Warning: Do not attempt to solder a new sterling silver or titanium post onto a Goldette earring using a traditional jeweler's torch. The base metal is often a zinc alloy that will melt, bubble, or catch fire under high heat, and the torch will completely burn off the surrounding gold plating.
The only safe method for converting these earrings is laser welding. A professional jeweler with a laser welder can attach a flat-pad titanium or 14k gold post to the back of the earring using localized, low-heat pulses that will not damage the surrounding pot metal or melt the vintage gold wash. If laser welding is unavailable, you can carefully snip off the screw-back paddle using flush cutters, file the remaining nub smooth, and attach a new post using a high-strength, two-part jeweler's epoxy (such as J-B Weld Clear), though this is considered a semi-permanent repair rather than a permanent structural fix.
By understanding the specific metallurgical and mechanical quirks of the Goldette brand, you can successfully troubleshoot these common issues and preserve these mid-century masterpieces for decades to come.


