How to Clean, Polish, and Restore Earrings with Resin
Learn how to safely clean, polish, and restore yellowed or scratched earrings with resin using expert-approved wet sanding and polishing techniques.

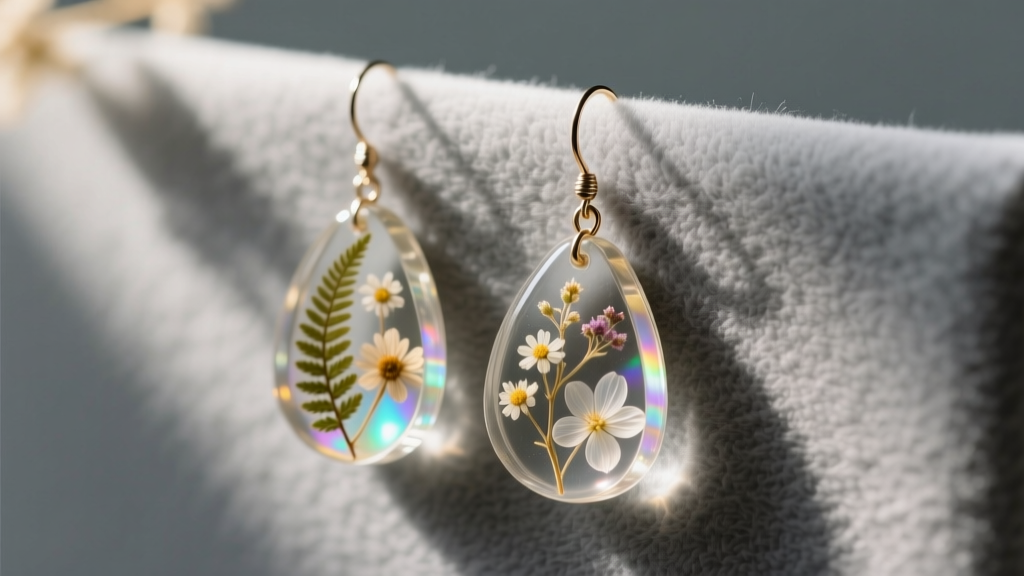
The Science of Resin Degradation: Why Your Earrings Fail
Earrings with resin offer unparalleled versatility, allowing artisans to encapsulate botanicals, pigments, and metallic foils in a lightweight, glass-like medium. However, resin is fundamentally a polymer, and its chemical structure makes it uniquely vulnerable to environmental stressors. Unlike gemstones that rank 7 or higher on the Mohs hardness scale, cured jewelry resin typically sits at a mere 2 to 3. This means everyday friction against hair, clothing, and skin oils will inevitably lead to micro-scratches, dulling the optical clarity of the piece.
Furthermore, photo-oxidation is the primary culprit behind yellowing. According to the polymer experts at Resin Obsession, the aromatic rings in standard epoxy resins absorb ultraviolet light, which breaks down the chemical bonds and forms chromophores—the molecules responsible for the yellow or brown tint. As of 2026, many premium jewelry makers use advanced HALS (Hindered Amine Light Stabilizers) and UV absorbers to delay this process, but no resin is entirely immune to long-term UV degradation. Understanding these material limitations is the first step in properly maintaining your collection.
Step-by-Step Guide: Daily Cleaning for Earrings with Resin
Routine cleaning is essential to prevent the buildup of sebum, dead skin cells, and cosmetic products, which can degrade the resin surface and tarnish the metal hardware. Never use ultrasonic cleaners; the high-frequency vibrations can easily shatter micro-fissures hidden within the resin or snap the delicate metal-resin glue bonds.
Expert Warning: Never use isopropyl alcohol, acetone, or commercial jewelry dips on resin. These solvents will instantly cloud the surface, cause severe micro-fractures, and permanently ruin the optical clarity of the piece.
The Safe Cleaning Protocol
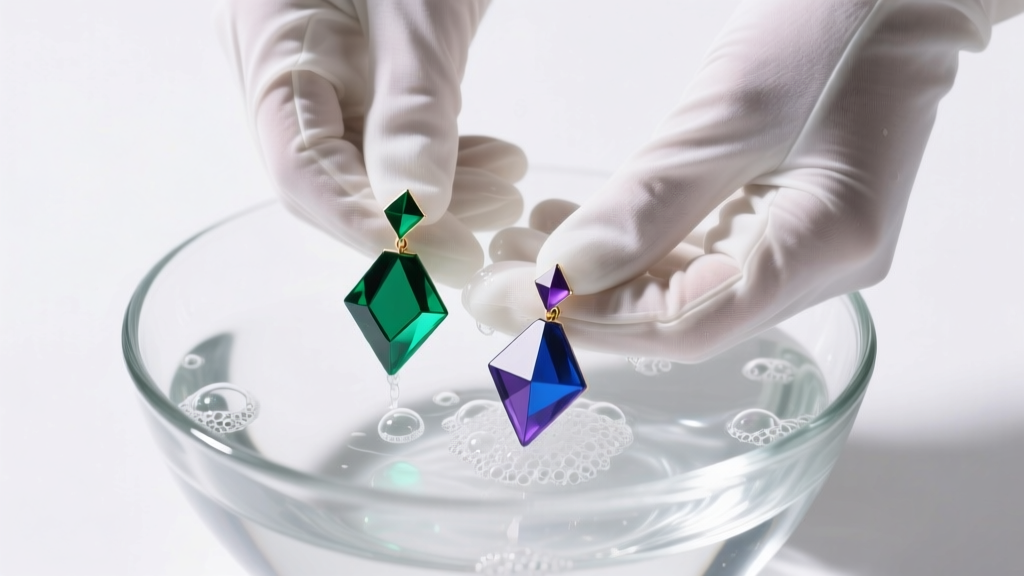
- Step 1: Prepare a cleaning bath using distilled water (to avoid hard water mineral deposits) and a few drops of pH-neutral dish soap, such as Dawn.
- Step 2: Submerge the earrings for no more than 3 to 5 minutes. Prolonged water exposure can weaken the adhesive bonding the metal posts to the resin.
- Step 3: Gently agitate the water. If debris is trapped in crevices, use an ultra-soft baby toothbrush to lightly sweep the surface.
- Step 4: Rinse under a gentle stream of lukewarm distilled water. Hot water can warp thin resin components.
- Step 5: Pat dry immediately with a lint-free microfiber cloth. Air drying will leave water spots that are difficult to buff out later.
Advanced Restoration: Removing Scratches and Yellowing
If your earrings with resin have already sustained surface scratches or minor cloudiness, simple cleaning will not restore them. You must mechanically remove the damaged top layer of the polymer and polish it back to a high-gloss finish. This process requires patience and the correct abrasive materials.
Phase 1: Wet Sanding the Surface
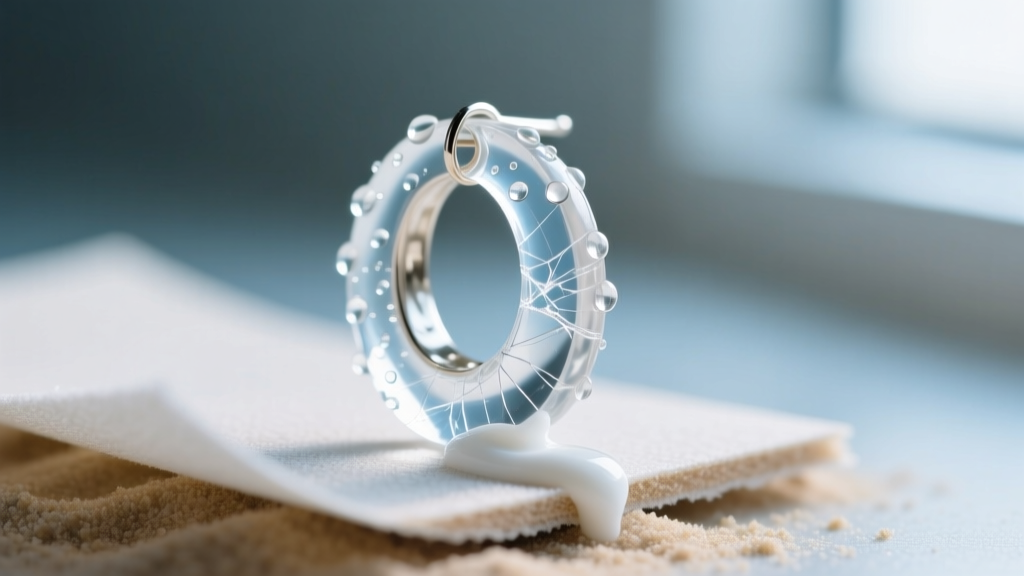
Wet sanding prevents the resin from overheating and melting, which can happen with dry sanding due to friction. You will need wet/dry silicon carbide sandpaper in progressive grits: 800, 1200, 2000, and 3000.
- Keep the sandpaper and the earring completely submerged or heavily misted with water.
- Start with 800-grit to sand out visible scratches. Sand in a single, consistent direction until the scratch is gone.
- Move to 1200-grit, sanding in a perpendicular direction to the previous step to ensure you are leveling the resin evenly.
- Progress to 2000-grit and finally 3000-grit. By the time you finish the 3000-grit stage, the resin should feel completely smooth and appear semi-glossy, even though it will still look slightly hazy.
Phase 2: Polishing to a Glass Finish
Sanding leaves microscopic abrasive marks that must be buffed out. Avoid standard metal polishes like Brasso, which contain harsh ammonia and abrasives designed for silver and gold. Instead, use a specialized plastic and acrylic polish like the Novus Plastic Polish Kit.
Apply Novus #2 (Fine Scratch Remover) to a clean microfiber cloth and buff the resin in tight, circular motions for 3 to 5 minutes per earring. For a final, mirror-like shine, follow up with a micro-crystalline wax or a dedicated resin finishing compound. This seals the microscopic pores of the polymer and restores the deep, glass-like refraction that makes resin jewelry so captivating.
Material Comparison: Epoxy vs. UV vs. Polyurethane Resin
Not all earrings with resin are created equal. The specific polymer used dictates how the earring will age, how it should be cleaned, and its structural integrity. Refer to the table below to identify your resin type and tailor your care routine accordingly.
| Resin Type | Mohs Hardness | Yellowing Risk | Best Earring Style | Specific Care Notes |
|---|---|---|---|---|
| Epoxy Resin | 2.5 - 3.0 | High (without UV inhibitors) | Large statement drops, botanical encapsulations | Highly sensitive to heat; never use hot water. Requires frequent UV-blocker sprays. |
| UV Resin | 2.0 - 2.5 | Moderate | Small studs, thin huggie coatings, delicate charms | More brittle than epoxy. Prone to chipping if dropped on hard surfaces. |
| Polyurethane | 1.5 - 2.0 | Low | Flexible hoops, lightweight geometric shapes | Highly moisture-sensitive during the curing phase, but very durable once fully cured. |
Protecting the Metal-Resin Bond and Hardware
The most common point of failure in resin earrings is not the polymer itself, but the junction where the metal hardware meets the resin. High-quality earrings with resin typically feature 18G or 20G titanium or surgical steel posts that are physically embedded into the resin during the liquid pouring phase. This creates a permanent, unbreakable mechanical bond.
However, mass-produced or budget-friendly resin earrings often rely on flat metal pads glued to the back of the cured resin using cyanoacrylate (super glue). According to guidelines from the Gemological Institute of America (GIA) regarding composite jewelry care, cyanoacrylate adhesives degrade rapidly when exposed to moisture and skin oils, eventually turning white, brittle, and failing completely. If a glued post pops off, do not attempt to reattach it with standard super glue. Clean both surfaces with a tiny amount of acetone (applied only to the metal pad, avoiding the resin), and reattach the post using a two-part, 5-minute clear epoxy adhesive, clamping it firmly for 24 hours.
Expert Storage Tips to Prevent Future Damage
Proper storage is just as critical as the cleaning process. To maximize the lifespan of your earrings with resin, implement the following archival storage practices:
- Light Deprivation: Store resin earrings in opaque, lined jewelry boxes or drawstring bags. Continuous exposure to ambient indoor lighting (which emits low levels of UV) will accelerate yellowing over months and years.
- Climate Control: Resin expands and contracts with temperature fluctuations. Avoid leaving your earrings in bathrooms where hot showers cause rapid humidity and temperature spikes, which can lead to internal stress fractures.
- Isolation: Never store resin earrings loose in a jewelry box alongside metal chains or gemstone rings. The harder materials will easily gouge the soft resin surface. Keep each pair in its own soft cotton pouch.
- Desiccant Packs: Include a small silica gel packet in your jewelry storage area to maintain a stable, low-humidity environment, protecting both the resin clarity and the metal hardware from tarnishing.
By understanding the chemical nature of the polymers and adhering to these meticulous cleaning and restoration protocols, you can ensure your resin earrings remain vibrant, crystal-clear, and structurally sound for years to come.


