Safe Earring Removal: How to Take Out Stuck Studs & Hoops
Master safe earring removal for stuck studs, threadless labrets, and hoops. Expert techniques, troubleshooting, and post-removal cleaning tips.

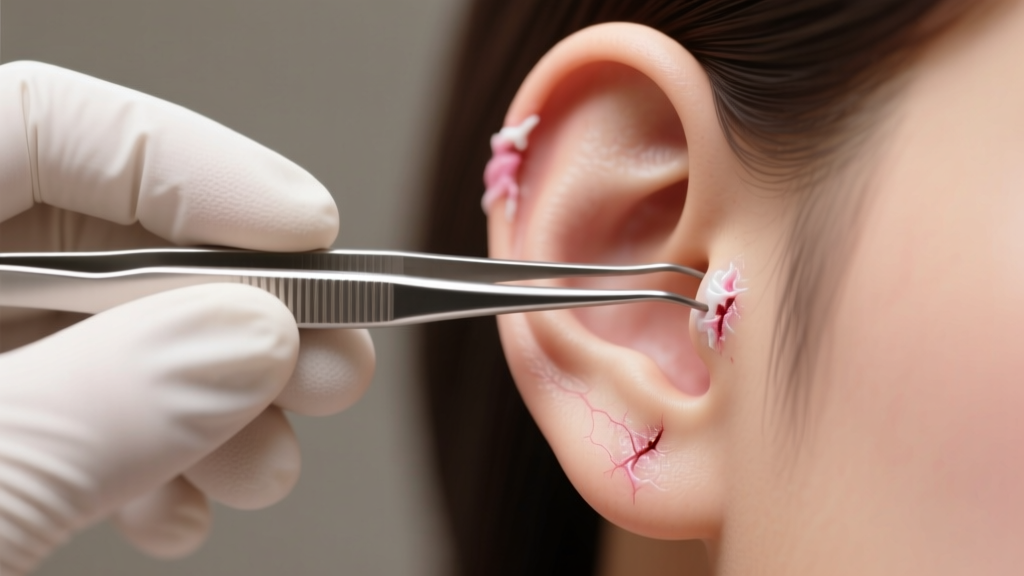
There are few things more panic-inducing in a jewelry lover’s routine than a piece of jewelry that simply refuses to come out. Whether you are dealing with a stubborn butterfly back on a classic diamond stud, a seized hinged segment ring in your helix, or a threadless labret that feels welded into your tragus, improper earring removal can lead to torn fistulas, damaged jewelry, and severe irritation bumps. In 2026, with the rise of complex cartilage curations and advanced body jewelry mechanics, understanding the specific physics and metallurgy behind your clasps is no longer optional—it is essential for maintaining both your piercing health and your investment in fine jewelry.
This comprehensive guide breaks down the exact techniques for safe earring removal across all major backing types, troubleshooting protocols for swollen or crusted piercings, and the professional-grade cleaning methods you should use once the jewelry is finally out.
The Mechanics of Stuck Jewelry: Why Earring Removal Fails
Before applying force, it is critical to understand why an earring becomes stuck. The causes generally fall into three categories: biological, mechanical, and metallurgical.
- Biological (Crusties and Swelling): During healing, or during periods of irritation, the body secretes lymph fluid that dries into a cement-like crust around the post. Furthermore, if you are wearing jewelry containing nickel or copper alloys, allergic contact dermatitis can cause the tissue inside the fistula to swell, effectively trapping the backing against the skin.
- Mechanical (Cross-Threading and Tension): Internally threaded jewelry can cross-thread if forced at an angle. Threadless (push-pin) jewelry relies on a precisely bent pin for tension; if inserted too deeply or bent too sharply, the friction lock becomes incredibly difficult to release without proper leverage.
- Metallurgical (Tarnish and Seizing): Lower-karat golds (10k or 14k) and sterling silver can oxidize or tarnish when exposed to sulfur, sweat, and hair products. This microscopic corrosion can cause friction backs and screw-in clasps to seize up over time.
Step-by-Step Earring Removal Techniques by Backing Type
Different jewelry styles require entirely different removal vectors. Using the wrong technique is the fastest way to damage a high-end piece from brands like BVLA or Maria Tasha.
Friction and Butterfly Backs
The standard butterfly back relies on a small metal scroll that grips the grooves of the earring post. Over time, skin oils and dead cells pack into these scrolls, creating a vacuum seal.
- Prep the Grip: Never use bare fingers if the backing is stubborn. Put on a pair of powder-free nitrile gloves. The nitrile provides immense tactile grip without introducing bacteria to the area.
- Stabilize the Front: Hold the front of the earring stud firmly between the thumb and index finger of your non-dominant hand to prevent twisting the post inside the piercing channel.
- The Wiggle-Pull: Do not pull straight back. Gently wiggle the butterfly back side-to-side (parallel to the earlobe) while applying slow, steady outward pressure. This breaks the vacuum seal of packed debris.
Threadless (Push-Pin) Jewelry
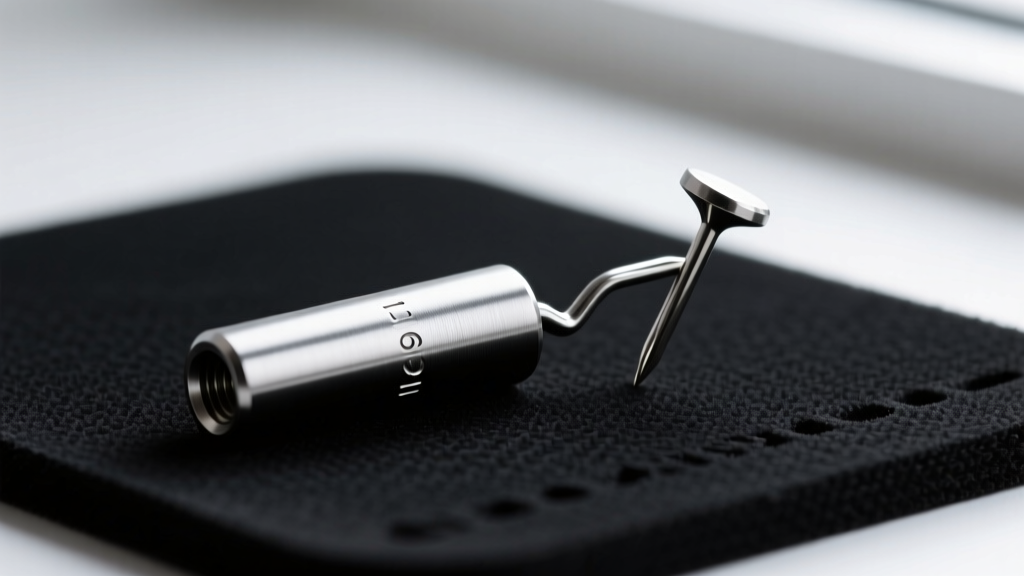
Threadless jewelry, widely considered the gold standard for cartilage and facial piercings, uses a bent pin that slides into a hollow post. The tension holds it in place.
- Locate the Seam: Identify where the decorative end meets the flat disc or post base.
- Apply Opposing Force: Grip the front gem and the back disc. Instead of pulling straight apart, apply a slight twisting and bending motion, as if you are trying to snap a twig. This relieves the tension bend on the internal pin.
- Pop and Slide: Once the tension releases, the end will pop out slightly. Pull the rest of the way straight out.
Internally Threaded Screw-Backs
High-end body jewelry often features internal threading, where the screw is on the post, and the hole is in the decorative end. This protects the fistula from sharp threads during insertion but can be tricky to remove if cross-threaded.
- Remember the Rule: Lefty-loosey (counter-clockwise). Always rotate the front decorative piece counter-clockwise while holding the back disc completely still.
- Address Cross-Threading: If it spins endlessly without backing out, it is cross-threaded. Stop immediately. Apply a tiny drop of sterile jojoba oil to the seam, let it sit for five minutes, and try gently turning it clockwise first to re-align the threads before turning counter-clockwise.
Troubleshooting: What to Do When an Earring Won't Budge
If the standard methods fail, do not resort to household pliers, which will crush precious metals and shatter gemstones. Instead, use these professional troubleshooting protocols.
The Warm Saline Soak
If lymph crust is the culprit, you must dissolve it. Mix a sterile 0.9% sodium chloride solution (or use a pre-packaged sterile wound wash). Saturate a clean, non-woven gauze pad and hold it against the front and back of the earring for 5 to 10 minutes. The warmth and salinity will soften the biological cement. Never use table salt, as the iodine and anti-caking agents will severely irritate the fistula.
The Shower Steam Method
For hinged segment rings or clickers that are stuck due to dried sebum in the hinge mechanism, take a hot shower. The steam and heat cause the metal to expand microscopically and soften the sebum. Once out of the shower, dry your hands, use a paper towel for grip, and gently push the hinged segment out from the inside of the hoop.
When to See an APP-Certified Piercer
If the earring is embedded in swollen tissue, or if a friction back has been pushed too far up the post and is cutting off circulation to the earlobe, cease all earring removal attempts immediately. Visit a professional piercer certified by the Association of Professional Piercers (APP). They possess specialized, sterilized hemostats and taper tools designed to safely cut or extract embedded jewelry without causing tissue lacerations.
Earring Backing Removal Comparison Chart
| Backing Type | Common Gauge Range | Primary Removal Vector | Most Common Failure Mode |
|---|---|---|---|
| Butterfly / Friction | 20G - 18G | Side-to-side wiggle + outward pull | Debris vacuum seal in the scroll |
| Threadless (Push-Pin) | 18G - 12G | Opposing twist/bend to relieve tension | Pin bent too sharply during insertion |
| Internal Thread | 16G - 10G | Counter-clockwise rotation of the front | Cross-threading from angled insertion |
| Hinged Segment | 18G - 14G | Pushing the segment outward from inside | Sebum locking the micro-hinge |
| Screw-in Flat Back | 18G - 16G | Counter-clockwise rotation of the back | Stripped threads from overtightening |
Post-Removal Care: Cleaning the Jewelry and the Fistula
Once the earring removal is successful, the maintenance process begins. Leaving a piercing empty for too long can cause the fistula to shrink, especially in cartilage piercings less than a year old. If you are not immediately reinserting jewelry, keep a sterile glass or titanium retainer in the hole.
Ultrasonic Cleaning for the Jewelry
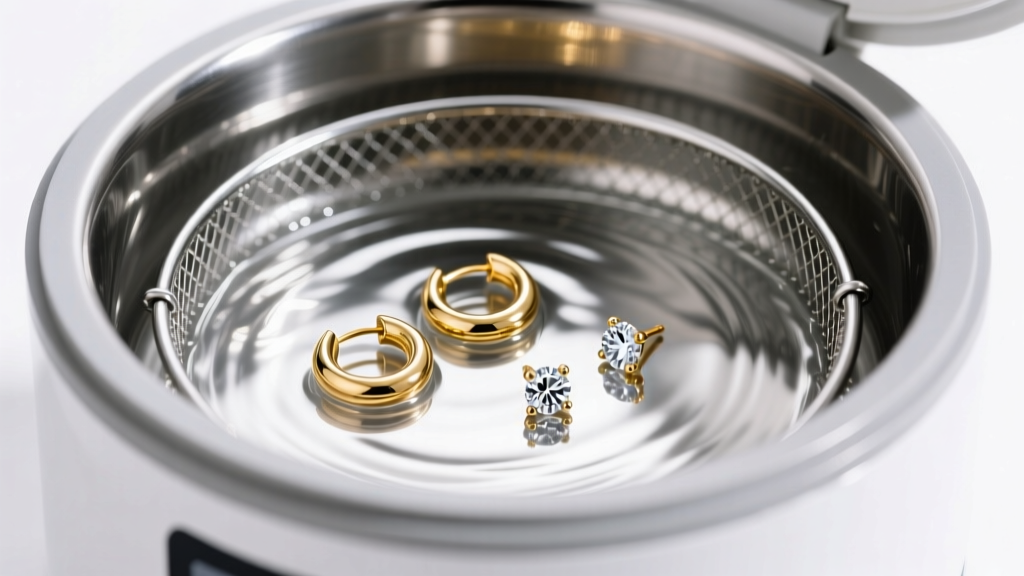
For solid 14k/18k gold, platinum, and implant-grade titanium (ASTM F136), a 40kHz ultrasonic cleaner is the most effective way to remove microscopic debris from clasps and gemstone settings. Fill the tank with distilled water and a single drop of mild, phosphate-free dish soap. Run a 3-minute cycle.
Warning: Never use ultrasonic cleaners on porous or fractured gemstones. Opals, turquoise, pearls, and emeralds can shatter or lose their luster under high-frequency vibrations. For these, refer to the specific care guidelines provided by the Gemological Institute of America (GIA) and clean only with a soft baby toothbrush and warm soapy water.
Caring for the Ear Tissue
After a difficult removal, the tissue inside the piercing channel is likely micro-traumatized. Spray the front and back of the piercing with sterile 0.9% saline wound wash twice a day for three days. Avoid applying harsh chemicals like rubbing alcohol, hydrogen peroxide, or tea tree oil, as these destroy the delicate new epithelial cells trying to repair the fistula wall. By combining patient, physics-based removal techniques with rigorous post-care hygiene, you ensure your piercings remain healthy, comfortable, and ready for your next curation.


