How to Put Earrings Back In Without Hurting: Expert Piercing Care
Learn how to put earrings back in without hurting your lobes or cartilage. Expert tips on cleaning, lubrication, and gauge sizing for painless reinsertion.

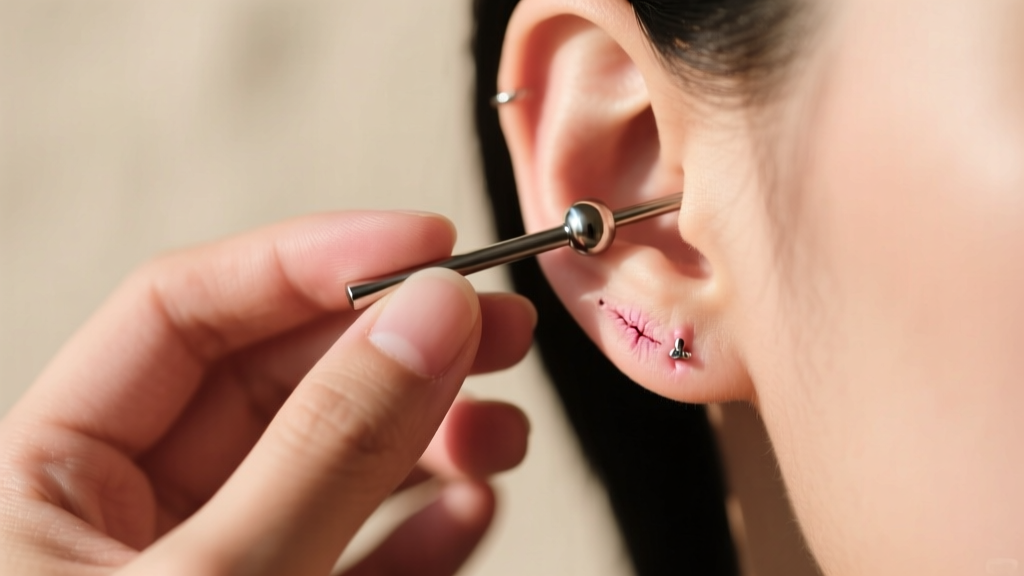
The Anatomy of a Stubborn Piercing Channel
Whether you removed your jewelry for an MRI, a surgical procedure, or simply because you were trying out a new sleep routine, reinserting earrings can quickly turn from a minor chore into a painful ordeal. Understanding how to put earrings back in without hurting your tissue requires a basic grasp of piercing anatomy. When a piercing heals, your body forms a fistula—a tube of scar tissue lined with epithelial cells. Unlike standard skin, this tunnel lacks the same elasticity and natural lubrication, making it highly susceptible to micro-tears, friction burn, and rapid shrinkage when left empty.
Cartilage piercings (like the helix, tragus, or conch) are particularly unforgiving. Because cartilage lacks its own direct blood supply, the fistula here is denser and less flexible than a fleshy earlobe. Forcing jewelry through a shrunken or dry cartilage channel doesn't just cause sharp pain; it can trigger hypertrophic scarring or severe irritation bumps that take months to resolve. The secret to painless reinsertion lies in preparation, lubrication, and respecting the original angle of the fistula.
Pre-Reinsertion Protocol: Cleaning and Prep
Before you even touch your jewelry, you must prepare both the tissue and the metal. Attempting to push a dry post through a dry fistula is the primary cause of reinsertion pain and subsequent bleeding.
1. Soften the Tissue
Apply a warm, sterile compress to the piercing site for 3 to 5 minutes. The gentle heat increases localized blood flow, which naturally softens the collagen in the scar tissue and encourages the fistula to relax and expand slightly. You can use a clean paper towel soaked in warm water or a dedicated sterile saline wound wash.
2. Clear the Debris
Piercings that have been empty for even a few hours can accumulate sebum, dead skin cells, and dried lymph fluid inside the channel. This creates a physical blockage. Dip a sterile cotton swab in sterile 0.9% sodium chloride saline solution and gently swab the entry and exit holes. Never use rubbing alcohol or hydrogen peroxide, as these aggressively dry out the delicate epithelial lining, making it brittle and prone to tearing.
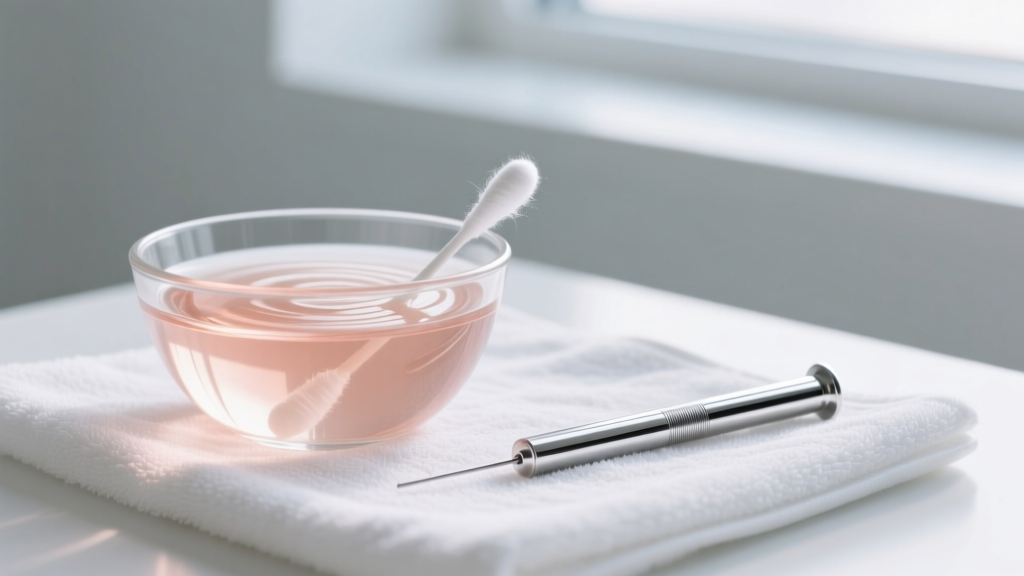
Step-by-Step: How to Put Earrings Back In Without Hurting
Once the area is clean and softened, follow this precise methodology to ensure a smooth, pain-free transition.
- Sanitize Your Hands and Jewelry: Wash your hands with an antibacterial, fragrance-free soap. Wipe down your earring post with a sterile alcohol prep pad (only clean the jewelry with alcohol, never the skin). Allow the alcohol to completely evaporate before insertion.
- Apply a Safe Lubricant: Coat the earring post with a piercing-safe lubricant. The gold standards are pure jojoba oil or vitamin E oil, as they closely mimic the body's natural sebum. Avoid petroleum jelly (Vaseline) or Neosporin, which are too thick, trap anaerobic bacteria inside the fistula, and can cause severe clogging and infection.
- Align the Angle: Piercings are rarely perfectly straight. Earlobes often heal at a slight downward tilt, while cartilage piercings follow the specific angle the piercer's needle took. Gently probe the entry hole with the tip of the earring to find the natural path. Do not push against resistance.
- The Taper Technique (For Cartilage & Tight Holes): If you are dealing with a 16-gauge or 14-gauge cartilage piercing that has shrunk, do not force the blunt edge of a ring or labret stud through. Use a surgical steel or titanium insertion taper. Lubricate the taper, slide it through the fistula to gently stretch the tissue back to its original gauge, and then immediately follow it with your jewelry.
- Use the Exit Hole as a Guide: Place your index finger behind your ear to locate the exit hole. Gently guide the tip of the earring toward your finger, using tactile feedback to ensure you aren't piercing the inner wall of the fistula.
Expert Warning: If you feel a sharp, stinging pain or encounter a hard "wall" of tissue, stop immediately. You are likely pressing against the side of the fistula or attempting to create a false passage. Remove the jewelry, apply a warm compress, and try again later or visit a professional piercer.
Troubleshooting Common Reinsertion Roadblocks
Even with the best technique, you may encounter physical barriers. Use this diagnostic table to solve specific reinsertion issues without causing trauma to your ear.
| Symptom / Barrier | Underlying Cause | Professional Solution |
|---|---|---|
| Earring goes in halfway, then stops abruptly. | Dried sebum plug or lymph crust blocking the mid-channel. | Remove earring. Use a warm saline soak for 5 minutes to dissolve the blockage, then re-lubricate and try again. |
| Sharp, burning pain upon entry. | Micro-tear in the fistula lining or using a scratched/low-quality earring post. | Switch to a mirror-polished, implant-grade titanium labret stud. Avoid butterfly backs or threaded posts that act like cheese-wire. |
| Jewelry feels incredibly tight; ear throbs after insertion. | Mild tissue shrinkage combined with post-insertion swelling. | Ensure you are wearing a post with adequate length (e.g., 5/16" instead of 1/4") to accommodate the immediate inflammatory response. |
| Cannot find the exit hole; metal pushes into soft tissue. | The fistula has shifted or the angle has warped due to sleeping pressure. | Do not force it. Visit a professional piercer who can use a sterilized taper and receiving tube to safely re-establish the channel. |
Material and Gauge Considerations for Sensitive Channels
Often, the pain associated with putting earrings back in isn't just mechanical friction—it's an immediate allergic or irritant response to the metal itself. When learning how to put earrings back in without hurting your ears, material science plays a massive role.
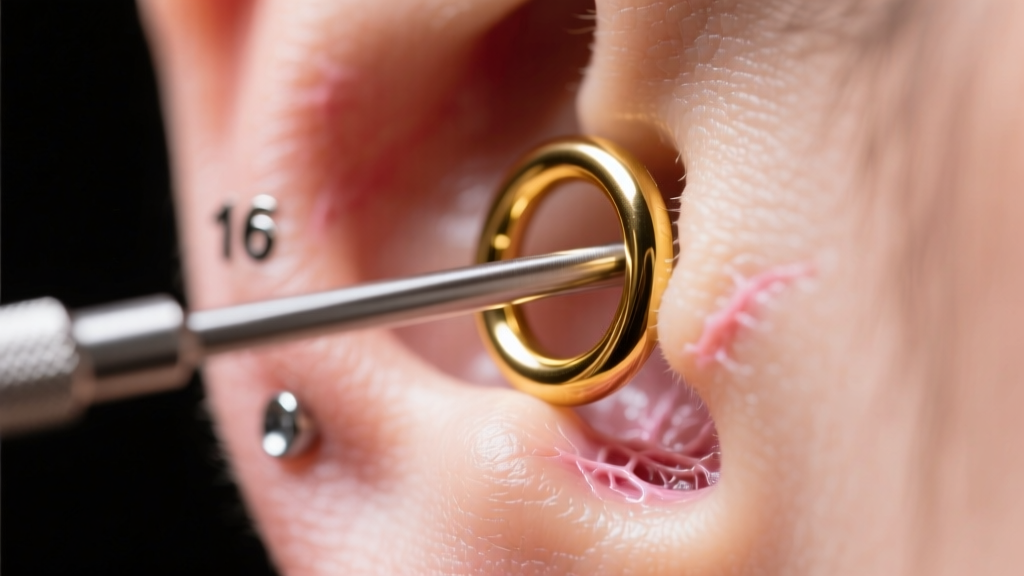
Why Implant-Grade Titanium is Non-Negotiable
If your piercing channel is freshly healed, shrunken, or irritated, you must use ASTM F-136 implant-grade titanium. Standard "surgical steel" (often 316L) contains up to 10% nickel. When you drag a nickel-containing post through a micro-abraded fistula, the nickel ions are deposited directly into the dermis, triggering contact dermatitis. This causes the tissue to instantly swell and grip the jewelry, making the insertion process agonizing and leading to a cycle of irritation bumps.
The Danger of Threaded Posts
Standard butterfly-back earrings feature external threading (the grooves are on the post itself). Pushing externally threaded jewelry through a tight fistula is like dragging a file across delicate tissue. Always opt for internally threaded or threadless (push-pin) jewelry for reinsertion. In these designs, the post is completely smooth, and the threading or pin mechanism is located on the decorative end or inside the post, ensuring zero internal abrasion.
Post-Reinsertion Aftercare
Once the jewelry is successfully in place, the care process isn't over. The fistula has just undergone minor mechanical stress and requires immediate soothing to prevent delayed swelling.
- Flush the Channel: Spray the front and back of the piercing generously with sterile saline to flush out the jojoba oil and any dislodged dead skin cells.
- Pat Dry: Use a non-woven gauze pad to gently pat the area dry. Avoid cotton balls or Q-tips, which can snag on the jewelry and leave fibers trapped in the healing channel.
- Downsize if Necessary: If you had to use a longer post to accommodate initial swelling, remember to return to your piercer in 2 to 3 weeks to downsize to a snug-fitting post. Leaving a long post in place increases the risk of the jewelry catching on hair or clothing, which can cause angle migration.
By treating your piercing channel with the same clinical respect as a minor surgical site, you eliminate the guesswork and pain from jewelry changes. Patience, proper lubrication, and high-quality titanium are your best tools for maintaining healthy, comfortable piercings for life.


