How to Clean Sculptural Earrings: Expert Care Guide
Learn how to safely clean and maintain sculptural earrings. Discover expert tips for polishing brass, silver, and gold without damaging delicate curves.

The Unique Challenge of Sculptural Earring Maintenance
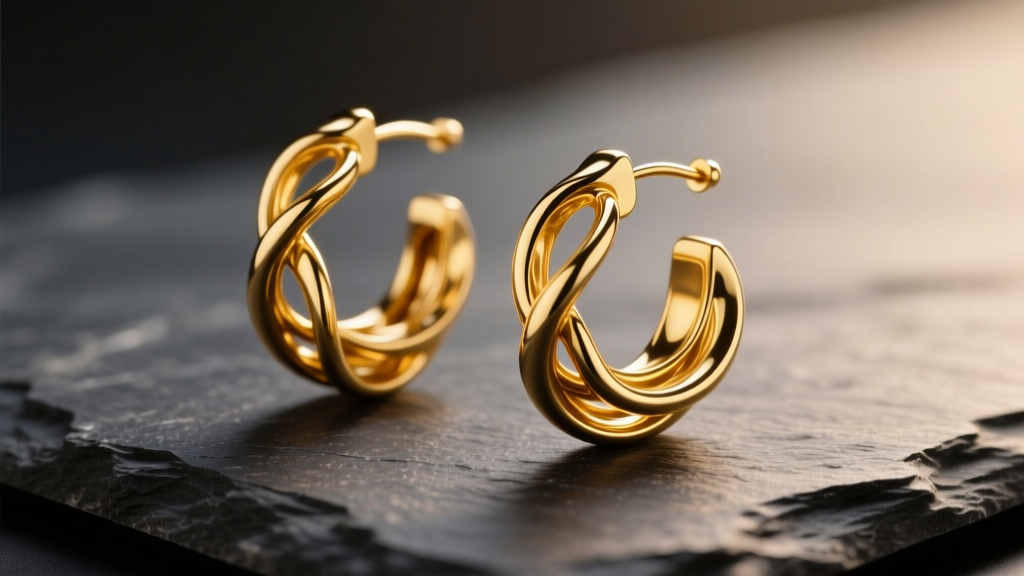
As we navigate the jewelry landscape of 2026, sculptural earrings remain a dominant force in contemporary styling. Characterized by their bold, three-dimensional geometries, organic curves, and deep recesses, these wearable art pieces require a highly specialized approach to maintenance. Unlike flat studs or simple hoops, sculptural earrings feature complex topographies that trap skin oils, cosmetic residue, and environmental pollutants in hard-to-reach crevices. Furthermore, the sweeping protrusions typical of these designs are highly susceptible to bending, snagging, and structural stress. Standard jewelry wiping methods are not only ineffective for these pieces but can actively cause damage. This comprehensive guide details the exact protocols jewelers use to clean, polish, and preserve the structural integrity of your most complex ear adornments.
Material Science: Understanding Your Earring's Composition
Before applying any cleaning agent, you must identify the base metal of your sculptural earrings. The chemistry of tarnish varies wildly between metals, and using the wrong solvent can permanently ruin a piece's patina or strip delicate gold vermeil layers. According to the Gemological Institute of America (GIA), understanding metal porosity and oxidation rates is the first step in safe jewelry care.
| Material | Tarnish Risk | Recommended Cleaning Agent | Agents to Strictly Avoid |
|---|---|---|---|
| Solid 14k/18k Gold | Low | Warm water, mild dish surfactant (e.g., Dawn) | Chlorine bleach, ammonia-based cleaners |
| Sterling Silver (925) | High (Silver Sulfide) | Wright's Silver Cream, specialized silver dip | Toothpaste (abrasive), hard-bristled brushes |
| Raw Brass / Bronze | Very High (Copper Oxide) | Lemon juice and baking soda paste, Brass dips | Ammonia (causes stress corrosion cracking) |
| Gold Vermeil / Plated | Medium (Wear Risk) | Microfiber cloth, mild soapy water (no soaking) | Ultrasonic cleaners, liquid silver dips, polishing cloths |
The Step-by-Step Cleaning Protocol for Complex Geometries
Cleaning sculptural earrings requires a multi-stage process designed to lift debris from deep valleys without applying lateral pressure to delicate peaks. Follow this exact sequence for optimal results.
Step 1: Dry Debris Extraction
Never apply water to dusty jewelry; this creates an abrasive mud that can micro-scratch high-polish finishes. Use a clean, dry, soft-bristled makeup brush (like a goat-hair blending brush) to gently sweep out loose dust, dead skin cells, and powder makeup from the deepest crevices of the sculpture.
Step 2: The Surfactant Soak
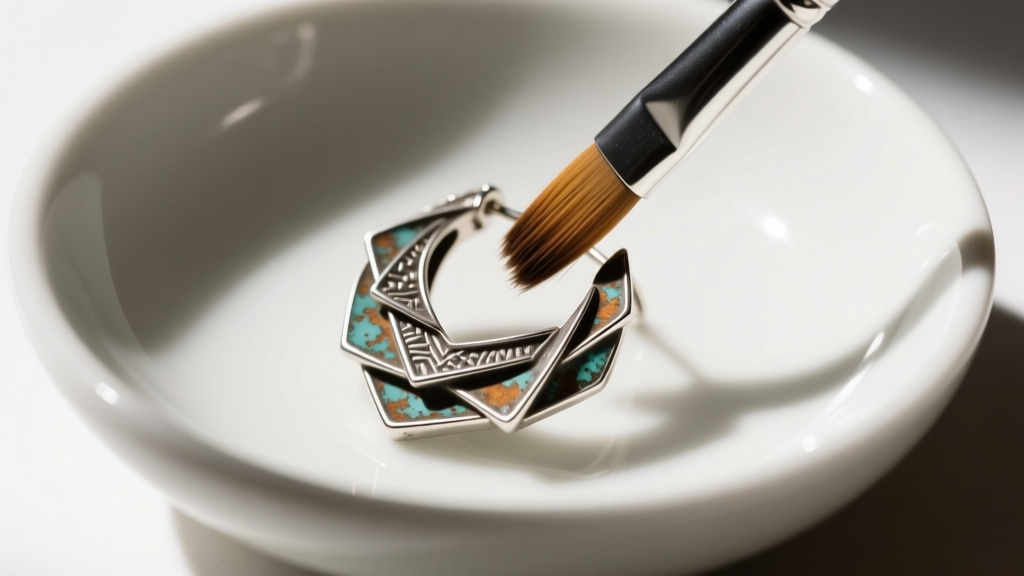
Prepare a lukewarm bath using distilled water and three drops of a mild, phosphate-free dish soap. Submerge solid gold or platinum sculptural earrings for exactly 5 to 7 minutes. This allows the surfactant to break the surface tension of trapped sebum and cosmetics. Note: Never submerge gold vermeil or pieces with porous stone accents like turquoise or opal.
Step 3: Targeted Agitation
Remove the earrings from the bath and use an extra-soft baby toothbrush. Do not scrub in wide circles. Instead, use a stippling motion (gentle tapping) to dislodge debris from textured or hammered surfaces. For deep, narrow grooves, a wooden toothpick or a cotton swab dampened with soapy water provides the necessary precision without risking metal abrasion.
Step 4: The Compressed Air Dry
Water spots are the enemy of a flawless finish, and towel-drying will leave lint trapped in sculptural valleys. Rinse the earrings under a gentle stream of distilled water, then immediately use a can of compressed air (held at least 6 inches away) to blast moisture out of the complex geometries. Finish with a hairdryer on the "cool" setting to ensure total evaporation.
The Ultrasonic Cleaner Trap: Why Vibration is Dangerous
Many jewelry enthusiasts assume that ultrasonic cleaners are the ultimate solution for intricate pieces. While high-frequency sound waves are excellent for dislodging dirt from diamond settings, they pose a severe threat to sculptural earrings. According to industry guidelines outlined by Jewelers Mutual, the intense microscopic vibrations can easily fatigue and fracture delicate solder joints. Because sculptural earrings often feature cantilevered elements and thin, sweeping wires attached via micro-soldering, an ultrasonic bath can literally vibrate these structural components apart. Furthermore, if your sculptural piece features a brushed or matte sandblasted finish, the cavitation process can inadvertently polish those textured areas, ruining the designer's intended contrast.
Polishing Without Destroying the Patina
Polishing a three-dimensional object requires specialized tools. Standard flat polishing cloths (like Cape Cod cloths) are infused with micro-abrasives and chemical polishes. While excellent for flat bands, they cannot reach into the concave curves of a sculptural earring, leading to a patchy finish where the high points are gleaming but the valleys remain heavily oxidized.
- For Solid Silver and Gold: Apply a small amount of liquid jeweler's rouge or specialized metal polish (like Flitz) to a tightly wound cotton swab. Work the swab into the grooves, applying minimal pressure. Wipe away the black oxidation residue immediately with a clean microfiber cloth.
- For Matte or Brushed Finishes: Do not use chemical polishes. Instead, use a clean, dry fiberglass scratch pen or a specialized matte-finishing pad to gently stroke the surface in the exact direction of the original grain. This restores the brushed look without adding unwanted shine.
- Preserving Intentional Patina: Many artisan sculptural earrings feature oxidized silver (blackened grooves) to highlight the 3D relief. Avoid liquid silver dips entirely, as they will strip this intentional contrast in seconds, leaving the piece looking flat and lifeless.
Structural Maintenance and Lobe Support
The physics of sculptural earrings often work against human anatomy. Because the weight is distributed away from the earlobe's center of gravity, these pieces exert a constant downward and outward torque on the piercing. This stress is concentrated at the solder joint where the earring post meets the main body.
Pro Tip: Inspect the solder joint at the base of the post every month. If you notice a visible hairline crack or if the post wiggles even slightly, stop wearing the earring immediately and take it to a bench jeweler for a laser weld repair. Continued wear will result in the post snapping off entirely, often taking a chunk of the gold or silver with it.
To mitigate lobe tearing and drooping, invest in silicone earring support patches (such as LobeWonder). These adhesive pads distribute the weight of heavy sculptural brass or bronze pieces across a wider surface area of the earlobe. Additionally, check the gauge of your earring posts. Standard posts are 20-gauge (0.81mm), but for heavy sculptural designs, you should seek out pieces with 18-gauge (1.02mm) or 16-gauge (1.29mm) posts to prevent the metal from bending under its own weight.
Strategic Storage for Wearable Art
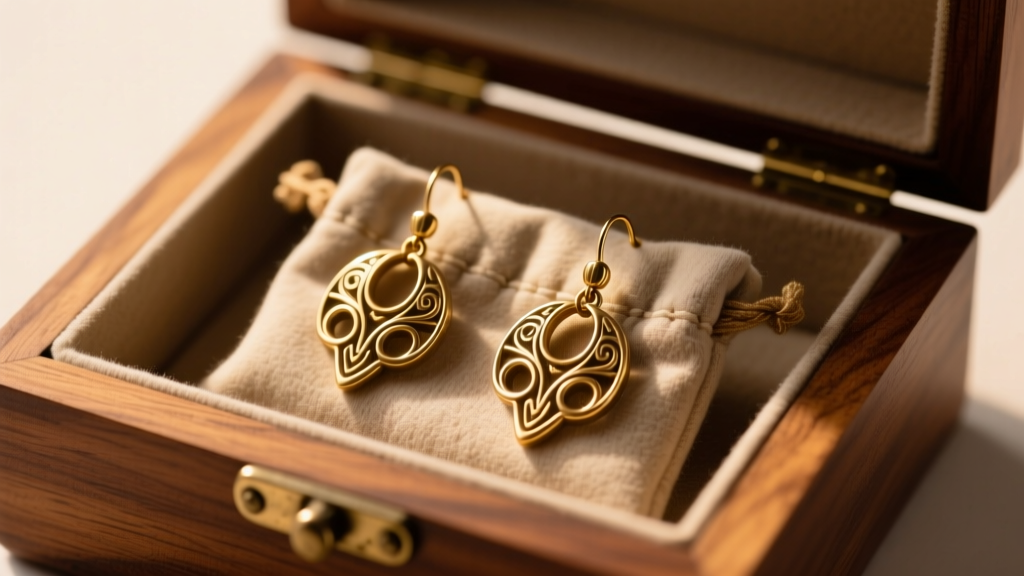
Never store sculptural earrings in a communal jewelry box. The sweeping curves and sharp angles will inevitably scratch neighboring pieces, or worse, become tangled and permanently warped. Each pair must be stored individually in an airtight, anti-tarnish polyethylene bag or a Pacific Silvercloth flannel pouch. Include a 3M anti-tarnish strip in the storage container to absorb ambient sulfur and moisture. Store them flat in a drawer rather than hanging them, as prolonged hanging can cause gravity to slowly distort delicate, work-hardened wire elements over time. By treating your sculptural earrings with this level of clinical care, you ensure their bold geometries remain as striking as the day they were cast.


