How to Apply Stick On Earrings Securely: Step-by-Step
Learn how to apply, secure, and safely remove stick on earrings with our step-by-step guide. Discover the best adhesives for sensitive skin and all-day wear.


The Science of Adhesion: Why Stick On Earrings Fall Off
Stick on earrings offer a brilliant, non-invasive alternative to traditional piercings, allowing you to wear everything from heavy crystal clusters to sleek ear cuffs without the commitment of a needle. However, the most common complaint among wearers is premature detachment. To understand how to secure stick on earrings effectively, we must first understand why they fail. The human skin is an active organ that continuously sheds dead cells and secretes sebum (natural oils). When an adhesive is applied directly over this microscopic layer of oil and dead tissue, it bonds to the debris rather than the structural layers of the epidermis. As the skin naturally flexes and the oils break down the glue's chemical bonds, the earring inevitably slips.
Furthermore, environmental factors such as high humidity and ambient temperature fluctuations can compromise water-based adhesives. In 2026, advancements in medical-grade cosmetic adhesives have largely solved these issues, but only if the application protocol is followed with clinical precision. Below, we break down the exact methodology used by special effects makeup artists and dermatological professionals to ensure your adhesive jewelry stays locked in place for up to 72 hours.
Choosing the Right Adhesive for Your Skin Type
Not all skin types react the same way to cosmetic glues. Selecting the correct adhesive is critical not only for hold time but also for preventing allergic contact dermatitis. According to the Mayo Clinic, acrylates and colophony are common culprits in adhesive-related skin reactions. Therefore, choosing hypoallergenic, medical-grade options is paramount.
| Adhesive Type | Best For | Max Wear Time | Removal Method | Brand Example |
|---|---|---|---|---|
| Water-Based Acrylic (e.g., Pros-Aide) | Normal to dry skin; heavy earrings | 24-48 Hours | Oil-based remover or Isopropyl Myristate | Pros-Aide Original |
| Silicone-Based (e.g., Telesis 5) | Oily skin; high humidity/sweat | 48-72 Hours | Silicone adhesive solvent | Telesis 5 Silicone Adhesive |
| Double-Sided Medical Tape (3M 1522) | Sensitive skin; lightweight studs | 12-24 Hours | Warm water and gentle peeling | 3M Double-Coated Medical Tape |
For most users wearing standard stick on earrings, a water-based acrylic polymer like Pros-Aide provides the best balance of flexibility, hold, and skin safety. The U.S. Food and Drug Administration (FDA) notes that medical-grade adhesives are specifically formulated to allow the skin to breathe while maintaining a secure bond, making them vastly superior to craft glues or standard lash adhesives, which should never be used on the ear.
The 5-Step Application Protocol
Achieving a multi-day hold requires a meticulous preparation and application process. Follow these steps exactly to maximize the longevity of your stick on earrings.
Step 1: Solvent Degreasing
Do not use standard 70% rubbing alcohol, as it contains 30% water and leaves a residue that inhibits adhesion. Instead, use 99% Isopropyl Alcohol (IPA). Saturate a lint-free cotton pad and firmly wipe the front and back of the earlobe or cartilage area. Allow it to air dry completely for 30 seconds. This strips away the sebum barrier and temporarily dehydrates the stratum corneum (the outermost skin layer), creating a pristine surface for the glue.
Step 2: Surface Abrasion (Optional but Recommended)
For heavy stick on earrings, lightly buff the cleaned skin with a dry, clean spoolie brush or a soft microfiber cloth. This creates microscopic texture on the skin, increasing the surface area for the adhesive to grip. Do not scrub hard enough to cause erythema (redness); a gentle buffing is all that is required.
Step 3: Adhesive Application and the "Tack" Window
Apply a thin, even layer of your chosen adhesive to the flat backing of the earring. If using a water-based acrylic like Pros-Aide, you must wait for the "tack" window. The glue will go on milky white and must dry completely clear. This usually takes 60 to 90 seconds. If you press the earring to your skin while the glue is still white or wet, the bond will fail immediately.
Step 4: The 60-Second Compression
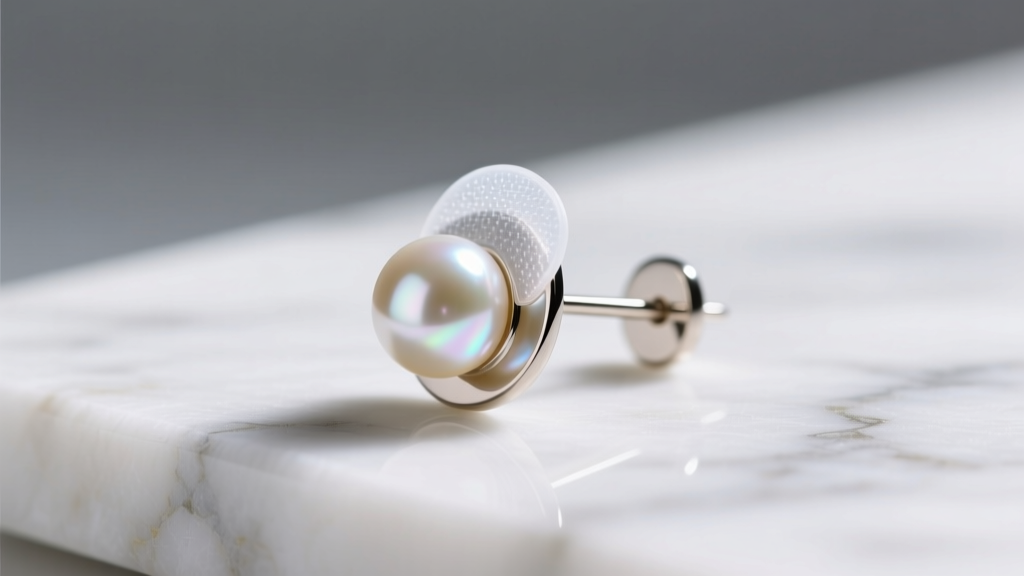
Once the adhesive is clear and tacky, press the earring firmly against the prepared skin. Apply steady, even pressure for a full 60 seconds. The body heat from your fingertips will help activate the polymers in the glue, encouraging them to cross-link with the skin's surface. Avoid wiggling or adjusting the earring during this time, as breaking the initial seal will introduce air pockets and weaken the hold.
Step 5: Sealing the Edges
For environments with high humidity, use a small, angled eyeliner brush dipped in a secondary sealing agent (or a tiny bit more of the original adhesive) to paint a microscopic seal around the perimeter of the earring backing. This prevents moisture from creeping under the edges and lifting the glue.
Cartilage vs. Lobe Placement Dynamics
It is vital to recognize that stick on earrings behave differently depending on their placement. The earlobe is composed of soft tissue and fat, which conforms easily to flat earring backings, creating a wide, secure bond. Cartilage, however, is rigid, curved, and subject to higher tension from facial movements (like smiling or talking).
When applying adhesive ear cuffs or cartilage climbers, you must use a highly flexible silicone-based adhesive. Silicone polymers stretch and recover with the micro-movements of the ear, whereas rigid acrylics may snap or peel away from curved cartilage surfaces. Additionally, ensure the backing of the cartilage earring is contoured to match the natural curve of the helix or tragus; a flat backing on a curved ear will create leverage points that inevitably lead to detachment.
Environmental Troubleshooting: Humidity and Sweat
Even the best application can be challenged by extreme environments. If you are attending an outdoor summer event or living in a tropical climate, water-based adhesives will re-emulsify and fail. In these scenarios, you must switch to a silicone-based adhesive like Telesis 5. Silicone is entirely hydrophobic, meaning it repels water and sweat, maintaining its structural integrity even when you perspire. Keep blotting papers in your bag to gently dab sweat away from the perimeter of the earring without applying friction that could lift the edges.
Safe Removal and Epidermal Care
The most damaging part of wearing stick on earrings is not the application, but the removal. Ripping an adhered earring off the skin causes mechanical stripping of the stratum corneum, leading to micro-tears, redness, and compromised skin barriers. Always use a dedicated adhesive remover.
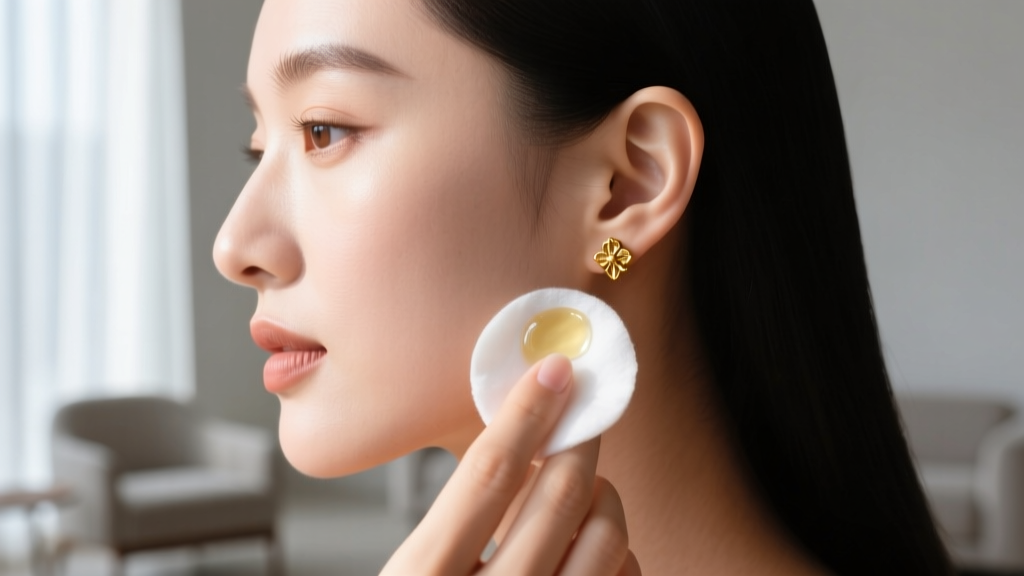
Apply an oil-based solvent, such as Isopropyl Myristate or a specialized medical adhesive remover, to a cotton swab. Hold the saturated swab against the edge of the earring backing for 30 seconds to allow the solvent to penetrate and dissolve the polymer chains. Gently slide the earring off sideways. Follow up by washing the area with a gentle, non-foaming cleanser and applying a barrier repair cream containing ceramides to soothe the skin and restore its natural lipid layer.
Expert Tip: Never use acetone or nail polish remover to take off stick on earrings. These harsh solvents will severely dehydrate the delicate skin of the ear and can cause chemical burns or intense contact dermatitis.
By treating the application of stick on earrings as a precise, multi-step cosmetic procedure rather than a quick fix, you unlock the ability to wear intricate, heavy, and stunning non-pierced jewelry with absolute confidence. Whether you are prepping for a wedding, a festival, or everyday wear, mastering this protocol ensures your jewelry stays exactly where it belongs.


