How to Secure and Style Ear Cuff Chain Earrings Flawlessly
Master the fit with our step-by-step guide to ear cuff chain earrings. Learn tension adjustments, material grades, and styling tips for any ear shape.

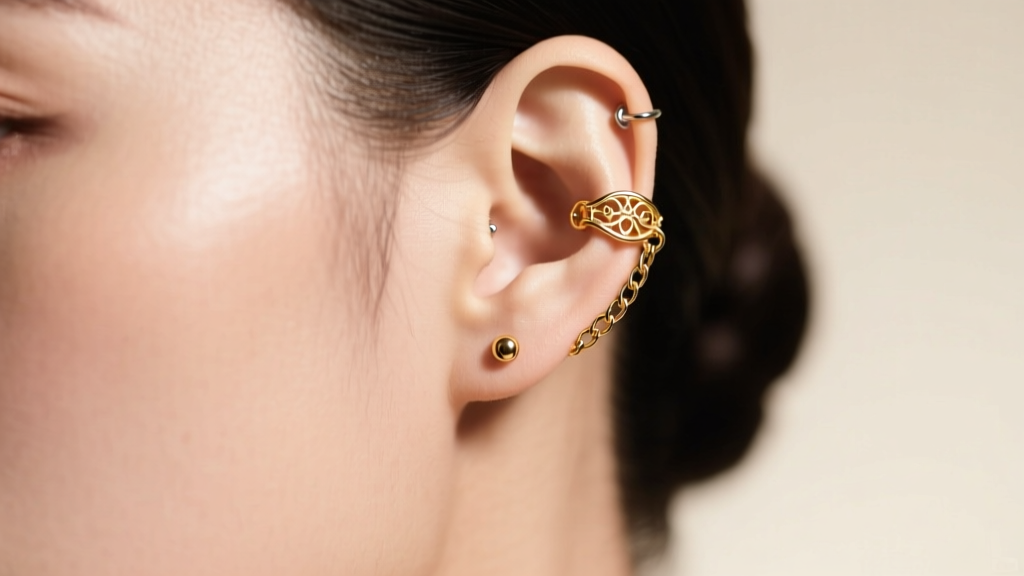
The Anatomy of Ear Cuff Chain Earrings
Ear cuff chain earrings offer the illusion of a complex, multi-piercing curated ear without the commitment of additional needles. However, as we navigate the jewelry landscape in 2026, the most common complaint from wearers remains the same: the cuff slips, the chain pulls, or the anchor falls out. To master this style, you must first understand its three critical components.
- The Anchor (Lobe Stud): The foundation of the chain. Butterfly backs are highly discouraged because they create a bulky, uneven surface that causes the chain to snag and pull.
- The Connector (Chain): Typically ranging from 25mm to 40mm in length. Box chains and rolo chains are superior to delicate cable chains, as their uniform links resist tangling in fine hair.
- The Tension Band (Ear Cuff): A semi-circular wire designed to grip the cartilage. The inner diameter and wire gauge dictate how securely it will hold onto your ear's anatomy.
Step-by-Step Guide to Fitting Your Ear Cuff Chain
Achieving a secure fit requires precision. Follow this exact sequence to ensure your ear cuff chain earrings sit comfortably and securely all day.
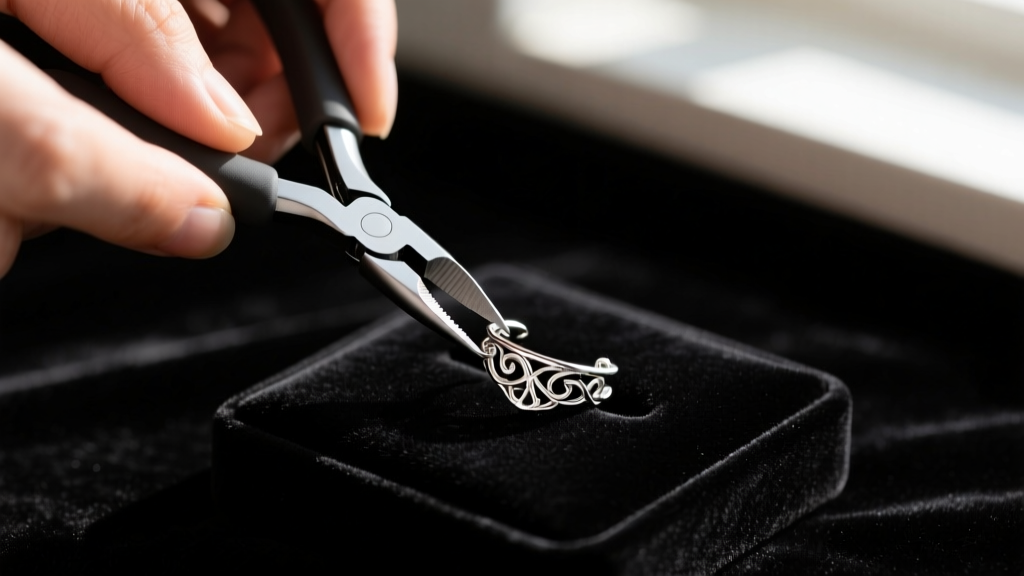
Step 1: Prep and Secure the Anchor
Begin with clean, dry skin. Oils from skincare products can cause the ear cuff to slide down the cartilage ridge. Insert a flat-back labret stud into your lobe piercing. Flat backs (available in internally threaded or threadless/push-fit styles) sit completely flush against the earlobe, providing a stable, snag-free starting point for the chain's jump ring.
Step 2: Map the Cartilage Resting Point
Do not place the cuff on the thickest part of the upper helix, as the tension will be insufficient to grip it. Instead, slide the cuff onto the scapha—the depressed, slightly thinner ridge of cartilage just inside the outer helix rim. This area provides a natural "valley" that prevents the cuff from sliding downward toward the lobe.
Step 3: Adjust the Tension
If the cuff feels loose, you must adjust the tension. Never use bare metal jewelry pliers, as they will scratch precious metals and damage the finish. Use silicone-tipped or nylon-jaw pliers. Gently squeeze the inner diameter of the cuff by no more than 0.5mm. Test the fit; it should slide on with mild resistance and require a deliberate pinch to remove.
Pro-Tip: If your chain features a removable lobster clasp instead of a fixed jump ring, always attach the clasp to the flat-back stud's post groove, not the decorative front of the earring, to maintain a flush profile.
Material & Gauge Specifications for Sensitive Ears
Because ear cuff chain earrings span across multiple zones of the ear, metal allergies can manifest quickly if you choose poor-quality alloys. The Association of Professional Piercers (APP) strictly recommends specific materials for prolonged cartilage contact. Below is a breakdown of what to look for when purchasing your set.
| Material | Grade / Standard | Ideal Wire Gauge | Tarnish & Allergy Risk | Estimated Price Range |
|---|---|---|---|---|
| Implant-Grade Titanium | ASTM F-136 | 18g (1.0mm) or 20g (0.8mm) | Zero (Highly Hypoallergenic) | $25 - $65 |
| Solid Gold | 14k or 18k (Nickel-Free) | 18g (1.0mm) | Very Low (Durable & Tarnish-Resistant) | $90 - $280 |
| Sterling Silver | 925 with Rhodium Plating | 20g (0.8mm) or 22g (0.6mm) | Moderate (Plating wears, requires polishing) | $15 - $45 |
According to the Gemological Institute of America (GIA), 14k gold offers the best balance of durability and malleability for tension-based jewelry like ear cuffs. Pure 24k gold is too soft and will lose its tension grip within days of wear, while 14k maintains its structural memory.
Troubleshooting Common Fit Issues
Even with high-quality materials, anatomical variations can cause fit issues. Here is how to troubleshoot the most common problems associated with ear cuff chain earrings.
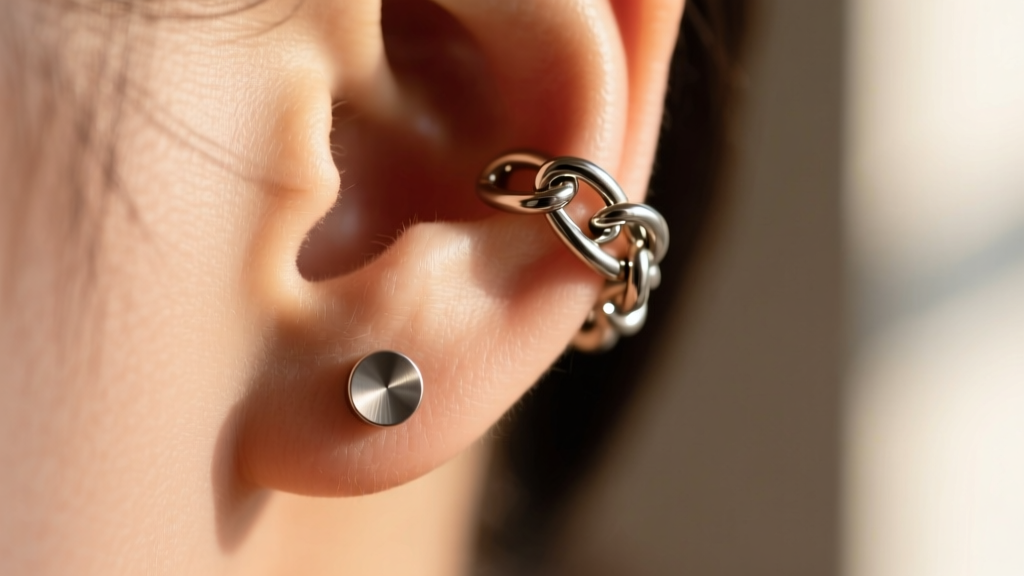
Problem: The Chain Pulls on the Lobe Piercing
The Cause: The chain is too short for the distance between your lobe and your chosen cartilage resting point, creating a taut line that drags the lobe stud upward.
The Fix: Measure the distance with a flexible tailor's tape. If your ear requires a 35mm span but your chain is 25mm, purchase a replacement chain extender. Alternatively, move the ear cuff lower down the helix ridge to reduce the gap.
Problem: The Cuff Constantly Slips Off
The Cause: The cartilage ridge is too thick for the cuff's inner diameter, or the metal has warped from body heat and repeated bending.
The Fix: Switch to a hinged ear cuff with a clickable clasp rather than a traditional tension band. Hinged cuffs lock into place and do not rely on the metal's tension to stay secure on thicker cartilage ridges.
Problem: The Chain Tangles in Hair
The Cause: Microscopic gaps in standard cable chains catch on fine hair cuticles.
The Fix: Swap the chain for a box chain or a snake chain. These feature tightly interlocked, smooth-surfaced links that allow hair to glide over them without snagging.
Styling Frameworks for Different Ear Shapes
Ear cuff chain earrings are not one-size-fits-all. Adapting your styling to your specific ear anatomy ensures both comfort and aesthetic harmony.
- For Compact Ears (Small Surface Area): Opt for ultra-fine 22g chains and minimalist, bezel-set gemstone cuffs. A massive chain will overwhelm a small ear and draw attention to the jewelry rather than the face. Keep the chain length under 25mm.
- For Prominent Ears (Protruding Cartilage): Use the chain to create a horizontal line that visually draws the eye inward toward the face. Connect a mid-helix cuff to an upper-lobe piercing rather than a standard lower-lobe piercing to create a tighter, more structured geometric look.
- For Deep Conchas (Large Inner Ear Bowl): You have the vertical real estate to support longer, draping chains (35mm+). Consider a double-chain setup where one chain connects to the helix and a second, shorter chain connects to the tragus, creating a cascading effect.
By treating your ear cuff chain earrings as a precision instrument rather than a simple accessory, you elevate your styling from temporary to transformative. Invest in the right tools, respect the metallurgy, and map your unique anatomy for a flawless, secure fit every time.


