How to Measure and Insert Rings for Earrings: A Step-by-Step Guide
Learn how to properly measure, select, and insert rings for earrings. Our step-by-step guide covers gauges, diameters, and pro insertion tips.

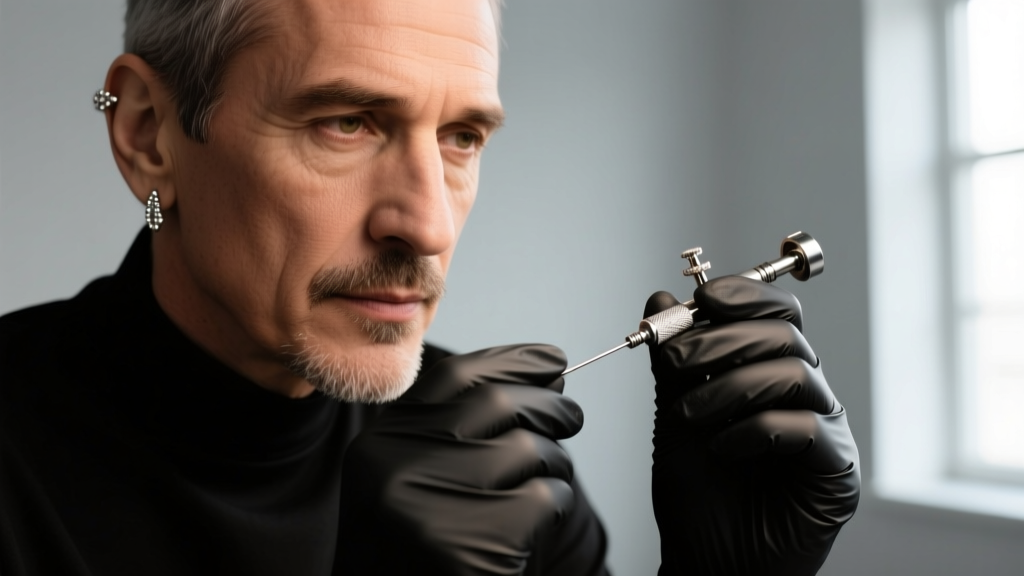
When transitioning from standard studs to hoops, or when managing complex cartilage placements, understanding how to properly select and handle rings for earrings is critical. Whether you are navigating a fresh daith piercing, upgrading a healed helix, or simply replacing a lobe hoop, the mechanics of ring-style jewelry require precision. Improper sizing or insertion techniques can lead to irritation bumps, tissue migration, and damaged jewelry components.
This comprehensive, step-by-step guide will walk you through the exact measurements, material grades, and professional insertion techniques required to safely wear and maintain rings for earrings across all ear anatomies.
Understanding the Anatomy of Rings for Earrings
Before attempting insertion, you must identify the specific mechanism of your jewelry. The term 'rings for earrings' encompasses several distinct structural categories, each requiring a different approach to opening and closing.
Captive Bead Rings (CBRs)
CBRs rely on the natural tension of the metal ring to hold a small bead in place. The bead features two shallow dimples that align with the rounded ends of the ring. Because the tension must be strong enough to prevent the bead from dislodging during sleep or hair brushing, CBRs are notoriously difficult to open and close with bare hands.
Hinged Segment Clickers
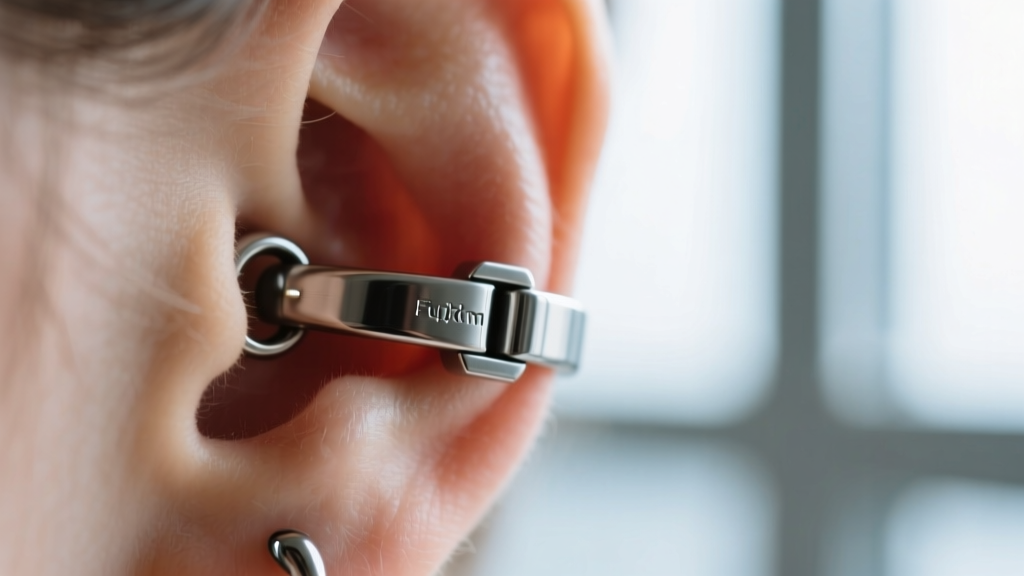
Clickers feature a hinged segment that snaps into a receiving groove, producing an audible 'click'. These are the gold standard for daith, rook, and septum piercings because they eliminate the need to manipulate tiny beads and offer a seamless appearance when closed.
Seamless and Continuous Rings
These rings feature a subtle split where one end (the pin) slides into the hollow tubing of the other end. They offer a flawless look but require careful lateral twisting to open; pulling them apart vertically will permanently warp the metal.
Step 1: Measuring Your Inner Diameter and Gauge
The most common failure point when purchasing rings for earrings is confusing outer diameter with inner diameter. Professional body jewelry is always measured by its inner diameter (ID)—the empty space inside the ring. If you measure the outside of the hoop, you will end up with a ring that is too tight, causing pressure necrosis on the piercing channel.
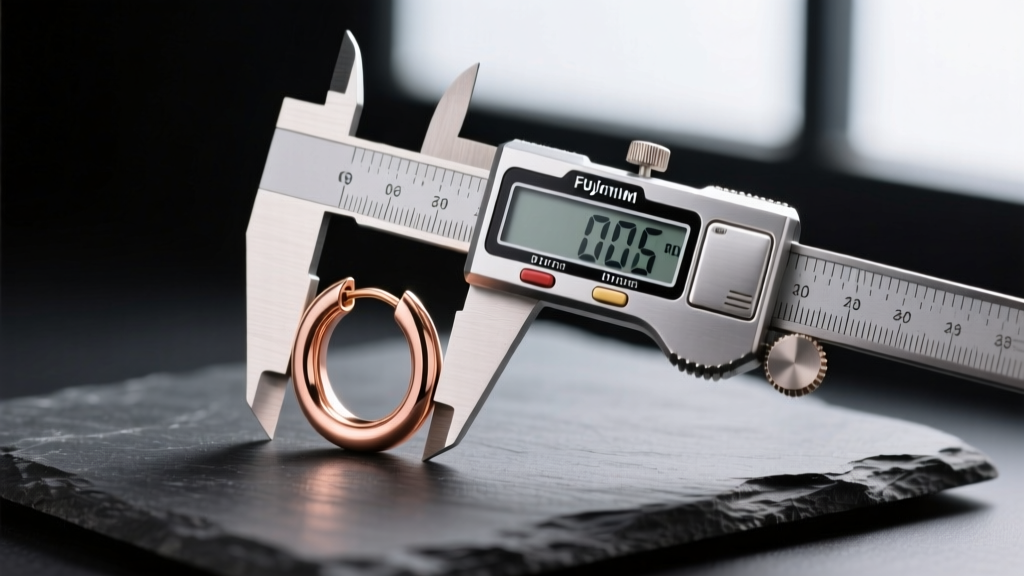
To measure accurately, use a digital caliper. Place the jaws inside the ring and expand them until they touch the inner edges. For gauge thickness, measure the straight wire of the ring before it curves.
| Piercing Placement | Standard Gauge | Standard Inner Diameter | Recommended Ring Style |
|---|---|---|---|
| Standard Lobe | 20G - 18G | 8mm - 10mm | Seamless Hoops, Clickers |
| Helix / Outer Cartilage | 16G | 6mm - 8mm | Captive Bead Rings, Clickers |
| Daith | 16G | 10mm - 12mm | Hinged Segment Clickers |
| Rook | 16G | 6mm - 8mm | CBRs, Curved Barbells |
| Conch | 14G - 16G | 12mm - 16mm | Large Diameter CBRs |
Step 2: Selecting the Right Material Grade
The ear's cartilage and lobe tissues are highly reactive to porous metals and nickel alloys. When selecting rings for earrings, especially for long-term wear or fresh piercings, material integrity is non-negotiable.
Expert Standard: Always look for jewelry certified as ASTM F-136 Implant-Grade Titanium. This specific alloy contains zero nickel and is polished to a mirror finish (usually under 0.2 µm Ra), which prevents bacterial adhesion and promotes rapid tissue healing. According to the Association of Professional Piercers (APP), commercial 'surgical steel' is unregulated and frequently triggers contact dermatitis.
If you prefer the look of silver or gold, opt for Niobium (which is highly biocompatible and can be anodized to various colors) or 14k/18k solid palladium white gold. Avoid silver-plated or gold-filled rings, as the friction of a ring rotating through the fistula will eventually wear away the plating, exposing the reactive base metal underneath.
Step 3: Step-by-Step Insertion Techniques
Inserting rings for earrings requires sanitized hands, proper lighting, and the right tools. Never use your teeth or unpadded pliers to manipulate jewelry, as this will scratch the metal and introduce oral bacteria to the piercing site.
How to Insert a Captive Bead Ring (CBR)
- Sanitize: Wash your hands and wipe the ring and bead with a sterile saline solution or 70% isopropyl alcohol.
- Open the Ring: Use specialized ring opening pliers. Insert the tapered tips into the center of the ring and gently squeeze the handles to expand the gap just wide enough to clear the piercing channel.
- Insert: Slide the ring through the fistula. If you meet resistance, do not force it; the inner diameter is likely too small, or the angle of the piercing requires a taper tool to guide it.
- Seat the Bead: Align one dimple of the bead with one end of the ring. Use ring closing pliers (with rubber-coated jaws) to gently compress the ring until the second dimple snaps over the opposite end. Tug lightly to ensure the tension is secure.
How to Insert a Hinged Clicker
- Pop the Hinge: Use your thumbnails to catch the tiny lip opposite the hinge and snap the segment open.
- Thread the Ring: Guide the blunt pin end through the piercing. For daith piercings, bending the ear backward slightly can provide better access to the angle.
- Close and Verify: Push the hinged segment shut until you hear and feel a distinct click. Run your fingernail over the seam; it should feel completely flush. If it catches, the pin is not fully seated, which can harbor bacteria and irritate the tissue.
Troubleshooting Common Ring Insertion Failures
Even with perfect technique, you may encounter mechanical or anatomical issues. Here is how to diagnose and resolve the most common problems associated with rings for earrings.
- The 'Cheese-Cutter' Effect: If your ring is slowly migrating downward through the tissue, the gauge is too thin (usually 20G or 18G) combined with a heavy, large-diameter hoop. The thin wire acts like a cheese wire under the weight of the jewelry. Solution: Upsize to a 16G or 14G ring to distribute the pressure across a wider surface area of the fistula.
- CBR Bead Keeps Falling Out: This indicates a loss of metal tension, usually caused by repeatedly opening the ring too wide with bare hands. Solution: Use ring closing pliers to gently squeeze the ring back into a perfect circle, restoring the outward tension against the bead.
- Clicker Won't Snap Shut: Debris (such as dried saline or dead skin cells) is likely lodged in the receiving groove, or the pin is slightly bent. Solution: Soak the jewelry in warm distilled water to dissolve the debris. If the pin is bent, do not attempt to bend it back, as this weakens the metal; replace the clicker.
- Piercing Irritation After Switching to a Hoop: Rings rotate freely, dragging external bacteria and hair products into the healing channel. The American Academy of Dermatology (AAD) notes that excessive movement is a primary cause of delayed healing. Solution: Wait until the piercing is 100% healed and past the remodeling phase (often 9-12 months for cartilage) before switching from a flat-back labret to a ring.
Final Thoughts on Ring Maintenance
Rings for earrings require more maintenance than stationary studs. Because they move constantly, they accumulate sebum and dead skin cells at the entry and exit points. Incorporate a daily wipe-down with a clean, non-woven gauze pad soaked in sterile saline. By respecting the precise measurements, utilizing professional-grade tools, and choosing biocompatible materials, you can enjoy the aesthetic versatility of ring-style earrings without compromising the health of your piercings.


