Spike Huggie Earrings: The Ultimate 2026 Buying Guide
Discover how to choose the perfect spike huggie earrings. Learn about gauge sizes, hypoallergenic metals, and styling tips for cartilage or lobes.

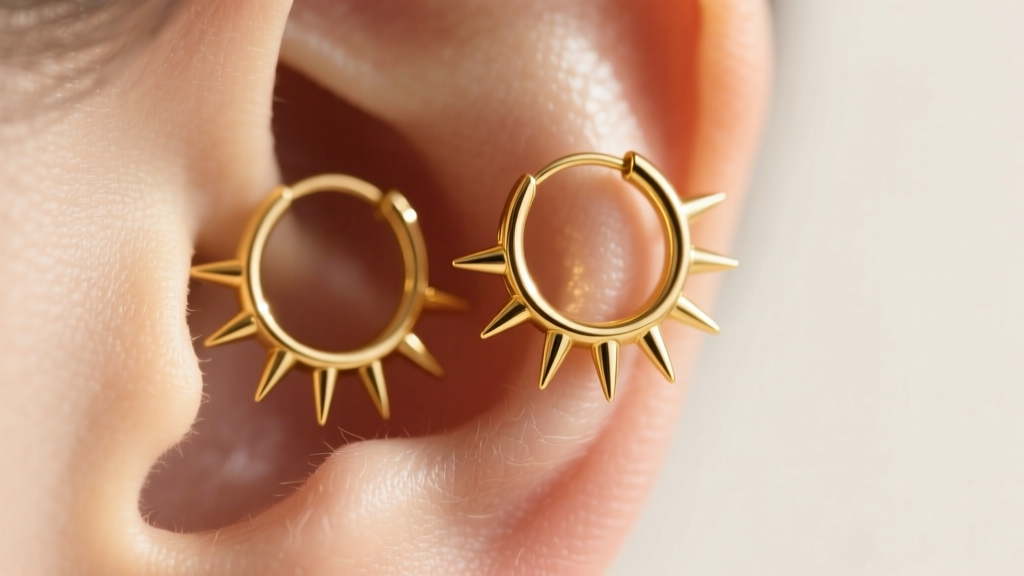
The Evolution of the Spike Huggie in 2026
Spike huggie earrings have successfully transitioned from underground punk-rock staples to refined, high-jewelry essentials. In 2026, the market is saturated with variations, but not all are created equal. Blending the edgy, architectural silhouette of a spike motif with the comfortable, continuous loop of a huggie hoop, these earrings offer a versatile aesthetic that bridges casual and formal wear. However, purchasing a high-quality pair requires a deep understanding of ear anatomy, metallurgical standards, and clasp engineering. This guide strips away the marketing fluff to provide a rigorous, expert-level framework for selecting spike huggies that are safe, durable, and perfectly fitted to your unique piercing geometry.
Metallurgy & Material Grades: What Touches Your Skin
The most critical factor in buying any body jewelry is the material composition. Because spike huggies sit snugly against the skin and trap moisture, the metal must be highly biocompatible. According to the Association of Professional Piercers (APP), only specific implant-grade metals should be worn in prolonged contact with the skin, especially in cartilage piercings which are prone to irritation bumps.
Implant-Grade Titanium (ASTM F136)
For those with hyper-sensitive skin or those looking to wear spike huggies in newer, healing cartilage piercings, ASTM F136 implant-grade titanium is the undisputed gold standard. It is entirely nickel-free, lightweight, and highly resistant to corrosion. In 2026, advanced anodizing techniques allow titanium to be finished in deep gunmetals, rose golds, and matte blacks without the use of toxic surface platings that can chip or flake over time.
Solid Gold Alloys: 14k vs. 18k
If you prefer the prestige and warmth of gold, you must understand the structural differences between karats. While 18k gold (75% pure gold) offers a richer yellow hue, it is a softer metal. For spike huggies, which feature protruding elements that can catch on hair or clothing, 14k solid gold is often the superior choice. The higher alloy content (usually mixed with copper, silver, and zinc) provides greater tensile strength, ensuring the spikes do not bend and the hinge mechanisms do not warp under stress. Always verify that the gold alloy is explicitly labeled "nickel-free," as cheap white gold alloys frequently use nickel as a whitening agent, a known trigger for severe contact dermatitis as noted by the Mayo Clinic.
Avoid: "Surgical Steel" (316L) and gold-plated brass. 316L steel contains up to 14% nickel, which can leach when exposed to sweat, while plating on brass will inevitably wear through, exposing the skin to reactive base metals.
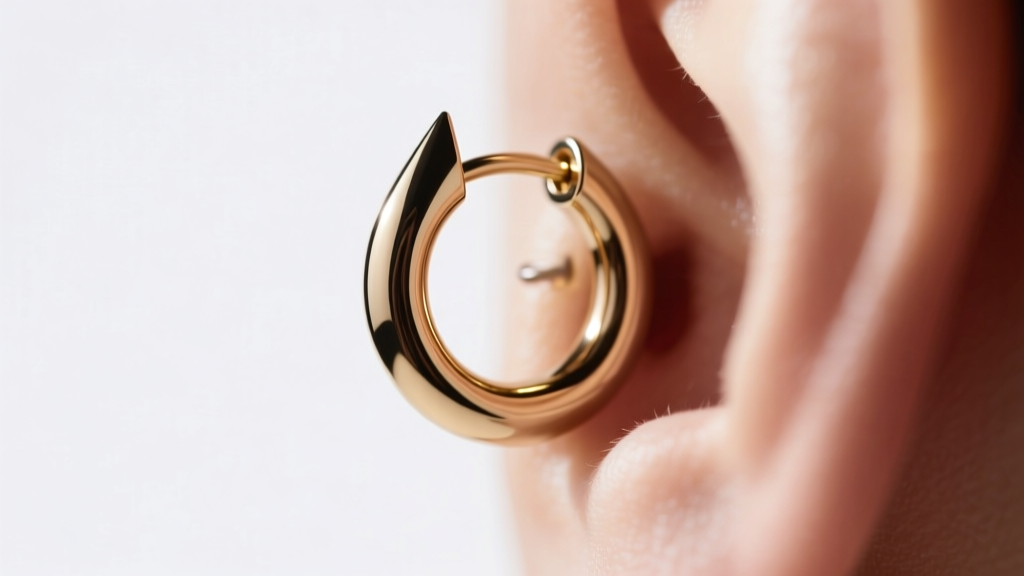
Sizing Framework: Gauge and Inner Diameter (ID)
A huggie is designed to "hug" the ear tissue closely. If the Inner Diameter (ID) is too small, the jewelry will cause pressure necrosis or force the piercing channel to migrate. If the ID is too large, it loses the huggie aesthetic and the heavy spike motif will cause the hoop to swing and tilt awkwardly. Furthermore, the wire thickness (gauge) must match your piercing fistula to prevent the "cheese-cutter effect," where a thin wire slowly migrates through the tissue.
| Piercing Location | Recommended Gauge | Ideal Inner Diameter (ID) | Spike Weight Consideration |
|---|---|---|---|
| Standard Lobe | 18G (1.0mm) or 16G (1.2mm) | 10mm - 12mm | Moderate to Heavy (Lobes can support larger, statement spikes) |
| Helix / Cartilage | 16G (1.2mm) | 8mm - 10mm | Light to Moderate (Heavy spikes cause cartilage fatigue) |
| Tragus | 16G (1.2mm) | 6mm - 8mm | Very Light (Requires micro-spike designs to avoid catching) |
| Daith | 14G (1.6mm) | 10mm - 12mm | Heavy (Requires thick 14G structural support for the hoop) |
Measuring for the Perfect Fit
Do not guess your ID. Use a digital caliper to measure the distance from the center of your piercing hole to the absolute edge of your ear tissue. Add 1.5mm to 2mm to that measurement to allow for natural swelling and a comfortable "hug" without compression. For example, if the distance from your helix piercing to the edge of your ear is 7mm, an 8.5mm or 9mm ID spike huggie is your ideal target.
Clasp Engineering: Hinge vs. Clicker
The mechanism that secures the earring dictates both its longevity and its ease of use. In 2026, the market is dominated by two primary designs for spike huggies:
The Hinged Snap Clasp
This design features a permanent hinge on one side and a friction-fit snap closure on the other. Pros: Extremely easy to insert and remove, making it ideal for standard lobe piercings. Cons: The seam where the clasp meets the hoop can trap dead skin, sebum, and soap residue. Over time, the friction pin can wear down, leading to a loose closure that pops open when you brush your hair. When buying a hinged spike huggie, look for a "lock-in" audible click, indicating a precision-machined closure.
The Seamless Clicker (Segment Ring)
A clicker features a completely removable segment that snaps into place with a satisfying click, creating a nearly seamless continuous circle. Pros: No hinge to accumulate debris; offers a much cleaner, high-end aesthetic. Cons: Requires a specific technique to open. You must bend the ring slightly into a "C" shape to pop the segment out. If you twist or pull the ends apart laterally, you will warp the circular geometry, and it will never snap shut flush again. Clickers are highly recommended for cartilage piercings where hygiene and seamless aesthetics are paramount.
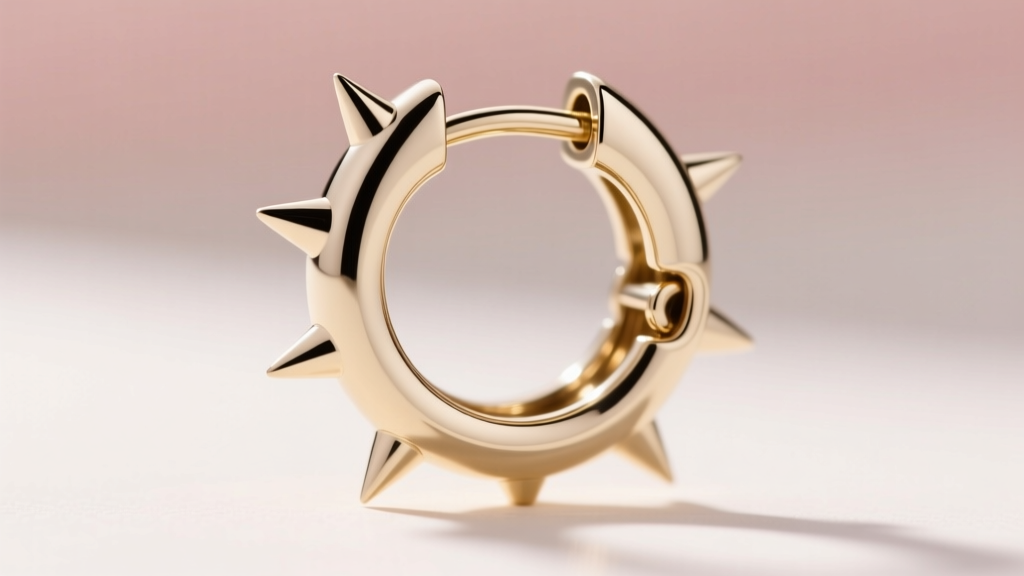
Styling & Stacking Protocols
The architectural nature of spike huggies makes them the perfect anchor for a curated ear stack. The key to styling in 2026 is contrasting textures and scaling proportions.
- The Lobe Anchor: Use a thicker, 12mm ID spike huggie with a matte or brushed finish on your primary lobe piercing. The matte finish absorbs light, making the sharp geometry of the spike stand out without looking overly flashy.
- The Helix Accent: Pair the heavy lobe huggie with a delicate, 8mm ID micro-spike huggie in high-polish gold on your helix. The contrast between the heavy matte base and the bright, sharp upper accent creates a cohesive but dynamic look.
- The Conch Balance: If you have a conch stud, ensure the spike on your helix huggie points in a complementary direction (usually upwards or outwards) to avoid visual clutter and physical snagging.
Troubleshooting Common Fit Failures
Even with careful purchasing, you may encounter mechanical or anatomical issues. Here is how to diagnose and solve the most common spike huggie failures:
1. The "Droop" or Tilt
The Problem: The spike motif is too heavy for the gauge of the wire, causing the hoop to rotate so the spike points downward or sideways instead of straight out.
The Fix: This is a manufacturing flaw regarding weight distribution. You cannot fix a poorly balanced huggie. Return it and look for a design where the spike is hollowed out slightly on the underside (CNC-milled) to reduce weight without sacrificing the visual volume.
2. The Snag Hazard
The Problem: The base of the spike, where it meets the hoop, has a sharp, unpolished 90-degree shoulder that constantly catches on hair loops or knit sweaters.
The Fix: Inspect the "solder joint" or transition zone. High-end jewelers will "fillet" or smooth this transition into a gentle curve. If your current pair snags, a professional jeweler can use a rubber polishing wheel to gently bevel the sharp inner edge of the spike base.
3. Cartilage Irritation Bumps
The Problem: A sudden bump appears behind your helix or flat piercing after wearing a new spike huggie.
The Fix: This is almost always caused by an ID that is too tight, creating localized pressure, or an angle mismatch where the rigid huggie forces the jewelry to sit at an angle against the fistula. Switch to a huggie with a 1mm larger ID and ensure you are using 16G implant-grade titanium until the tissue fully recovers.


