How to Sterilize Earrings at Home: Safe Methods for Every Metal
Learn how to sterilize earrings at home safely. Discover expert cleaning methods for titanium, gold, and silver to prevent infections and reactions.

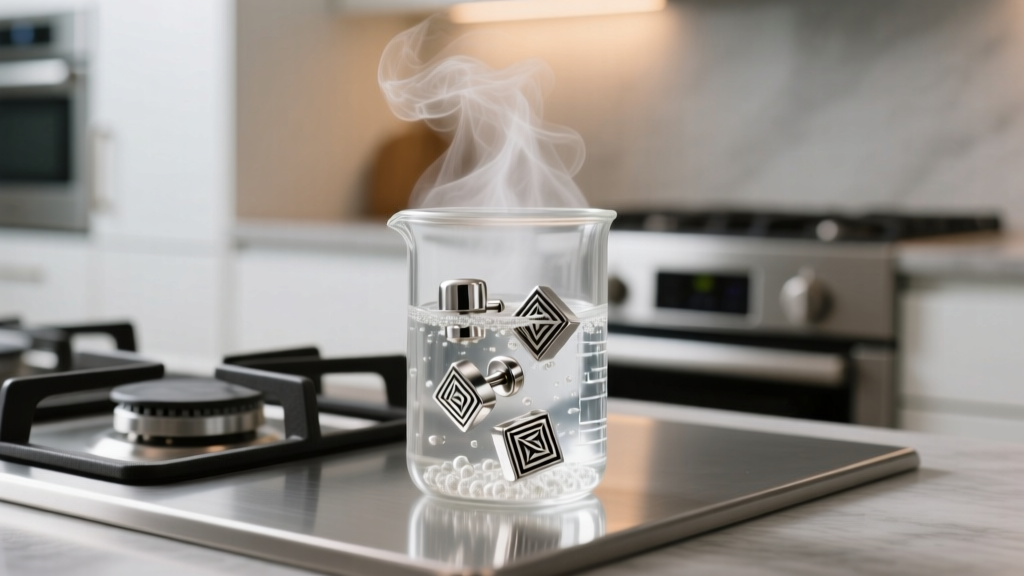
Whether you are swapping out your everyday 14k gold huggies for a fresh pair of titanium labrets or preparing to gift a vintage pair of sterling silver drops, knowing how to sterilize earrings at home is a critical skill for maintaining ear health. The human ear, particularly the cartilage-rich upper regions, is highly susceptible to bacterial and fungal infections when exposed to improperly sanitized jewelry. However, the internet is flooded with dangerous DIY hacks—like using harsh bleach or microwaving metals—that can permanently ruin your jewelry and damage your skin.
In this comprehensive troubleshooting guide, we break down the exact material science behind jewelry sanitation. We will cover the difference between true sterilization and high-level disinfection, provide a step-by-step boiling protocol, and outline which chemical agents will destroy specific metal grades and gemstones.
The Clinical Truth: Disinfection vs. Sterilization
Before submerging your favorite earrings in any liquid, it is vital to understand a key clinical distinction. According to the Association of Professional Piercers (APP), true sterilization—the complete destruction of all microbial life, including highly resistant bacterial spores—requires an autoclave. An autoclave uses pressurized steam at 121°C (250°F) for a sustained period.
Because autoclaves are expensive and impractical for household use, what we are actually performing at home is high-level disinfection. Boiling water (100°C / 212°F) will kill almost all common pathogens, including Staphylococcus aureus and Pseudomonas, which are the primary culprits behind earlobe infections and perichondritis (cartilage infections). However, for brand new jewelry going into a fresh, unhealed piercing, you should only use jewelry that has been commercially autoclaved. Home boiling is strictly for swapping jewelry in fully healed piercings or sanitizing your existing collection.
Material-Specific Sanitation Protocols
Not all earrings can withstand the same sanitation methods. The metallurgical composition and Mohs hardness of any inset gemstones will dictate your approach.
Implant-Grade Titanium (ASTM F136) & Niobium
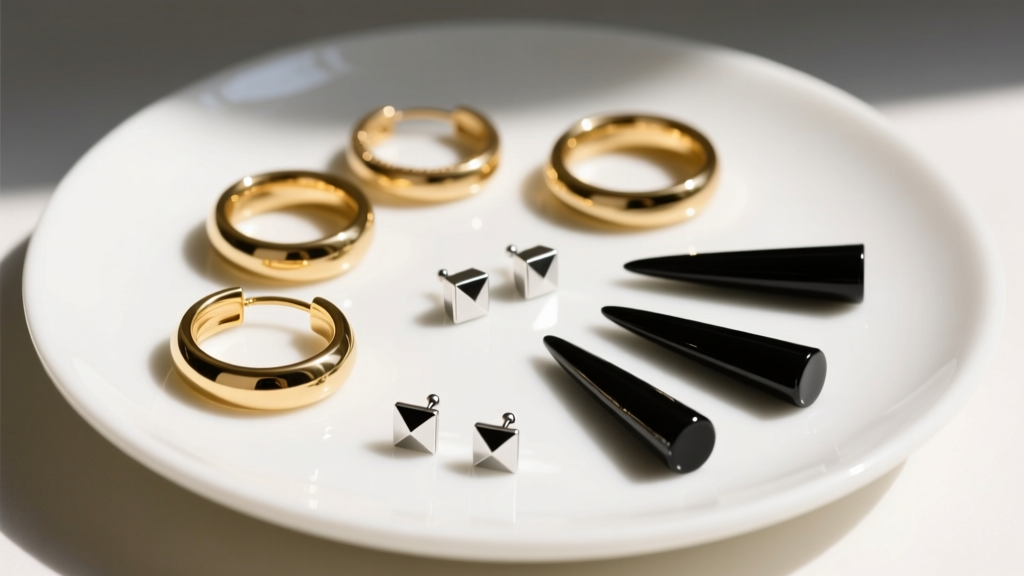
These are the gold standards for body jewelry. Titanium and niobium are highly inert, non-porous, and completely impervious to boiling water, 70% isopropyl alcohol, and ultrasonic cleaners. You can aggressively sanitize these metals without fear of corrosion, oxidation, or pitting.
Solid Gold (14k, 18k) & Platinum
Solid gold and platinum are exceptionally durable and can be safely boiled. However, you must avoid any chemical agents containing chlorine (like household bleach). Chlorine reacts with the alloy metals in 14k and 18k gold (such as copper and zinc), causing microscopic stress cracks and permanent surface dulling.
Sterling Silver (925)
Sterling silver is notorious for oxidizing (tarnishing) when exposed to heat, moisture, and sulfur. While you can boil sterling silver, doing so in standard tap water—which often contains trace minerals and chlorine—will cause rapid, stubborn tarnishing. If you must boil silver, use strictly distilled water.
Porous & Organic Materials (Wood, Bone, Horn, Acrylic)
Never boil or chemically soak porous materials. Wood and bone will absorb water, swell, and subsequently crack as they dry. Acrylic and bioplast (like PTFE) have low melting points and will warp or release toxic compounds when exposed to boiling temperatures. These materials should only be wiped down with a damp, soapy cloth and conditioned with jojoba oil.
The Boiling Method: Step-by-Step Guide
For non-porous metals (titanium, steel, solid gold, platinum, and glass), boiling is the most effective home sanitation method. Follow this exact protocol to ensure safety and prevent jewelry loss.
- Pre-Clean the Jewelry: Boiling will bake on organic matter (sebum, dead skin cells, hair products). First, scrub the earrings with a soft-bristled baby toothbrush and mild, fragrance-free liquid soap to remove all physical debris.
- Prepare the Vessel: Use a dedicated stainless steel or glass pot. Do not use a pot previously used for cooking acidic foods, as residual oils can coat the jewelry.
- Use Distilled Water: Fill the pot with enough distilled water to completely submerge the earrings. Distilled water prevents hard water stains and mineral deposits from fusing to the metal.
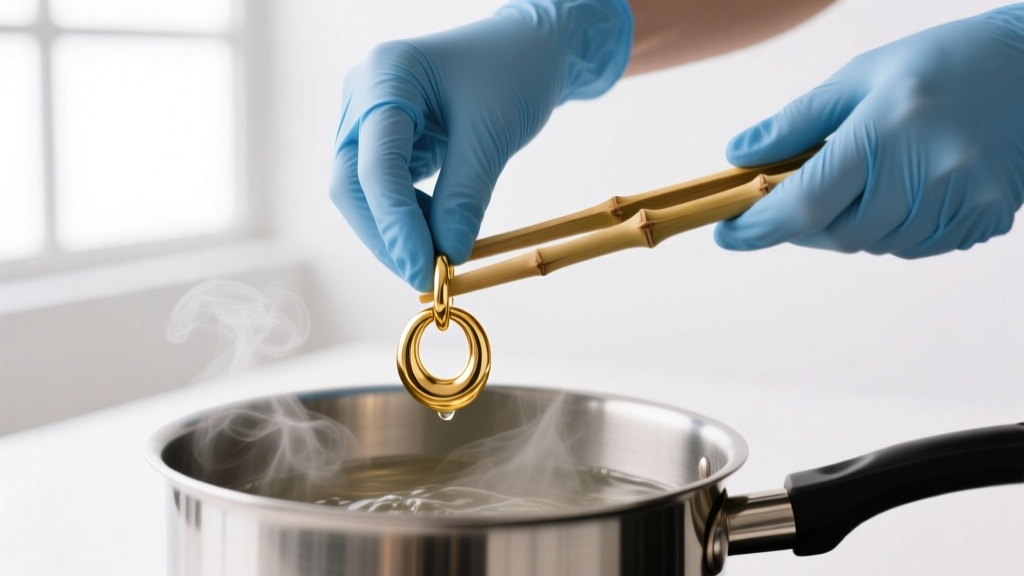
- The Rolling Boil: Bring the water to a rolling boil (100°C / 212°F). Carefully lower the earrings into the water using sterilized silicone or bamboo tongs.
- Time the Sanitation: Maintain the rolling boil for exactly 10 to 15 minutes. Any less is insufficient for high-level disinfection; any longer is unnecessary and increases the risk of accidental water evaporation.
- Cool and Dry: Turn off the heat and let the water cool until it is safe to handle. Remove the earrings with clean tongs and place them on a sterile, lint-free paper towel to air dry completely before storage or wear.
Chemical Agents and Metal Compatibility
If boiling is not an option (e.g., the earrings feature heat-sensitive gemstones), chemical disinfection is your secondary choice. The CDC guidelines on disinfection highlight the efficacy of various alcohols and oxidizers, but their interaction with jewelry alloys varies wildly.
| Chemical Agent | Best Used On | Materials to Avoid | Notes & Warnings |
|---|---|---|---|
| 70% Isopropyl Alcohol | Titanium, Steel, Solid Gold, Platinum | Pearls, Opals, Plated Metals | The 30% water content is crucial; it slows evaporation, allowing time to penetrate and destroy bacterial cell walls. |
| 91%+ Isopropyl Alcohol | Glass, Silicone | All fine jewelry | Evaporates too quickly to effectively kill certain hardy pathogens. Leaves a sticky residue if not rinsed. |
| Hydrogen Peroxide (3%) | Glass, Titanium | Sterling Silver, Copper alloys | Highly oxidative. Will instantly blacken sterling silver and strip patinas from bronze or brass. |
| Household Bleach | Nothing | ALL Metals and Gemstones | Sodium hypochlorite causes irreversible stress-corrosion cracking in gold alloys and destroys gemstone polish. |
Troubleshooting Common Sanitation Failures
Even with the best intentions, things can go wrong. Here is how to troubleshoot the most common issues encountered when sanitizing earrings at home.
Gemstone Thermal Shock (Cracking)
If you boiled a pair of gold drop earrings and the inset stones suddenly cracked or turned cloudy, you experienced thermal shock. Gemstones like opals (which contain up to 20% water), emeralds (which are heavily included and often oil-treated), and turquoise are highly sensitive to sudden temperature changes. Solution: Never boil jewelry with organic or porous gemstones. Instead, submerge only the metal post in a shallow bath of 70% isopropyl alcohol, keeping the gemstone above the liquid line.
Rapid Silver Oxidation (Blackening)
If your sterling silver earrings emerged from the boiling water with a yellow, brown, or black film, the sulfur or chlorine in your tap water reacted with the copper alloy in the 925 silver. Solution: Do not use abrasive polishes, which will scratch the silver. Instead, use an electrochemical reaction: line a glass bowl with aluminum foil, add hot distilled water, a tablespoon of baking soda, and a pinch of salt. Let the silver sit for 3 minutes, and the tarnish will transfer to the foil.
Flaking Gold Plating
If your 'gold' earrings started peeling or revealing a brassy undertone after boiling, they were likely gold vermeil or gold-plated brass, not solid gold. Boiling water can easily compromise the microscopic adhesive layers used in cheap plating. Solution: Plated jewelry should never be boiled or soaked in alcohol. Wipe gently with a warm, soapy microfiber cloth and dry immediately.
When to Throw Earrings Away
Sometimes, troubleshooting fails because the jewelry itself is fundamentally compromised. Sanitization cannot fix structural degradation. You must discard earrings if you notice any of the following:
- Pitting on Surgical Steel: While 316L surgical steel is common, it is not entirely corrosion-proof. If you see microscopic pits or rust spots on the post, bacteria will hide inside these craters where no liquid can reach. Discard immediately.
- Deep Scratches in Acrylic or PTFE: Porous plastics develop micro-fissures over time. These scratches harbor biofilms that cannot be removed without melting the plastic.
- Compromised Friction Backs: If the butterfly clutch or silicone O-ring on your stud earrings feels loose, stretched, or discolored, throw the backs away. The crevices inside worn-out friction backs are notorious breeding grounds for fungal spores. Replace them with fresh, medical-grade silicone backs.
By understanding the metallurgy of your jewelry and respecting the limits of home sanitation, you can keep your earlobes and cartilage healthy, ensuring your favorite pieces remain safe to wear for years to come.


