How Do You Sterilize Earrings? The Gifting & Safety Guide
Learn how do you sterilize earrings safely before gifting. Discover material-specific methods, gemstone warnings, and packaging tips.

Gifting earrings is a timeless gesture, whether you are celebrating a Sweet 16, an anniversary, or passing down a cherished family heirloom. However, in 2026, with the massive rise of curated vintage gifting and secondary luxury markets, a critical question often goes unasked: how do you sterilize earrings before handing them over? Handing a recipient an unworn vintage piece, a boutique display model, or an heirloom without proper sanitization poses a severe risk of infection, especially if the recipient plans to wear them in a fresh or sensitive cartilage piercing.
This comprehensive guide bridges the gap between luxury gifting and clinical hygiene. We will explore the exact material-specific protocols required to safely sterilize earrings, ensuring your thoughtful gift remains a safe and beautiful experience.
The 2026 Gifting Landscape: Why Sterilization is Non-Negotiable
When you purchase earrings from a high-end jeweler, they are often handled by multiple staff members, tried on by other customers, or stored in open-air display cases. According to the Association of Professional Piercers (APP), jewelry that comes into contact with broken skin or mucous membranes must be properly sterilized to prevent the introduction of staphylococcus or streptococcus bacteria. If you are gifting earrings to someone who frequently changes their jewelry, or worse, someone with a healing piercing, surface-level wiping is entirely insufficient.
True gifting luxury isn't just about the carat weight or the gold purity; it is about the meticulous care taken to ensure the piece is clinically safe for the recipient's body.
Decoding the Terminology: Cleaning vs. Disinfecting vs. Sterilizing
Before applying any heat or chemicals to your gift, you must understand the hierarchy of hygiene. The CDC Guidelines for Sterilization clearly differentiate these three stages:
- Cleaning: The physical removal of organic matter (skin cells, sebum, dust) using soap and water. This must always be the first step.
- Disinfecting: Using chemicals (like 70% isopropyl alcohol) to eliminate most pathogenic microorganisms on inanimate objects. This is suitable for healed earlobes.
- Sterilizing: The complete destruction of all microbial life, including bacterial spores, typically achieved through high heat (boiling or autoclaving). This is mandatory for fresh piercings or cartilage.
Material-Specific Protocols: How Do You Sterilize Earrings Safely?
The method you choose depends entirely on the metallurgical composition and gemstone inclusions of the earrings. Using the wrong method will permanently destroy the jewelry.
The Boiling Method (Implant-Grade Titanium, Niobium, & Solid Gold)
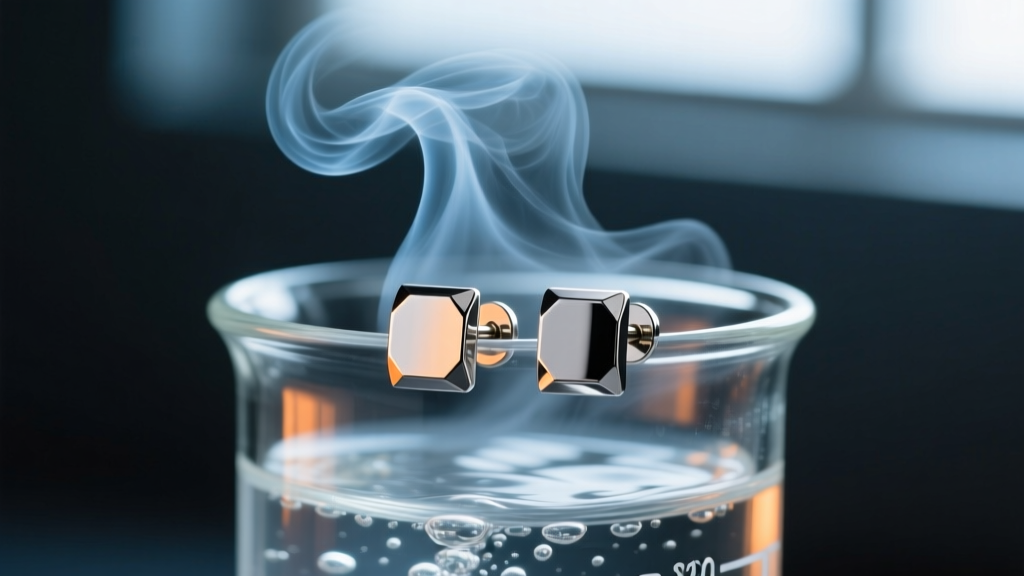
For earrings made of ASTM F136 implant-grade titanium, pure niobium, or 14k/18k solid gold (without gemstones), boiling is the most effective at-home sterilization method.
- Pre-Clean: Wash the earrings with a mild, fragrance-free liquid soap and warm water to remove surface oils.
- Use Distilled Water: Never use tap water. Tap water contains calcium, magnesium, and trace amounts of chlorine. Chlorine can cause stress corrosion cracking in 14k gold alloys, while minerals will leave permanent hard-water spots on high-polish finishes.
- The Rolling Boil: Bring the distilled water to a rolling boil (212°F / 100°C). Submerge the metal earrings completely.
- Time it: Leave them in the boiling water for exactly 10 to 15 minutes.
- Extraction: Use sterilized titanium or stainless steel tweezers to remove the pieces, placing them on a clean, lint-free paper towel to air dry.
The 70% Isopropyl Alcohol Soak (Sterling Silver & Delicate Alloys)
Sterling silver (925) is highly susceptible to heat-induced tarnishing and oxidation. Therefore, boiling is strictly prohibited. Instead, use a 70% Isopropyl Alcohol (IPA) soak.
Why 70% and not 99%? Water is a necessary catalyst for alcohol to penetrate bacterial cell walls. 99% IPA evaporates too rapidly and coagulates the outer cell membrane of bacteria, creating a protective shell that leaves the inside alive. A 10-minute soak in 70% IPA effectively disinfects silver and gold alloys for recipients with fully healed lobes.
The UV-C & Wipe Method (Organic Gemstones & Porous Stones)
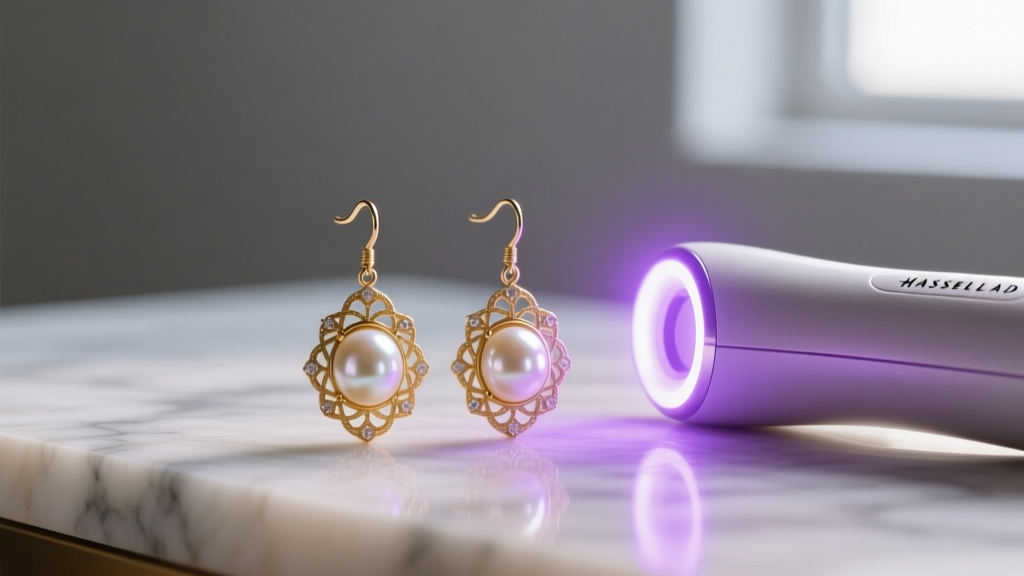
If your gift features pearls, opals, emeralds, turquoise, or coral, you are dealing with organic or highly porous materials. Submerging pearls in alcohol will strip their delicate nacre, causing them to lose their luster and eventually craze (crack). Opals contain up to 20% water; boiling them will cause catastrophic internal fracturing.
For these delicate pieces, use a UV-C sterilization wand or box to treat the surface, and carefully wipe only the metal posts and clasps with an alcohol prep pad, avoiding all contact with the gemstones.
The Occasion & Piercing Matrix: Matching the Gift to the Recipient
When selecting and prepping earrings for a specific occasion, you must consider the recipient's piercing status. Gifting a beautiful piece that they cannot safely wear defeats the purpose of the gift.
| Occasion | Recipient's Piercing Status | Ideal Earring Material | Required Sterilization Method |
|---|---|---|---|
| Baby's First Piercing | Fresh / Unhealed | ASTM F136 Titanium | Boiling (Distilled Water) or Professional Autoclave |
| Sweet 16 / Quinceañera | Fresh Cartilage or Healed Lobes | 14k/18k Solid Gold (No Gems) | Boiling (Distilled Water) |
| Anniversary / Valentine's | Fully Healed Lobes | Sterling Silver or Gold with Diamonds | 70% IPA Soak (Metal only) + UV-C for stones |
| Heirloom Hand-Me-Down | Unknown / Variable | Vintage Gold / Mixed Alloys | Professional Autoclave (if no heat-sensitive gems) |
Packaging Sterilized Earrings for the Unveiling
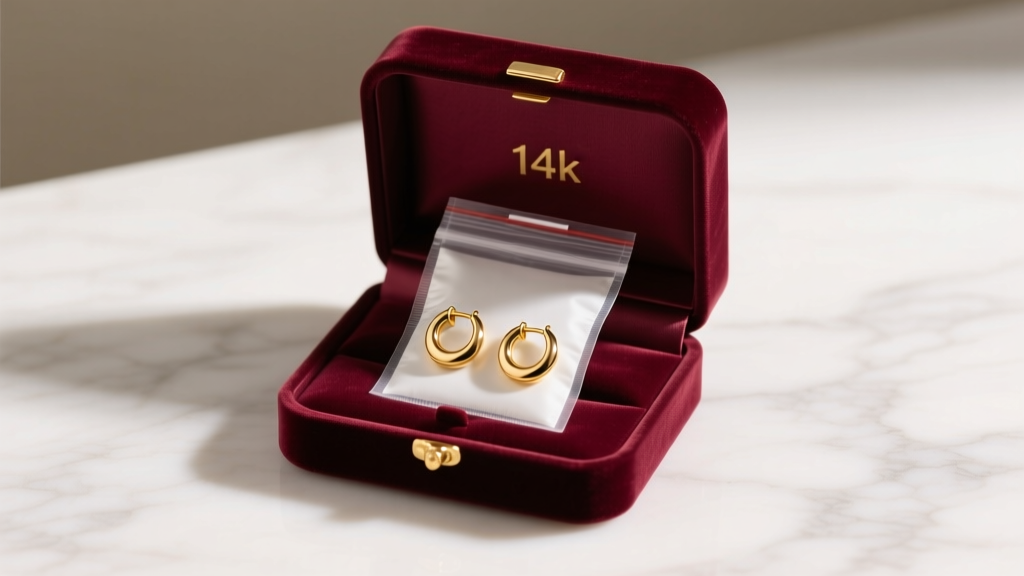
Sterilizing the earrings is only half the battle; keeping them sterile until the gift is opened is the other. Placing freshly boiled titanium studs back into a standard velvet box introduces environmental bacteria and velvet lint to the jewelry post.
For the ultimate presentation, purchase medical-grade autoclave pouches. These pouches feature internal chemical indicator stripes that change color when exposed to high heat, providing visual proof to the recipient that the jewelry has been clinically sterilized. Seal the dry, sterilized earrings inside the pouch using a household iron on the sealed edge, and then place the pouch inside the decorative gift box. This merges clinical safety with high-end unboxing aesthetics.
Catastrophic Mistakes That Destroy Jewelry
When figuring out how do you sterilize earrings, avoid these common, jewelry-ruining pitfalls:
- Using Bleach: Never use bleach or chlorine-based cleaners. Chlorine aggressively reacts with the copper and silver alloys in 14k and 18k gold, leading to irreversible stress corrosion cracking and blackening of the metal.
- Ultrasonic Cleaners on Fractured Stones: While ultrasonic cleaners are great for removing dirt, the high-frequency vibrations can shatter diamonds with internal inclusions or fracture emeralds, which are naturally heavily included and often treated with cedar oil.
- Flaming the Post: Holding an earring post over a lighter flame does not sterilize it; it merely carbonizes surface debris and can melt the delicate threading on internally threaded titanium jewelry.
Final Thoughts on Safe Gifting
Understanding how do you sterilize earrings elevates you from a simple gift-giver to a knowledgeable curator of body jewelry. By matching the sterilization method to the specific metallurgical and gemological properties of the earrings, you ensure that your gift is not only breathtaking but entirely safe for the recipient to wear. Whether you are boiling solid gold huggies for a milestone birthday or gently UV-treating vintage pearl drops for an anniversary, prioritizing hygiene is the ultimate expression of care.


