How to Safely Stretch Lobes for a Big Earring Piercing
Learn how to safely stretch your earlobes for a big earring piercing. Discover step-by-step taping methods, gauge sizes, and healing tips.

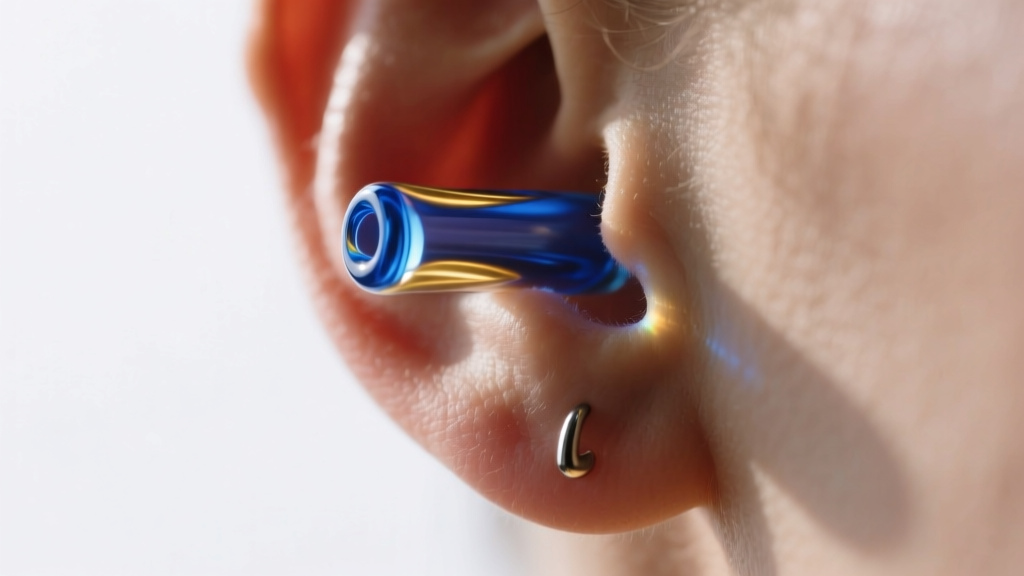
Understanding the Anatomy of a Big Earring Piercing
The pursuit of a big earring piercing is a journey of patience, biology, and precise body modification. Unlike standard ear piercings that sit comfortably at 18-gauge (1.0mm) or 16-gauge (1.2mm), large-gauge stretching requires you to actively remodel the collagen and elastin fibers within your earlobe fistula. The fistula is the tube of healed skin that forms inside the piercing channel. When you stretch this tissue, you are not just creating a hole; you are encouraging cellular turnover and vascular expansion. Rushing this biological process is the primary cause of irreversible tissue damage.
According to the Association of Professional Piercers (APP), healthy stretching relies on incremental stress. The tissue must be given enough time to generate new skin cells along the inner wall of the fistula. If you force a large piece of jewelry through the channel before the tissue has adapted, the epidermal layer can collapse inward, leading to severe complications. Understanding your unique anatomy is the first step toward achieving the large-gauge aesthetic safely.
The Point of No Return
Before embarking on your big earring piercing journey, you must understand the concept of the 'point of no return.' While every earlobe is genetically unique, professional piercers generally agree that the threshold for permanent stretching lies between 2-gauge (6mm) and 0-gauge (8mm). Once you stretch past this diameter, the elastin fibers in the lobe may lose their ability to snap back to a standard earring size. If you ever wish to return to wearing standard 18-gauge studs, you should carefully consider your end goal before crossing the 2-gauge threshold.
Essential Tools for Large-Gauge Stretching
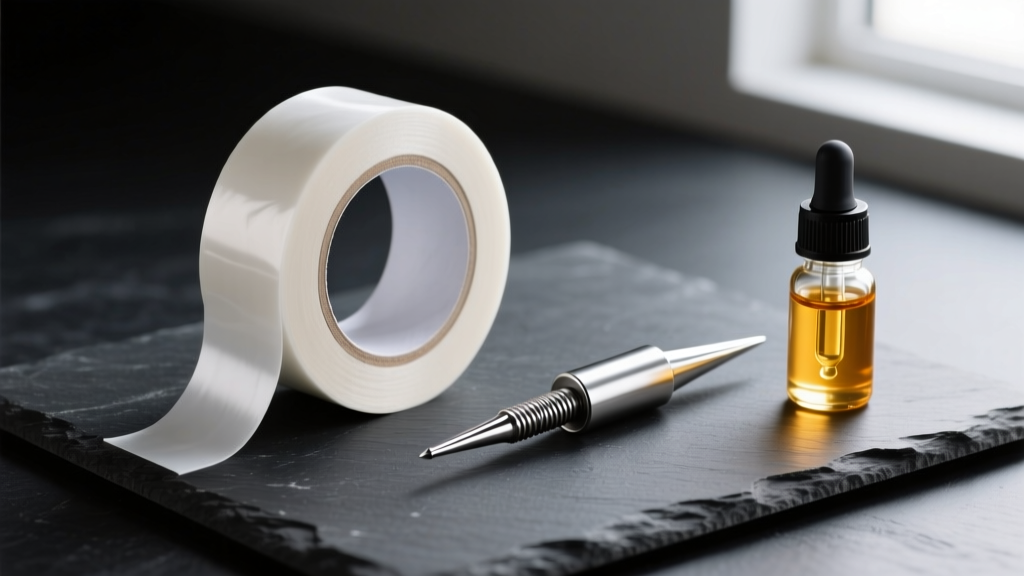
You cannot safely achieve a big earring piercing using acrylic tapers or mystery-metal kits purchased from unverified online marketplaces. Acrylic is a porous material that harbors bacteria and can cause severe contact dermatitis in fresh, micro-torn stretches. To protect your tissue, you must invest in high-quality, body-safe tools.
- PTFE Tape: Polytetrafluoroethylene (PTFE) tape, often sold as plumber's thread seal tape, is biocompatible, non-porous, and flexible. It is the gold standard for incremental stretching.
- Single-Flare Glass or Titanium: Borosilicate glass and ASTM F136 implant-grade titanium are non-porous and can be autoclaved. Single-flare (or no-flare) jewelry is required for stretching, as double-flare pieces will tear the fistula upon insertion.
- Lubricant: Pure jojoba oil or emu oil mimics the skin's natural sebum, providing the necessary slip without clogging the fistula or introducing synthetic fragrances that cause irritation.
Gauge Size Conversion and Stretching Intervals
One of the most common mistakes beginners make is misunderstanding gauge sizing. In the body jewelry world, the lower the gauge number, the larger the jewelry. Once you pass 0-gauge, the sizing switches to fractions of an inch or millimeters. Below is a structured guide to the millimeter jumps and the mandatory healing intervals required between each stretch.
| Current Size | Next Size | Millimeter Jump | Minimum Wait Time |
|---|---|---|---|
| 14g (1.6mm) | 12g (2.0mm) | 0.4mm | 1 to 2 months |
| 12g (2.0mm) | 10g (2.5mm) | 0.5mm | 2 to 3 months |
| 10g (2.5mm) | 8g (3.0mm) | 0.5mm | 2 to 3 months |
| 8g (3.0mm) | 6g (4.0mm) | 1.0mm | 3 to 4 months |
| 6g (4.0mm) | 4g (5.0mm) | 1.0mm | 3 to 4 months |
| 4g (5.0mm) | 2g (6.0mm) | 1.0mm | 4 to 5 months |
| 2g (6.0mm) | 0g (8.0mm) | 2.0mm | 6+ months |
As noted in Healthline's comprehensive guide on body modification, skipping sizes or rushing the wait times drastically increases the risk of scar tissue buildup. The jump from 2g to 0g is particularly notorious because it represents a massive 2mm leap. Many professionals recommend using intermediate half-sizes (like 1g or 7mm) to bridge this gap safely.
Step-by-Step: The PTFE Taping Method
The taping method is widely considered the safest way to achieve a big earring piercing because it allows for micro-stretches that respect the tissue's natural elasticity. Here is how to execute it properly:
- Prep the Jewelry: Remove your current plug and clean it thoroughly with antibacterial soap. Dry it completely.
- Apply the Tape: Wrap 1 to 2 layers of PTFE tape tightly around the middle of the jewelry. Ensure the tape is smooth and free of wrinkles, which can cause pressure points inside the fistula.
- Lubricate: Coat the taped jewelry and your earlobe generously with jojoba oil.
- Insert Gently: Slide the jewelry back into the fistula. It should feel snug and create a mild warming sensation, but it should never cause sharp pain or bleeding. If it bleeds, you have added too much tape; downsize immediately.
- Wait and Repeat: Leave the taped jewelry in for 2 to 3 weeks. Once the lobe relaxes and the jewelry feels loose, remove it, add one more layer of tape, and reinsert. Repeat this process until you have built up enough tape to comfortably slide into the next standard millimeter size.
Dead Stretching: The Ultimate Test of Patience
Dead stretching involves inserting the next size up without any tape, tapers, or tools, relying solely on the natural weight of the jewelry and the elasticity of the healed fistula. This method is highly recommended for larger sizes (past 0-gauge) where tape becomes cumbersome. To dead stretch safely, you must wait until your current jewelry literally falls out or moves with zero resistance. Massaging the lobes daily with vitamin E oil promotes blood flow and tissue pliability, making dead stretching significantly easier and reducing the chance of micro-tears.
Troubleshooting Common Stretching Complications
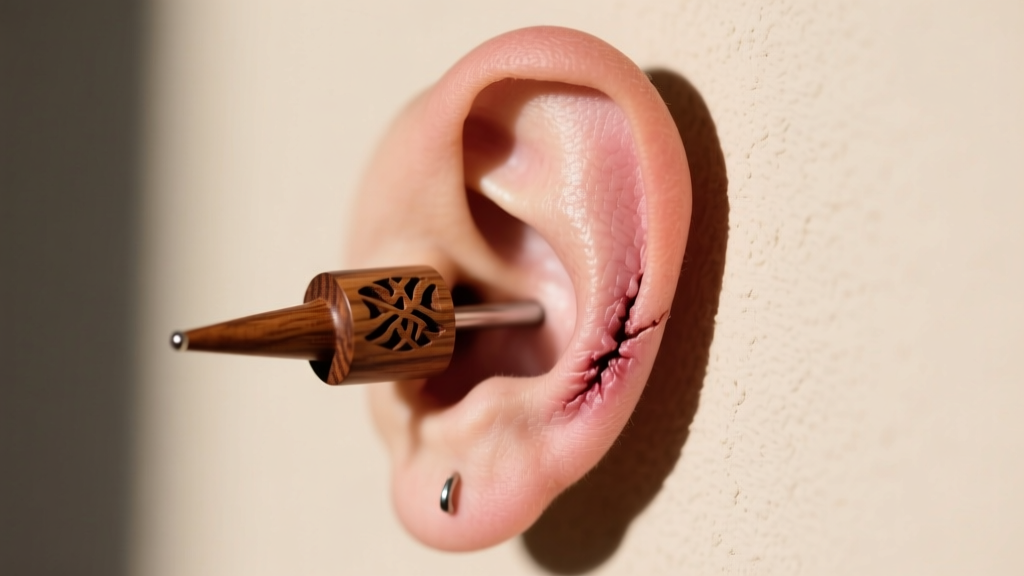
Even with meticulous care, complications can arise. Knowing how to identify and treat these failure modes is critical for maintaining a healthy big earring piercing.
Blowouts
A blowout occurs when the inner lining of the fistula is forced outward through the back of the earlobe, resembling a small, fleshy volcano. This is caused by stretching too quickly or using aggressive tapers. The Fix: Immediately downsize to a smaller gauge to relieve the pressure. Massage the blowout gently with jojoba oil twice a day to encourage the tissue to retract. Do not attempt to stretch again until the blowout is completely resolved.
Lobe Thinning
If the bottom edge of your earlobe begins to look like a thin ribbon, you are experiencing tissue thinning. This happens when heavy metal jewelry pulls downward, restricting blood flow to the lower edge of the fistula. The Fix: Switch to lightweight borosilicate glass or carved wood plugs. Avoid wearing heavy dangling earrings or metal hoops until the tissue thickness recovers.
The Cheese Cutter Effect
Wearing thin, heavy metal hoops in large-gauge piercings acts like a wire cheese cutter, slowly slicing through the bottom of the earlobe over time. The Fix: Reserve metal hoops for short-term wear and rely on thick, wide plugs or tunnels for daily use to distribute the weight evenly across the fistula walls.
Long-Term Aftercare and Maintenance
Once you reach your desired size, a big earring piercing requires ongoing maintenance to prevent dryness, cracking, and odor. The skin inside a large fistula is essentially the same as the outer layer of your skin; it produces sebum and sheds dead skin cells. Wash your lobes daily with a mild, fragrance-free cleanser. Once or twice a week, remove your jewelry and massage the lobes with an organic oil blend to maintain tissue elasticity. If you ever notice a foul odor, it is likely a buildup of dead skin and sebum; simply clean the fistula with a warm saline soak and ensure your jewelry is thoroughly sanitized before reinsertion.
True expertise in body modification is not measured by how quickly you can reach a massive gauge, but by the health, thickness, and longevity of the tissue you preserve along the way.


