Stud Earrings How to Take Off: Safe Removal & Care Guide
Learn exactly how to take off stud earrings safely without tearing your lobe. Expert tips on stuck backs, cleaning, and daily maintenance.

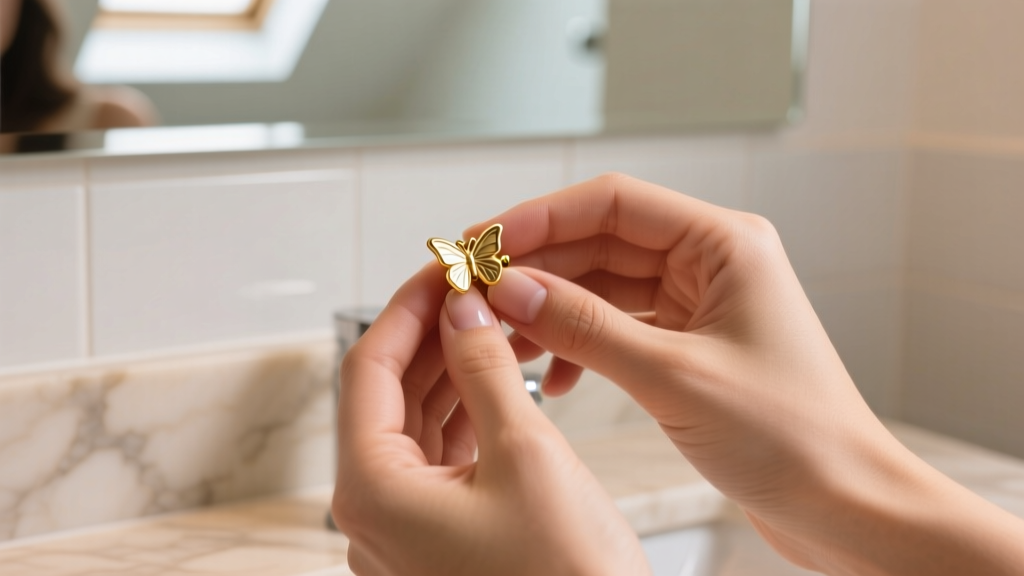
Removing a seemingly simple stud earring can sometimes turn into a frustrating, painful ordeal. Whether you are dealing with a seized butterfly clutch, a cross-threaded flat back, or a post buried in swollen tissue, knowing the proper mechanics of removal is essential for your ear health. In this comprehensive guide, we break down exactly how to take off stud earrings safely, troubleshoot stubborn backings, and implement a professional-grade cleaning protocol to keep your piercings healthy and your jewelry pristine.
The Anatomy of a Stuck Stud Earring
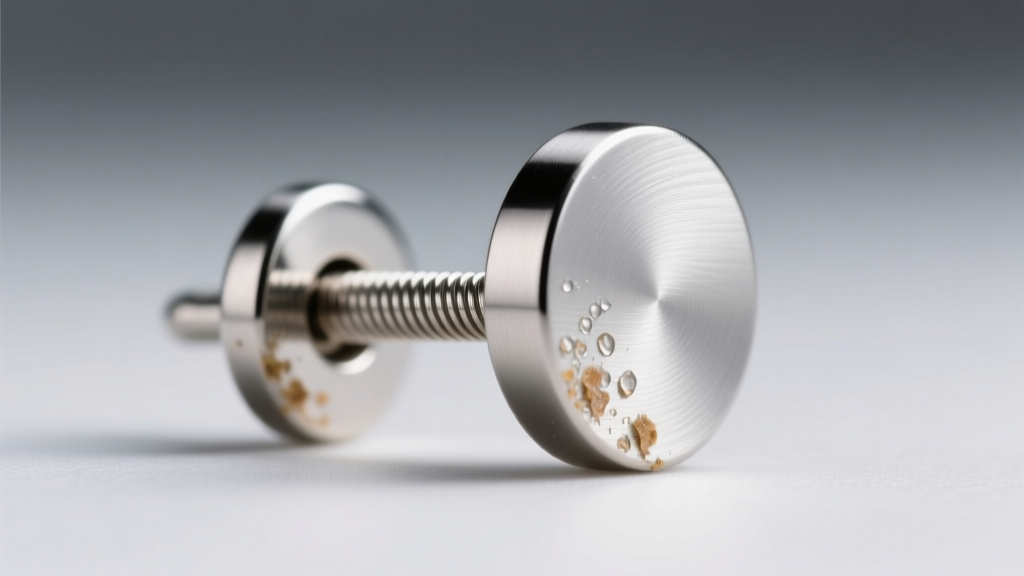
Before attempting removal, it is crucial to understand why stud earrings get stuck in the first place. The culprit is rarely the metal itself, but rather a biological buildup. The human ear continuously sheds dead skin cells (keratin) and produces sebum (natural oils). When combined with soap residue, hair products, and environmental dust, this mixture creates a hardened, cement-like biofilm inside the earring clutch or around the threading of a screw back.
Furthermore, standard lobe piercings are typically 20-gauge (0.8mm) or 18-gauge (1.0mm), while cartilage studs often utilize thicker 16-gauge (1.2mm) or 14-gauge (1.6mm) posts. The larger the gauge, the more surface area there is for biofilm to accumulate. If you are wearing friction backs (butterfly clutches), the small groove or notch on the post designed to hold the clutch in place becomes a trap for this debris, effectively locking the backing in place.
Step-by-Step: Stud Earrings How to Take Off Safely
Preparation and Hygiene
Never attempt to remove stuck jewelry with unwashed hands. The fistula (the skin tunnel of the piercing) is highly susceptible to micro-tears during removal, which can introduce staphylococcus bacteria. According to the Centers for Disease Control and Prevention (CDC), you must scrub your hands with antibacterial soap and warm water for at least 20 seconds before touching your piercings. Dry your hands completely with a lint-free paper towel; moisture reduces your grip on small metal components.
The Twist-and-Pull Technique for Friction Backs
For standard push-back or butterfly clutch studs, pulling straight outward is the most common mistake. This puts sheer stress on the fistula and can cause the metal post to slice through delicate tissue.
- Stabilize the Front: Use your non-dominant hand to firmly pinch the front gemstone or metal stud against your earlobe. This prevents the post from twisting inside the piercing channel.
- Grip the Back: With your dominant thumb and index finger, grasp the wings of the butterfly clutch.
- Micro-Twists: Instead of pulling, apply gentle rotational pressure (twisting back and forth slightly) while applying slow, steady outward traction. This micro-twisting breaks the seal of the biofilm trapped in the post notch.
- Release: Once the clutch clears the notch, it will slide off the post with minimal resistance.
Handling Screw Backs and Flat Backs
Flat back studs (often called labret studs) and traditional screw backs require a different approach. These are common in cartilage piercings like the tragus, helix, or conch. Remember the golden rule: lefty-loosey (counter-clockwise to remove). Stabilize the front gem with one hand to prevent the entire post from spinning inside the cartilage, which can cause severe irritation bumps. If the back is externally threaded (the threads are on the post itself), be incredibly gentle as the sharp threads can scrape the fistula upon exit. Internally threaded jewelry (threads inside the backing) is vastly superior for tissue health, as noted by the Association of Professional Piercers (APP).
Troubleshooting: What to Do When the Back is Truly Stuck
If the standard techniques fail, do not resort to brute force. Use these professional troubleshooting methods to safely free the jewelry:
- The Rubber Glove Trick: Friction is your best friend. Put on a pair of clean, textured nitrile or latex medical gloves. The rubber provides immense grip on tiny metal clutches, allowing you to apply the twist-and-pull method without your fingers slipping.
- The Warm Oil Method: If biofilm has cemented the clutch, apply a single drop of sterile jojoba oil or vitamin E oil directly to the seam where the post meets the back. Let it sit for five minutes to break down the sebum, then wipe away excess oil with a tissue and try the rubber glove method.
- The Ice Cube Constriction: If your earlobe is swollen and gripping the post, wrap an ice cube in a clean paper towel and hold it against the back of your lobe for 60 seconds. The cold constricts the blood vessels and reduces tissue swelling, freeing up the post.
- Pliers (Last Resort): If a metal friction back is hopelessly jammed, use a pair of needle-nose pliers. Crucial: Wrap the tips of the pliers in medical tape or a thick cloth to prevent scratching the metal or crushing the clutch into the post. Grip the back firmly while stabilizing the front, and gently twist.
Post-Removal: Cleaning and Sterilization Protocol
Once the earrings are out, you must clean both the jewelry and the piercing site. Never put a dirty stud back into a healed or healing fistula. The cleaning agent you use must be matched to the specific metallurgy of your jewelry to prevent corrosion, tarnishing, or gemstone damage.
| Material Grade | Cleaning Solution | Soak Time | Expert Notes |
|---|---|---|---|
| Implant-Grade Titanium (ASTM F-136) | Mild, fragrance-free liquid soap + warm water | 5 Minutes | Highly biocompatible. Avoid harsh chemicals or bleach which can dull the polish. |
| 14k / 18k Solid Gold | Ammonia-free commercial jewelry cleaner | 3 Minutes | Safe for ultrasonic cleaners. Do not use on gold-plated or gold-filled items. |
| 316L Surgical Steel | Sterile saline wound wash (0.9% NaCl) | 5 Minutes | Never use rubbing alcohol on surgical steel, as it can degrade the protective chromium oxide layer. |
| Sterling Silver (925) | Baking soda and aluminum foil bath | 2 Minutes | Only use for heavy tarnish. Silver should not be worn in unhealed piercings due to oxidation risks. |
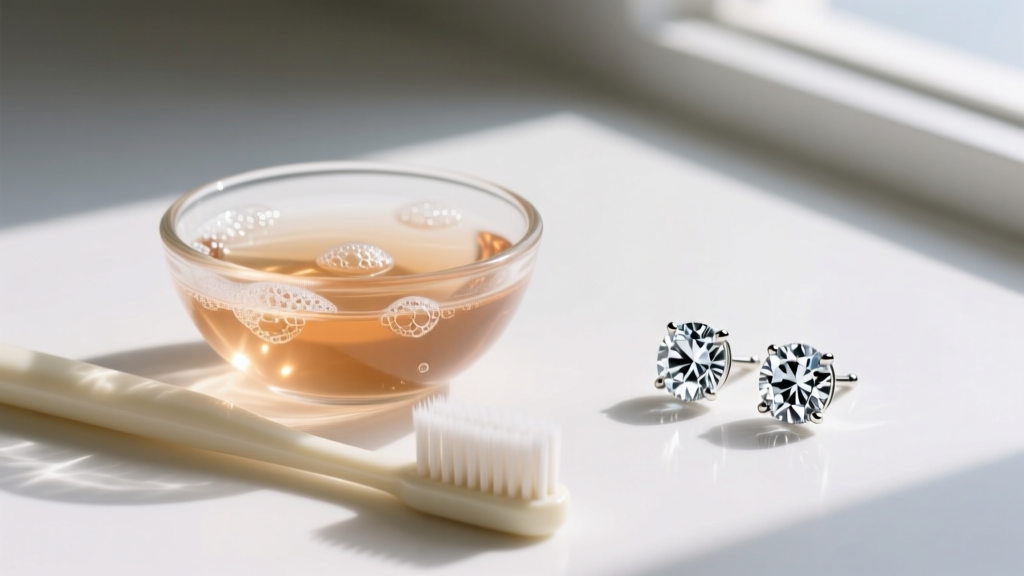
After soaking, use a soft-bristled baby toothbrush to gently scrub the post, the notch, and the inside of the clutch. Rinse thoroughly with distilled water and dry completely with a microfiber cloth before storing.
Preventative Maintenance: Keeping Your Lobes and Studs Healthy
Preventing stuck earrings is far easier than removing them. Integrate these habits into your weekly routine:
Stop Rotating Your Jewelry
An outdated piece of advice is to 'rotate' your earrings daily to prevent them from getting stuck. Modern dermatological and piercing consensus strongly advises against this. Rotating the post acts like a file, tearing the delicate new cells forming inside the fistula and introducing surface bacteria deep into the piercing channel. If you must move the jewelry, do so only during cleaning when the area is wet and lubricated.
Upgrade to Flat Backs for Sleeping
If you sleep in your earrings, traditional butterfly backs are a liability. The sharp prongs of the clutch dig into the skin behind the ear, causing pressure necrosis and forcing the earlobe to swell around the post. Swap your sleep studs for internally threaded titanium flat backs (labret style). The flat disc sits flush against the back of the lobe, distributing pressure evenly and eliminating the mechanical notches where biofilm accumulates.
Weekly Clutch Detox
Once a week, while showering, let warm water and a gentle cleanser run over your earlobes. Gently massage the base of the earring post behind the lobe to dislodge early keratin buildup before it hardens into a cement-like seal.
When to See a Professional Piercer
There is a distinct line between a stubborn earring and a medical emergency. If the post has completely embedded into the front or back of the earlobe (often caused by wearing a clutch too tightly against swollen tissue), do not attempt to dig it out with tweezers or needles. This can cause severe scarring and infection. Visit a reputable, APP-certified professional piercer. They possess specialized tapering tools and sterile dermal clamps to safely back the jewelry out of the tissue, often saving the piercing from having to be surgically excised. Similarly, if the area is hot to the touch, emitting a foul odor, or oozing yellow/green pus, leave the jewelry in place to keep the fistula open for drainage, and consult a healthcare provider immediately for potential antibiotic treatment.