How to Style and Clean Bezel Stud Earrings Safely
Learn how to style, size, and deep-clean bezel stud earrings for lobe and cartilage piercings without damaging the setting or gemstone.

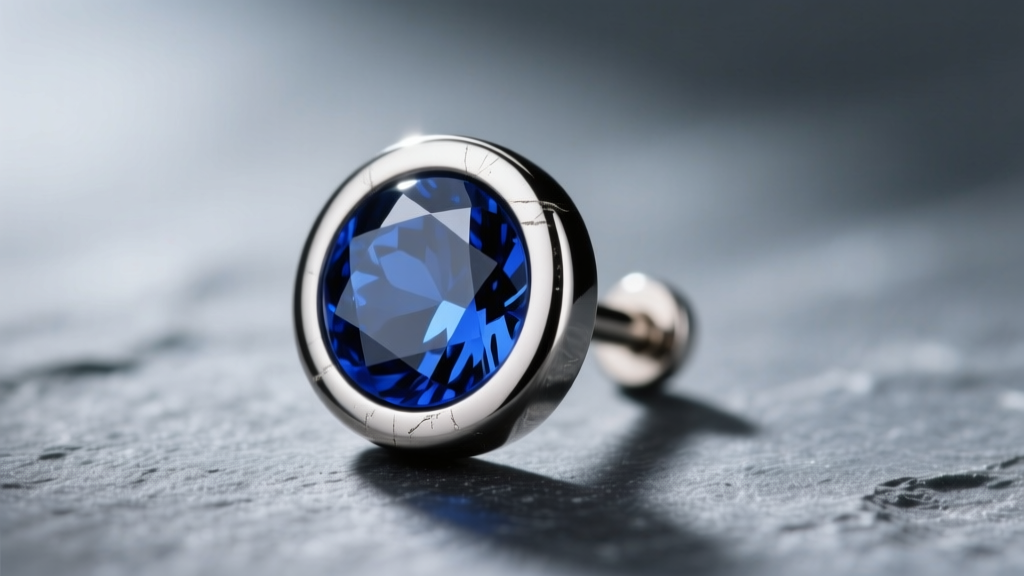
As we navigate the jewelry landscape of 2026, the demand for flush-fit, snag-free body jewelry has reached an all-time high. At the center of this movement are bezel stud earrings. Unlike traditional prong settings that feature exposed metal claws, a bezel setting encircles the entire girdle of the gemstone with a smooth, continuous metal rim. This design not only offers superior protection for the stone but also eliminates the frustrating hair-snagging and sweater-catching associated with standard studs.
However, the very architecture that makes bezel studs so practical also introduces unique maintenance challenges. The microscopic gap between the metal collar and the gemstone can trap sebum, dead skin cells, and lotions, leading to dull stones and localized irritation. This comprehensive, step-by-step guide will walk you through selecting the correct gauge, styling a curated ear, and executing a deep-cleaning routine that preserves both your jewelry and your piercings.
The Anatomy of a Bezel Setting: Cast vs. Hand-Fabricated
Before diving into maintenance, it is crucial to understand how your bezel stud earrings were constructed, as this dictates how you should clean them. According to master jewelers, there are two primary methods for creating a bezel:
- Cast Bezels: The metal rim is formed during the initial wax-casting process. These are common in commercial jewelry but often feature a slightly wider 'sebum gap' where the stone meets the metal wall.
- Hand-Fabricated Bezels: A jeweler solders a thin strip of metal to a base plate and uses a burnishing tool to push the metal tightly over the stone's edge. High-end body jewelry brands (like BVLA or Anatometal) use this method, resulting in a remarkably tight seal that resists debris buildup.
Understanding this distinction is vital. A loose cast bezel requires gentle brushing to avoid lifting the rim, while a tight hand-fabricated bezel can withstand slightly more rigorous cleaning.
Step 1: Selecting the Right Gauge and Post Length
The most common failure point when buying bezel stud earrings for cartilage is ignoring post thickness and length. Cartilage tissue is dense and swells differently than earlobes. The Association of Professional Piercers (APP) strictly recommends implant-grade titanium (ASTM F136) for healing piercings, but for healed ears, 14k or 18k solid gold is the standard.
| Piercing Location | Recommended Gauge | Standard Post Length | Ideal Bezel Diameter |
|---|---|---|---|
| Standard Lobe | 18g (1.0mm) or 20g (0.8mm) | 6mm - 8mm | 5mm - 8mm |
| Helix / Flat | 16g (1.2mm) | 6mm (1/4") or 8mm (5/16") | 3mm - 5mm |
| Tragus | 16g (1.2mm) | 6mm (1/4") | 2.5mm - 4mm |
| Conch | 14g (1.6mm) or 16g (1.2mm) | 6mm - 8mm | 4mm - 6mm |
Pro Tip: If you are purchasing threadless (push-pin) bezel studs for a helix piercing, always opt for a 6mm post initially. You can bend the pin slightly for tension, but a post that is too short will embed into the tissue if swelling occurs.
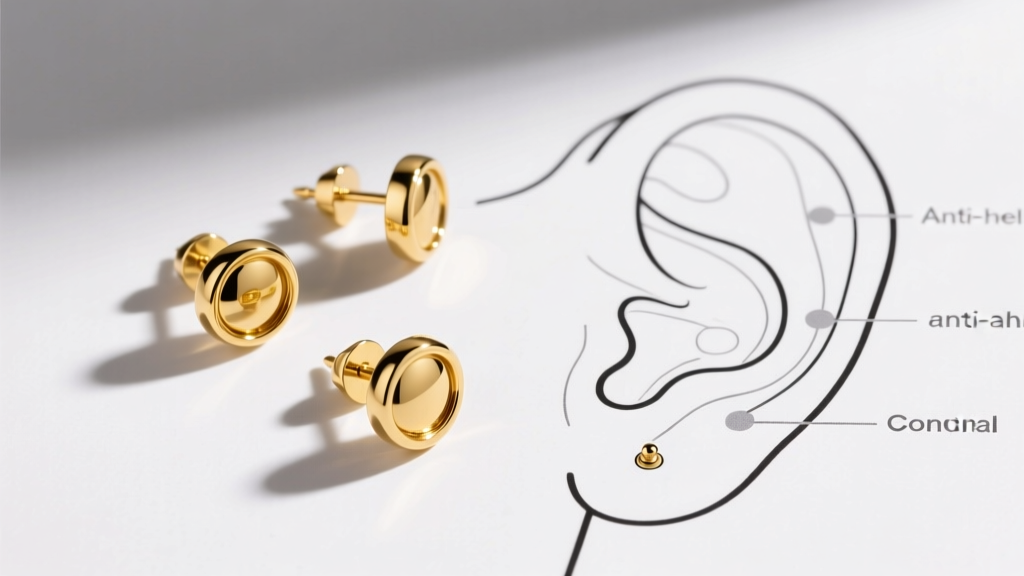
Step 2: Styling Bezel Studs in a Curated Ear Project
The 2026 approach to ear curation favors 'constellation' clusters and minimalist, flush-fit aesthetics. Bezel stud earrings are the ultimate anchor pieces for these layouts because their smooth profiles allow you to stack multiple pieces without them physically colliding or tangling.
The Lobe vs. Cartilage Placement Rules
- The Primary Lobe Anchor: Use a larger bezel stud (6mm-8mm) in the primary lobe piercing. A bezel-set lab-grown diamond or moissanite offers maximum light return without the sharp edges of a martini-set prong stud.
- The Helix Gradient: When styling a flat or helix cluster, use bezel studs to create a gradient. Place a 4mm bezel sapphire in the mid-helix, flanked by two 2.5mm bezel diamonds. The solid metal rims will visually connect the stones, creating a continuous line of sparkle.
- The Tragus Minimalist: The tragus is highly mobile and rubs against earbuds and phones. A low-profile, bezel-set 3mm stud is mandatory here. Prongs will catch on silicone earbud tips and eventually bend, risking stone loss.
Step 3: The 5-Step Deep Cleaning Routine
Because the metal rim of a bezel setting sits perfectly flush against the gemstone's crown, it creates a microscopic shelf where skin oils and cosmetics accumulate. This buildup refracts light poorly, making even high-clarity diamonds look cloudy. The Gemological Institute of America (GIA) recommends specific care protocols based on gemstone hardness and inclusions.
Warning: Never place bezel stud earrings featuring emeralds, opals, turquoise, or fracture-filled diamonds into an ultrasonic cleaner. The high-frequency vibrations can shatter included stones or shake the gemstone loose from a poorly seated bezel wall.
The Manual Deep-Clean Protocol
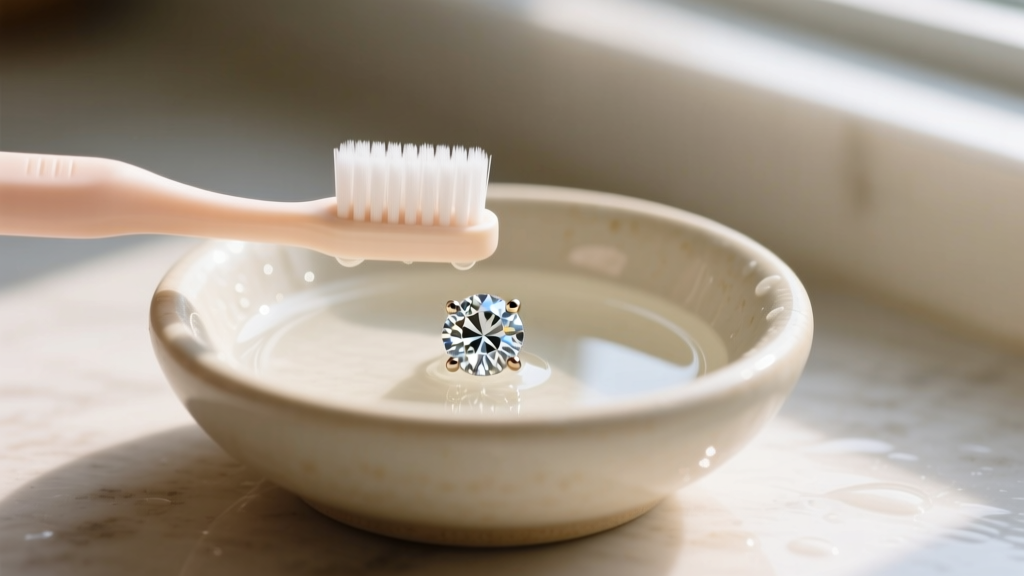
- Prep the Solution: Fill a small ceramic bowl with warm (not hot) water and add three drops of a mild, lotion-free dish soap (like original Dawn). Avoid harsh jewelry dips, which can degrade the alloy in lower-karat gold.
- The Soak: Submerge the earrings for 10 to 15 minutes. This softens the hardened sebum trapped in the bezel gap without requiring aggressive scrubbing.
- The Agitation: Using a brand-new, extra-soft baby toothbrush, gently brush the earring. Critical Technique: Brush in a circular motion around the inside edge of the bezel rim, rather than pushing bristles directly under the metal lip, which could lift the setting.
- The Rinse: Rinse the studs under a gentle stream of lukewarm water. Always do this over a plugged sink or a silicone strainer to prevent losing the earring down the drain.
- The Dry: Pat dry with a lint-free microfiber cloth. Use a wooden toothpick or a dry, soft-bristled brush to gently wick away any remaining moisture from the seam between the stone and the bezel wall.
Expert Insight: If your bezel stud features an opal or a pearl, skip the soaking step entirely. Opals are porous and can absorb soapy water, leading to crazing (internal cracking). Simply wipe them with a damp microfiber cloth and dry immediately.
Troubleshooting Common Bezel Stud Failures
Even with meticulous care, mechanical failures can occur. Here is how to diagnose and address the most common issues associated with bezel stud earrings:
1. The Gemstone 'Rattles' When Shaken
The Cause: The stone is not seated properly on the bearing (the tiny ledge inside the bezel wall), or the metal rim has been stretched or impacted.
The Fix: Stop wearing the earring immediately. A rattling stone means the bezel wall is no longer applying downward pressure on the girdle. Take it to a professional jeweler who can use a bezel roller or a micro-hammer to re-burnish the metal rim flush against the stone.
2. Threadless (Push-Pin) Ends Keep Falling Out
The Cause: The tension on the pin has weakened, or the O-ring inside the receiving post has degraded.
The Fix: Remove the end and gently bend the pin at a 15-degree angle using nylon-jaw pliers. If the post itself is damaged, replace the backing. Never use superglue to secure body jewelry.
3. Localized Piercing Irritation
The Cause: A buildup of dried soap or trapped moisture between the flat back of the bezel setting and the skin.
The Fix: Ensure you are thoroughly rinsing and drying the back of the earring after showers. If irritation persists, switch to a flat-back titanium labret stud, as some individuals develop contact dermatitis from the specific alloys used in the solder of gold bezel settings.
Final Thoughts on Long-Term Wear
Bezel stud earrings represent the perfect intersection of modern body jewelry engineering and timeless gemstone setting techniques. By respecting the specific gauge requirements of your cartilage, adhering to a gentle but thorough cleaning routine, and understanding the mechanical limits of your jewelry, you can ensure your curated ear remains pristine, comfortable, and brilliantly sparkling for decades to come. Invest in quality, maintain it with precision, and let the seamless beauty of the bezel do the talking.


