How to Style and Wear a Double Earring Chain Flawlessly
Learn how to style, choose, and comfortably wear a double earring chain. This step-by-step guide covers piercing placement, metal grades, and chain weights.

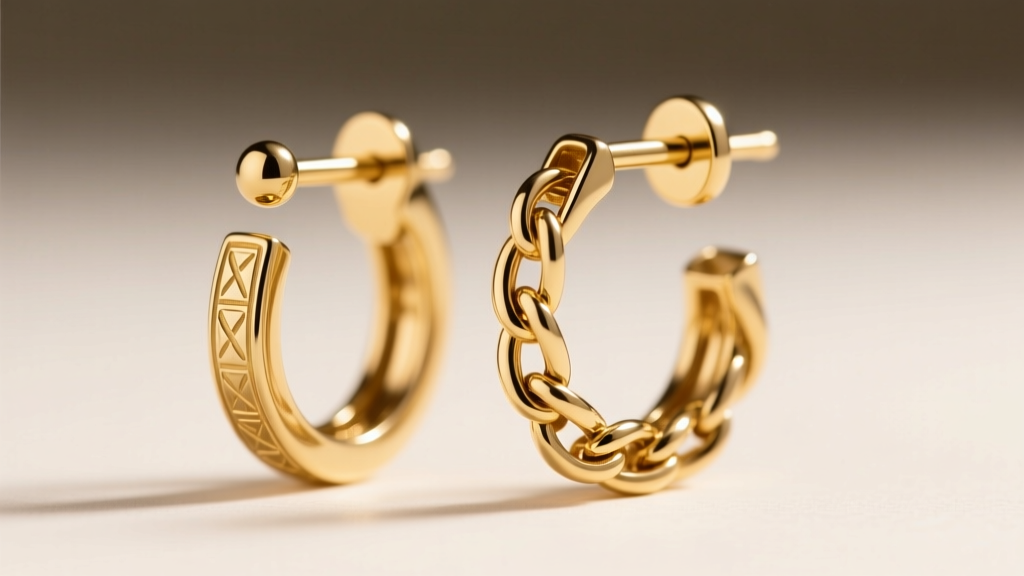
The Evolution of the Curated Ear: Mastering the Double Earring Chain
The double earring chain has evolved from a niche, subcultural accessory into a defining staple of modern ear curation. As we navigate the jewelry trends of 2026, the focus has shifted toward ultra-fine, high-tensile chains that seamlessly bridge disparate piercings without causing tissue stress. However, wearing a chain that connects two separate points on the ear introduces unique mechanical challenges. Unlike a standard stud or hoop, a double earring chain creates a structural bridge subject to gravity, friction, and the natural movements of your jaw and neck.
To pull off this look without compromising your piercing health or losing your jewelry, you must understand the geometry of your ear, the metallurgy of your chains, and the precise mechanics of clasps. This comprehensive, step-by-step guide will teach you exactly how to select, attach, and style a double earring chain with professional precision.
Step 1: Mapping Your Piercing Geometry and Vector of Pull
The most common mistake enthusiasts make is purchasing a double earring chain without measuring the distance between their piercings. When a chain connects a standard lower lobe to an upper helix, every turn of your head creates a 'vector of pull.' If the chain is too short, it will yank on the more delicate piercing (usually the helix), leading to irritation bumps or even tissue migration. If it is too long, it will snag on hair and clothing.
Calculating the Ideal Drape
For a comfortable fit, you need to measure the linear distance between your two piercings while your head is in a neutral position, then add 15% to 20% for slack. For example, if the distance from your lobe to your helix is 1.5 inches (38mm), you should look for a chain with a functional length of approximately 1.75 to 1.8 inches (44-46mm). This allows for a gentle, elegant drape that absorbs movement without transferring tension to the piercing fistulas.
'Tension is the enemy of healing and stable piercings. Any jewelry that pulls at an angle, including connecting chains, can alter the piercing canal over time if the weight and slack are not properly calibrated.' — Association of Professional Piercers
Step 2: Selecting the Correct Gauge and Clasp Mechanism
Your double earring chain must interface perfectly with your existing jewelry posts. Standard lobe piercings are typically 20-gauge (0.81mm) or 18-gauge (1.02mm), while cartilage piercings like the helix or conch are often 16-gauge (1.29mm). The chain's connection points must accommodate these varying thicknesses.
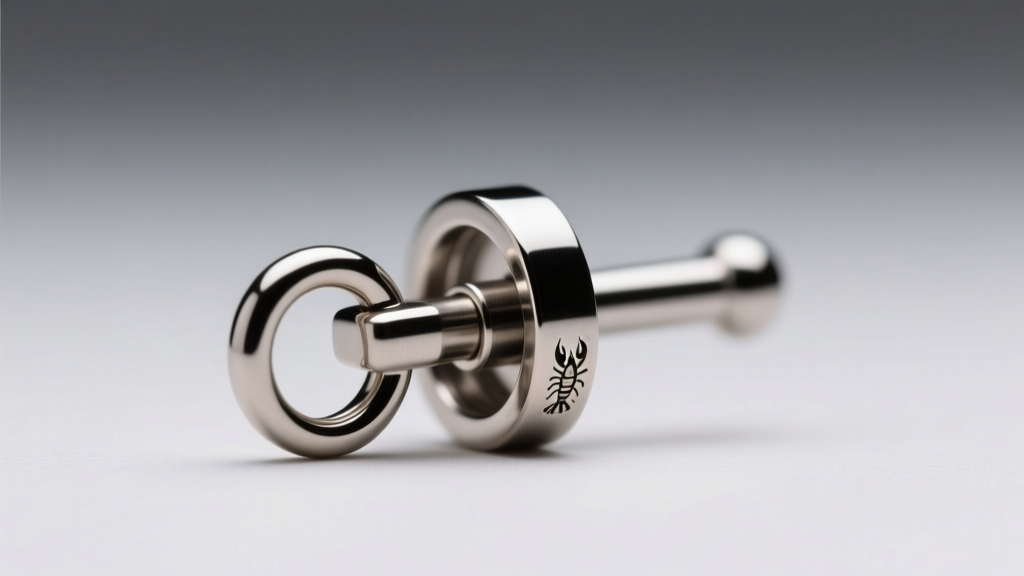
Jump Rings vs. Micro Lobster Clasps
- Open Jump Rings: Many budget-friendly chains rely on thin jump rings that you must slide over the earring post before securing the back. To fit over an 18g post, the jump ring must have an inner diameter (ID) of at least 1.5mm. However, open jump rings are prone to pulling apart if snagged.
- 3mm Micro Lobster Clasps: For superior security, opt for chains equipped with 3mm or 4mm micro lobster clasps. These allow you to attach the chain to the decorative front of a stud or the loop of a hoop without removing the earring backing. They provide a locked, mechanical closure that resists accidental unclipping.
- Spring Rings: While cheaper, spring rings lack the tension of a lobster clasp and frequently fail under the micro-tensions of ear movement. Avoid them for heavy or long-term wear.
Step 3: Metal Grades and Chain Link Profiles
Because a double earring chain rests against the skin and hair behind the ear, metal purity and link structure are paramount. Plated metals will quickly wear down from friction against the ear cartilage, exposing base metals that can cause contact dermatitis. Always opt for solid metals. According to guidelines on biocompatible jewelry, ASTM F136 Titanium and solid 14k or 18k gold are the safest choices for prolonged wear against sensitive ear tissue.
| Chain Link Type | Snag Risk | Weight Profile | Best Use Case |
|---|---|---|---|
| Box Chain | Very Low | Lightweight & Structured | Ideal for fine hair; resists tangling and pulling. |
| Cable Chain | Moderate | Ultra-Light | Classic aesthetic, but can catch on coarse hair. |
| Rope Chain | High | Medium to Heavy | Statement pieces; avoid for active days or long hair. |
| Curb Chain | Low | Medium | Edgy, flat-laying designs; excellent for lobe-to-lobe drapes. |
Step 4: Step-by-Step Attachment Guide
Attaching a double earring chain requires patience and a well-lit mirror. Follow this precise sequence to ensure a secure fit without dropping your jewelry down the sink drain.
- Prep the Area: Tie your hair back and ensure your ear is completely dry. Moisture makes it difficult to grip micro-clasps.
- Secure the Anchor Point: Insert your primary earring (usually the lower lobe stud or hoop) and fasten it securely. This will bear the brunt of the chain's weight.
- Attach the Lower Clasp: Using tweezers or a specialized jewelry clasp opener, attach the first lobster clasp to the loop of your lower earring or directly over the post if using a specialized chain connector.
- Drape and Connect: Gently guide the chain up the contour of your ear. Open the second clasp and attach it to the upper cartilage piercing (e.g., helix hoop or conch stud).
- Tension Check: Move your jaw widely and tilt your head side to side. If you feel a sharp tug on the upper piercing, the chain is too short and must be swapped for a longer length.
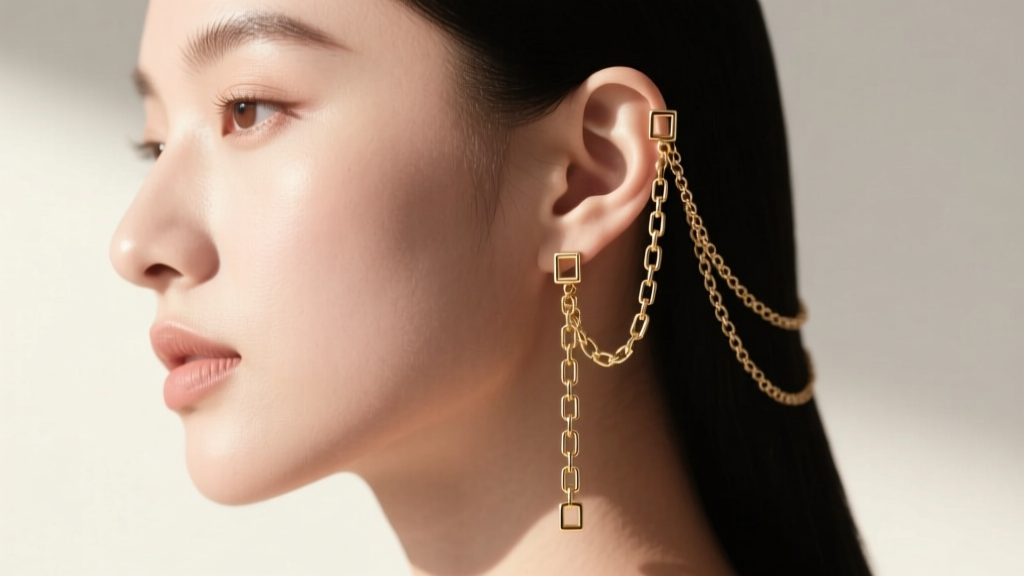
Step 5: Styling Configurations for 2026
The way you route your chain dramatically changes the aesthetic. Here are the top configurations dominating the current style radar:
- The Classic Helix Bridge: Connecting a standard lobe stud to a mid-helix hoop. This creates a beautiful, sweeping line that frames the side of the face. Best achieved with a 14k gold box chain.
- The Conch Cascade: Routing a chain from a lower lobe up to a conch piercing. Because the conch is deeper in the ear's anatomy, this requires a longer chain and creates a dramatic, layered look that sits close to the head, minimizing snag risks.
- The Double Lobe Weave: Connecting two adjacent lobe piercings with a micro-curb chain. This is an excellent entry-level styling choice that requires minimal slack and offers a punk-inspired, minimalist vibe.
Step 6: Maintenance, Cleaning, and Tissue Health
A double earring chain acts as a net for dead skin cells, sebum, hair products, and environmental dust. Because it sits flush against the back of the ear, it requires a rigorous cleaning protocol to prevent localized contact dermatitis or bacterial buildup.
Once a week, detach the chain and submerge it in a small ultrasonic jewelry cleaner filled with warm water and a few drops of mild, fragrance-free dish soap. Run it for three minutes. This will dislodge microscopic debris trapped inside the tiny chain links. Rinse thoroughly with distilled water and pat dry with a microfiber cloth. Never sleep in a double earring chain; the friction against your pillow can twist the chain, applying sudden, sharp torque to your cartilage piercings, which can lead to tearing or hypertrophic scarring.
By respecting the geometry of your ear, investing in high-quality micro-clasps, and choosing the correct metal grade, your double earring chain will remain a stunning, comfortable cornerstone of your curated ear for years to come.


