How to Select and Style 4mm Earrings for Any Piercing
Master the art of micro-jewelry with our step-by-step guide to choosing, styling, and healing 4mm earrings for every ear anatomy and face shape.

Step 1: Understanding the 4mm Scale and Ear Anatomy
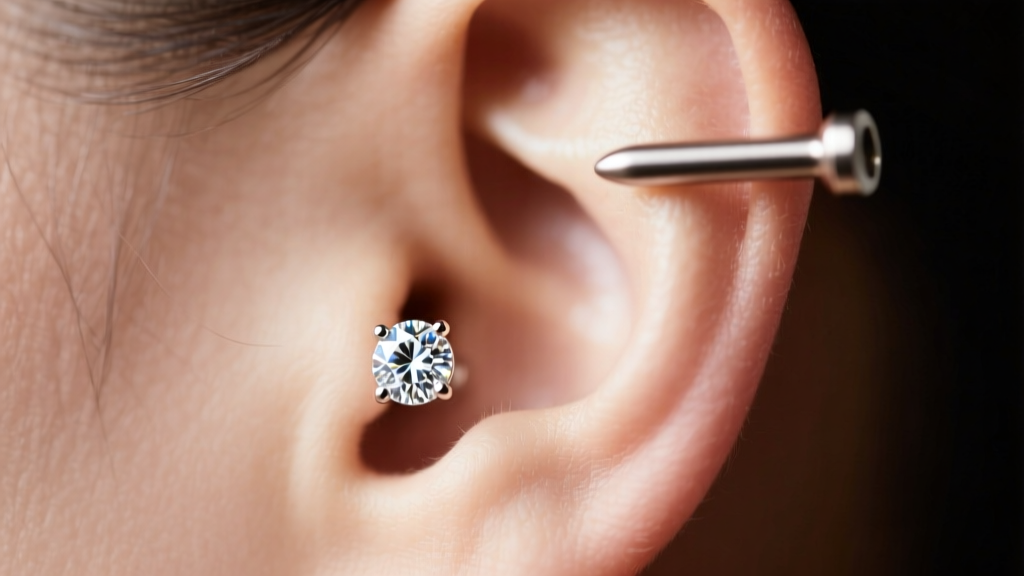
When building a curated ear, 4mm earrings are the ultimate transitional anchor. To visualize the scale, a 4mm stud is approximately 5/32 of an inch—roughly the size of a standard matchstick head or a small pea. However, the visual impact of a 4mm earring changes drastically depending on the piercing placement. On a standard earlobe, a 4mm top occupies about 15% to 20% of the visible surface area, offering a delicate, understated sparkle. Conversely, when placed in a tragus, helix, or conch piercing, that same 4mm top can dominate up to 40% of the visible cartilage real estate.
Understanding this spatial relationship is critical before purchasing. For lobe piercings, 4mm studs serve as excellent secondary or tertiary pieces in a stack. For cartilage piercings, particularly the forward helix or tragus, a 4mm earring often acts as the primary focal point. High-end jewelry brands like BVLA and Anatometal frequently utilize 4mm as their standard cabochon and gemstone size for cartilage-specific labret studs because it perfectly balances visibility without overwhelming the ear's natural folds.
Step 2: Mapping 4mm Earrings to Your Face Shape
Because micro-studs sit flush against the skin, they interact directly with your facial geometry. Unlike large hoops or dangles that alter the perceived silhouette of your jawline, 4mm earrings act as subtle highlights that draw the eye to specific zones of the ear and face.
- Round Faces: Opt for angular 4mm shapes. A 4mm princess-cut diamond or a square bezel-set sapphire introduces structural contrast, subtly sharpening soft jawlines and cheekbones.
- Oval Faces: You have the versatility to wear any shape. A classic 4mm round cabochon opal or a 4mm spherical pearl provides a timeless, balanced look that complements your natural proportions.
- Square Faces: Soften strong angles with organic 4mm designs. Think 4mm floral motifs, teardrop-shaped micro-studs, or clusters of tiny bezel-set gems that form a curved 4mm silhouette.
- Heart-Shaped Faces: Draw attention downward by placing 4mm earrings in the lower lobe or tragus. A 4mm champagne diamond in the standard lobe piercing anchors the ear beautifully without adding width to the forehead.
Step 3: Selecting the Right Material, Gauge, and Post Length
The most common failure mode when buying 4mm earrings online is ignoring the hardware beneath the decorative top. According to the Association of Professional Piercers (APP), the material and post dimensions are just as vital as the aesthetic top, especially for fresh or easily irritated piercings.
For the decorative top, ensure you are getting genuine materials. If purchasing gemstones, verify the cut and setting. The Gemological Institute of America (GIA) notes that micro-pave or prong settings in 4mm earrings are highly susceptible to losing stones if the prongs are not laser-welded or properly bezel-set. Always opt for bezel or flush settings for everyday wear.
Hardware Matrix: Matching 4mm Tops to Your Piercing
| Piercing Location | Recommended Gauge | Ideal Post Length (Healed) | Ideal Post Length (Fresh/Swollen) | Best Material Grade |
|---|---|---|---|---|
| Standard Earlobe | 18G (1.0mm) | 6mm (1/4") | 8mm (5/16") | 14k/18k Solid Gold, Niobium |
| Helix / Flat | 16G (1.2mm) | 6mm (1/4") | 8mm to 10mm | ASTM F136 Titanium |
| Tragus | 16G (1.2mm) | 5mm to 6mm | 8mm (3/8") | ASTM F136 Titanium |
| Conch | 16G (1.2mm) | 6mm to 8mm | 10mm to 12mm | 14k Solid Gold, Titanium |
Note: Never use a post that is too short for a fresh piercing. A 4mm top has a base plate that takes up 1mm to 1.5mm of the post length. If you use a 6mm post on a swelling helix, the jewelry will embed into the tissue, requiring emergency surgical intervention.
Step 4: The Step-by-Step Curated Ear Stack
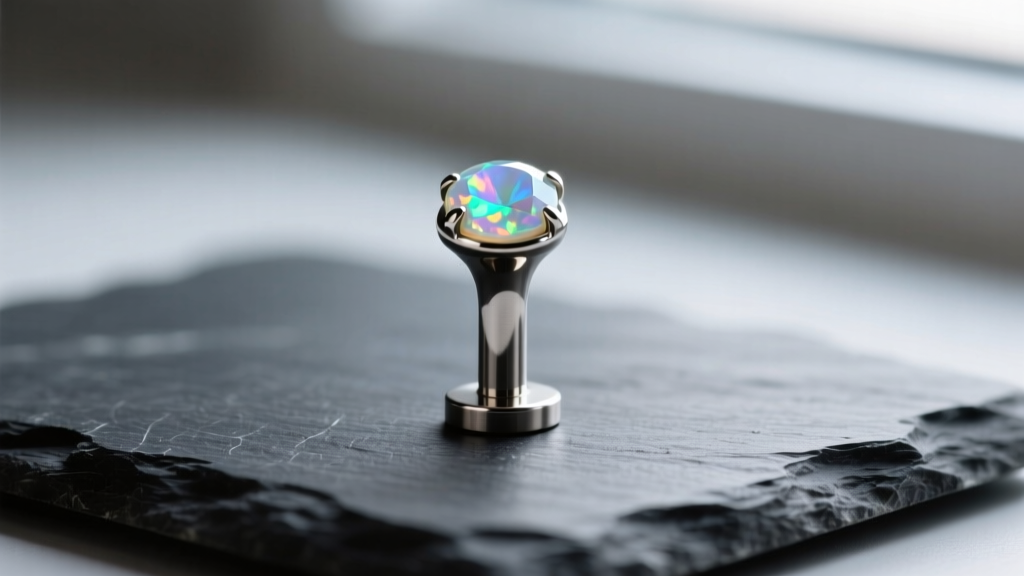
Integrating 4mm earrings into a curated ear requires an understanding of visual weight. Master piercers utilize the "Anchor and Satellite" methodology to create cohesive stacks without looking cluttered.
Scenario A: The Lobe Trio
- The Anchor (Lower Lobe): Start with a larger piece, such as a 7mm or 8mm hoop or a diamond cluster.
- The Bridge (Mid Lobe): Place your 4mm earring here. A 4mm bezel-set emerald or sapphire provides a solid block of color that bridges the gap between the lower lobe and the upper lobe.
- The Satellite (Upper Lobe): Finish with a tiny 2mm or 3mm micro-stud to taper the visual weight upward toward the helix.
Scenario B: The Cartilage Column
- The Conch Anchor: A 10mm or 12mm clicker hoop or a large 8mm cabochon stud in the conch.
- The Flat/Helix Accent: Use two 4mm earrings spaced evenly in the flat or upper helix. Matching 4mm opals create a beautiful, symmetrical column that draws the eye upward.
- The Tragus Balance: Ground the stack with a 3mm or 4mm pearl in the tragus to balance the outer rim.
"When stacking, always ensure there is at least 2mm to 3mm of negative space between the edges of your jewelry. Two 4mm earrings placed too closely together will visually merge into a single, awkward 8mm blob, defeating the purpose of micro-styling."
Step 5: Cleaning, Maintenance, and Snag Prevention
The physical profile of your 4mm earring dictates its maintenance routine and longevity. Because 4mm jewelry sits so close to the skin, debris, dead skin cells, and sebum can easily accumulate beneath the base plate, leading to contact dermatitis or localized infections.
The Snag Test and Setting Types
Before committing to a 4mm earring for a high-traffic piercing (like the helix or tragus), evaluate the setting:
- Prong Settings: While prong-set 4mm diamonds offer maximum light refraction, the tiny metal claws are notorious for catching on hair, sweaters, and pillowcases. Reserve prong-set 4mm earrings for healed, lower-lobe piercings where snagging is less frequent.
- Bezel Settings: A metal rim completely encircles the 4mm gemstone. This is the gold standard for cartilage and active lifestyles. The smooth edge glides through hair and clothing without catching.
- Flush/Gypsy Settings: The 4mm stone is set directly into the metal, sitting completely flat. This is the ultimate snag-proof design, ideal for sleepers or athletes.
Daily Cleaning Protocol
To maintain the brilliance of your 4mm earrings and the health of your piercings, implement a weekly deep-clean. Remove the jewelry (only if fully healed) and soak it in a small cup of warm water mixed with a few drops of mild, fragrance-free dish soap. Use a soft-bristled baby toothbrush to gently scrub the underside of the 4mm top and the threading of the post. Rinse thoroughly with distilled water and dry with a lint-free microfiber cloth. For the piercing itself, a simple spray of sterile 0.9% sodium chloride saline solution is all that is required to keep the fistula healthy and free of micro-abrasions.
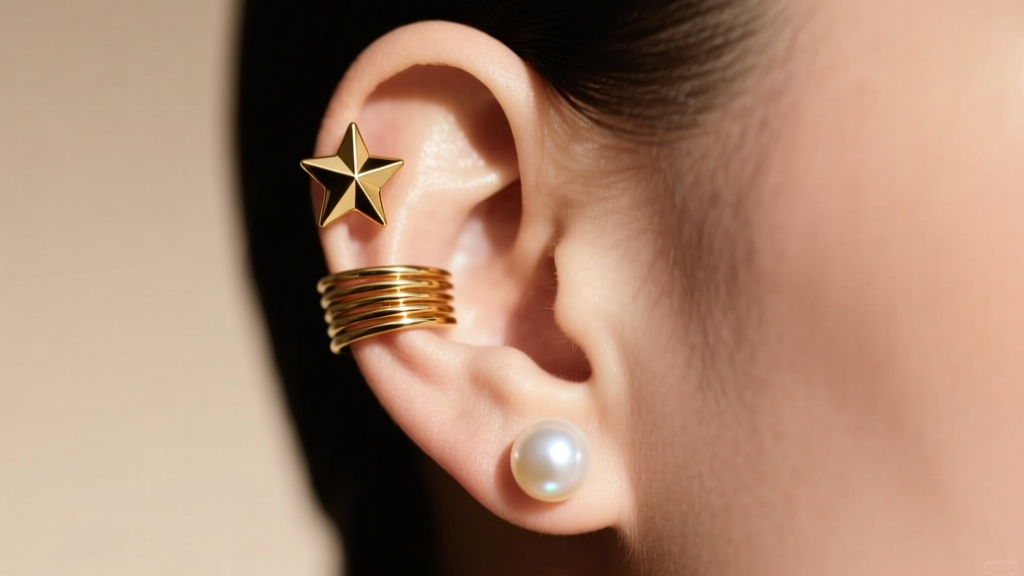
By meticulously selecting the right gauge, prioritizing biocompatible materials, and understanding how a 4mm scale interacts with your unique anatomy, you can elevate your ear styling from basic to masterfully curated. Whether you are healing a fresh helix or refining a multi-lobe stack, the 4mm earring remains the most versatile tool in your jewelry wardrobe.


