Should I Switch Out My Earrings After About 4 Weeks? A Healing Guide
Wondering if you should switch out your earrings after about 4 weeks? Learn the exact healing timelines, safe materials, and step-by-step changing tips.

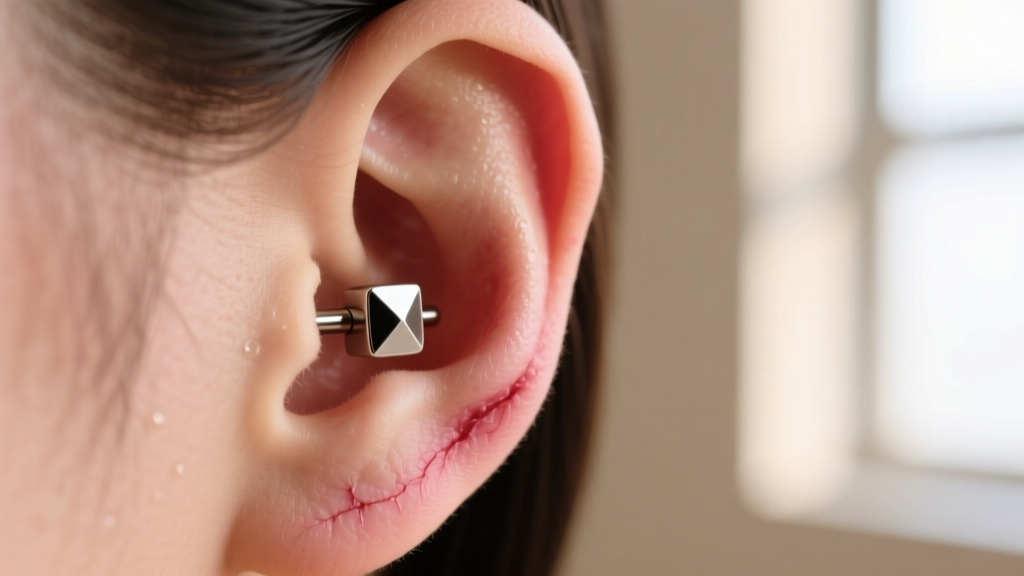
If you have recently gotten your ears pierced, you are likely counting down the days until you can swap your initial jewelry for something more stylish. The most common question we receive at Jewel Style Radar is: should I switch out my earrings after about 4 weeks? It is a critical milestone in the piercing journey, but making the wrong move at this stage can set your healing progress back by months. In this comprehensive guide, we will break down the biological realities of piercing healing, the exact timelines for different ear placements, and a step-by-step protocol for safely changing your jewelry when the time is truly right.
The Short Answer: Why 4 Weeks is Usually Too Soon
The short answer is no, you generally should not switch out your earrings after about 4 weeks. While the outer layer of your skin might look healed, the internal biology tells a different story. When a needle punctures your ear, your body forms a fistula—a tube of new, delicate scar tissue that lines the piercing channel. At the four-week mark, this fistula is still incredibly fragile and immature.
Removing the jewelry at this stage causes the fistula to collapse or shrink within minutes. Forcing a new earring through this partially healed channel causes micro-tears, introducing bacteria and triggering an inflammatory response. According to the Association of Professional Piercers (APP), premature jewelry changes are one of the leading causes of irritation bumps, prolonged healing, and localized infections. Patience is not just a virtue here; it is a biological necessity.
Lobe vs. Cartilage: The Real Healing Timelines
Healing times vary drastically depending on the vascularization of the pierced tissue. Earlobes are highly vascular, meaning they receive a robust blood supply that accelerates healing. Cartilage, on the other hand, is avascular and relies on surrounding tissues for nutrients, making the healing process significantly slower and more temperamental.
| Piercing Location | Minimum Healing Time | Standard Gauge Size | Recommended Initial Jewelry |
|---|---|---|---|
| Standard Earlobe | 6 to 8 weeks (12 weeks for larger gauges) | 20g (0.8mm) or 18g (1.0mm) | Flat-back labret stud |
| Helix / Outer Cartilage | 6 to 12 months | 16g (1.2mm) or 14g (1.6mm) | Flat-back labret stud |
| Tragus / Conch | 6 to 12 months | 16g (1.2mm) | Flat-back labret stud |
| Daith / Rook | 9 to 12+ months | 16g (1.2mm) | Captive bead ring or curved barbell |
As the American Academy of Dermatology (AAD) notes, cartilage piercings require meticulous care for up to a year. If your four-week mark falls within a cartilage healing window, changing the jewelry is strictly prohibited unless performed by a professional piercer to address a medical complication.
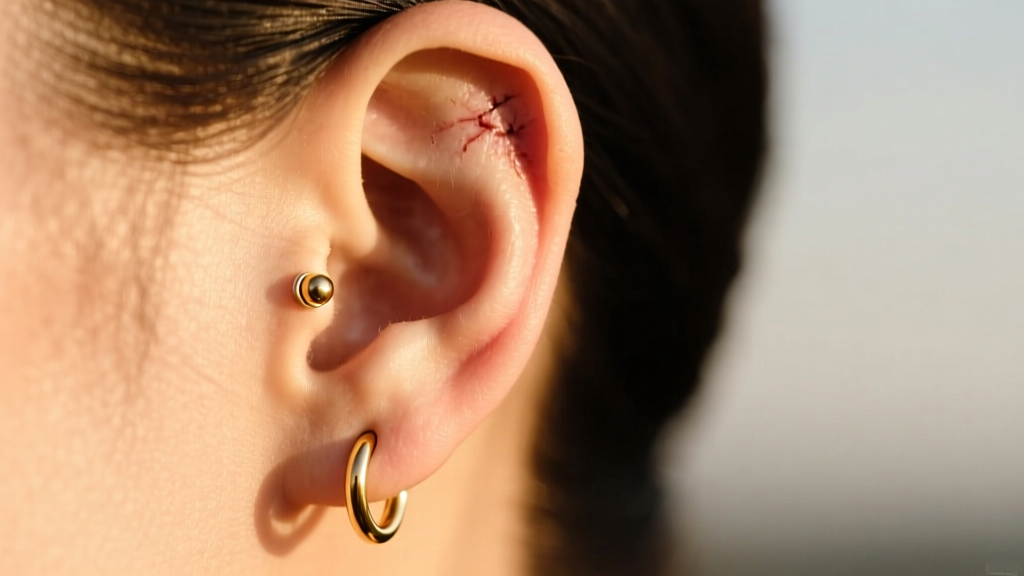
The Danger Zone: What Happens If You Change Them Early
Ignoring the biological timeline and swapping your earrings at week four invites a host of complications. Here is exactly what happens at a microscopic level when you change jewelry too soon:
- Fistula Trauma: The new earring post, even if it is the exact same gauge, has a different bevel or edge. Pushing it through the fragile fistula acts like a scalpel, scraping away the newly formed epithelial cells.
- Allergic Contact Dermatitis: Many people switch from high-quality starter jewelry to cheaper fashion earrings at the four-week mark. Because the micro-tears expose deeper tissue layers to the new metal, the risk of a severe nickel allergy or contact dermatitis skyrockets.
- Moisture Trapping: Switching from a flat-back labret to a butterfly-back stud or a tight hoop introduces crevices where lymph fluid, dead skin cells, and bacteria can accumulate, leading to foul odors and localized infections.
- Irritation Bumps: The physical trauma of forcing jewelry through an unhealed channel signals your body to overproduce collagen, resulting in hypertrophic scarring or granulomas (commonly called 'piercing bumps').
Approved Materials for Fresh and Healing Piercings
When you finally reach the appropriate milestone to change your earrings, the material of the new jewelry is just as critical as the timing. The four-week mark is often when people mistakenly buy 'hypoallergenic' fashion jewelry. True biocompatibility requires specific material grades.
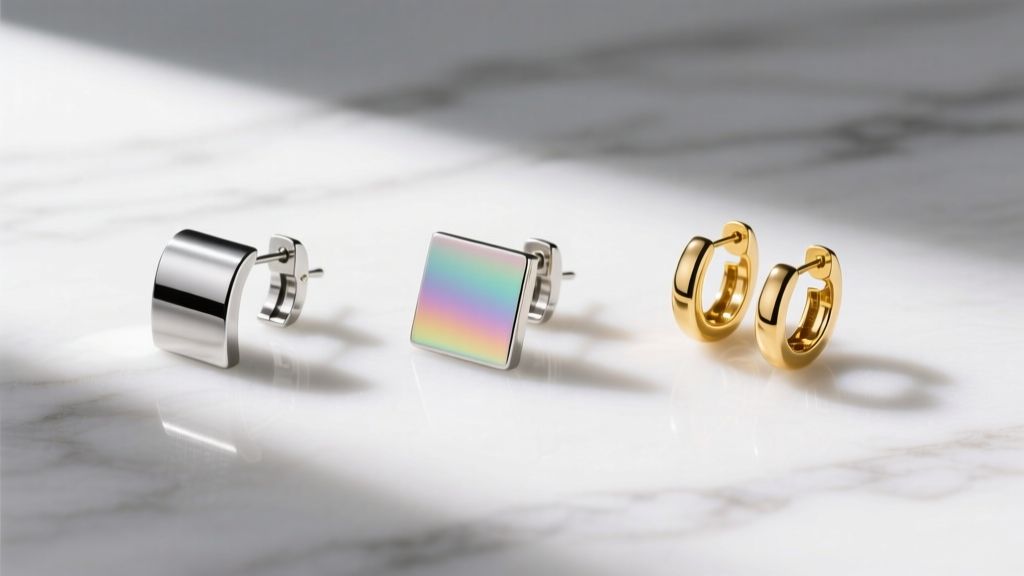
What to Wear
- Implant-Grade Titanium (ASTM F136): The gold standard for healing piercings. It contains zero nickel, is highly polished, and is biologically inert.
- Niobium: A highly reactive metal that is naturally hypoallergenic and can be anodized into various colors without using toxic dyes or platings.
- Solid 14k or 18k Gold: Must be nickel-free and alloyed for biocompatibility. Avoid gold-plated or gold-filled jewelry, as the plating will wear off and expose the reactive base metal underneath.
What to Avoid
- Surgical Stainless Steel (316L): Despite the name, it contains up to 10% nickel, which can leach into an unhealed fistula and cause severe allergic reactions.
- Sterling Silver: Silver is highly porous and tarnishes easily. The oxidation can actually stain the inside of your piercing channel permanently, a condition known as argyria.
- Plastics and Bioplast: These materials are porous, harbor bacteria, and can warp under the natural body heat of an inflamed piercing.
Step-by-Step: How to Safely Switch Your Earrings (When Ready)
Once you have passed the 8-week mark for lobes (or the 6-month mark for cartilage) and your piercer has given you the green light, follow this exact protocol to change your jewelry without causing trauma.
- Prepare Your Workspace: Clean your bathroom sink and lay down a clean paper towel. This prevents your jewelry from falling into a dirty drain or onto a contaminated surface.
- Wash and Dry Hands: Use an antibacterial, fragrance-free liquid soap. Dry your hands with a disposable paper towel, not a cloth towel that harbors bacteria.
- Prep the New Jewelry: Ensure your new earring is sterilized. If it is not pre-sterilized in a pouch, soak it in a 70% isopropyl alcohol solution for 5 minutes and let it air dry completely on a clean paper towel.
- Softening the Area: Take a warm shower or apply a warm, sterile saline compress to the ear for 3 minutes. This softens any dried lymph fluid (crusties) and relaxes the tissue.
- Remove the Old Jewelry: For flat-back labrets, hold the front bead firmly and unscrew the back disc counter-clockwise. If it is stuck, use clean, powder-free nitrile gloves for extra grip. Never use pliers on your own healing ears.
- Insert the New Jewelry: Gently guide the new post through the fistula from the front. Do not force it. If you meet resistance, stop immediately—the channel may have shrunk or the angle may be slightly off. Apply a drop of sterile saline to lubricate the post and try again gently.
- Secure and Clean: Attach the backing securely, but do not overtighten, as this can restrict blood flow and cause necrosis. Spray the area once with sterile saline to flush out any debris introduced during the swap.
Troubleshooting: Signs of Infection vs. Normal Healing
After changing your earrings, it is normal to experience a slight increase in tenderness for 24 to 48 hours as the tissue adjusts to the new jewelry. However, you must be able to differentiate between normal adjustment and a true infection.
Expert Insight: True piercing infections are actually quite rare; what most people mistake for an infection is severe contact dermatitis or mechanical irritation. If the ear is hot to the touch, throbbing, and producing thick, foul-smelling green or yellow pus, seek medical attention immediately. If it is simply red, itchy, and producing clear or pale white lymph fluid, it is likely irritation or a mild allergy.
If you experience severe irritation after a jewelry swap, the best course of action is to downsize to a simpler, high-quality implant-grade titanium flat-back stud, leave it entirely alone, and clean it only once a day with sterile saline. Avoid twisting, turning, or sleeping on the newly swapped ear. By respecting the biological timeline and prioritizing material quality, you ensure your piercing remains a beautiful, lifelong accessory rather than a chronic source of frustration.


