S&Y Earrings Troubleshooting: Fix Tarnish, Clasps & Bent Posts
Learn how to troubleshoot and repair S&Y earrings. Expert fixes for tarnished vermeil, bent 20g posts, and loose backs without damaging the jewelry.

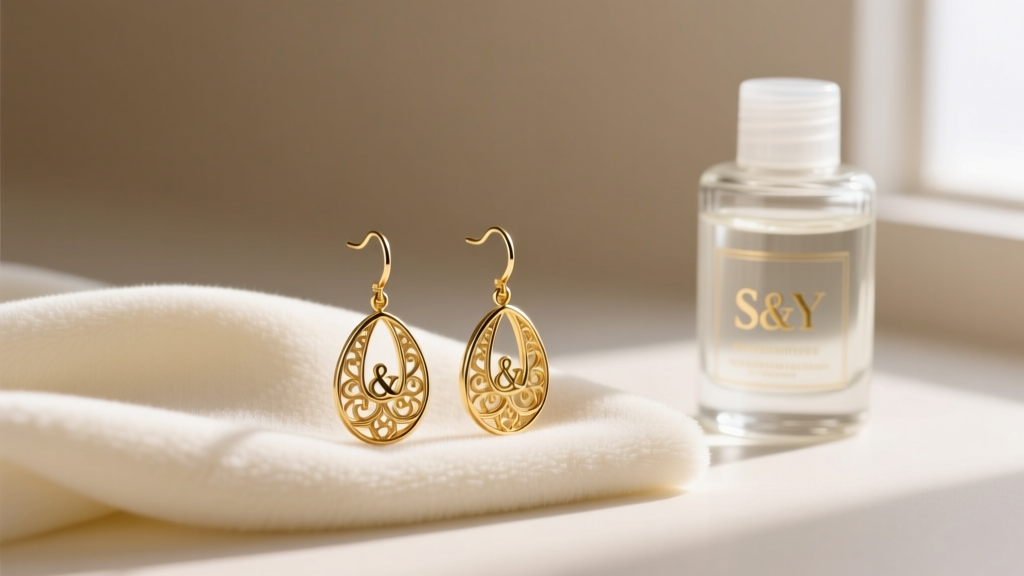
S&Y earrings have carved out a massive niche in the demi-fine jewelry market, offering accessible luxury with their signature 14k gold vermeil and 925 sterling silver designs. However, daily wear exposes these pieces to friction, cosmetics, environmental sulfur, and accidental impacts. When your favorite pair starts showing signs of wear—whether it is a bent post, a dull finish, or a loose backing—knowing how to properly troubleshoot the issue is critical. Misguided DIY repairs can strip gold plating or snap delicate solder joints, turning a simple fix into a total loss.
This comprehensive troubleshooting guide provides actionable, bench-jeweler-approved methods for diagnosing and repairing the most common issues associated with S&Y earrings. We will cover exact material grades, required tooling, and step-by-step repair frameworks to restore your jewelry to its original condition.
The Anatomy of S&Y Earrings: What You Are Working With
Before attempting any repairs or cleaning, you must understand the metallurgy of your jewelry. According to the Federal Trade Commission Jewelry Guides, true gold vermeil requires a base of 925 sterling silver plated with a minimum of 2.5 microns of gold (usually 14k or 18k). S&Y adheres to this standard, meaning you are working with a soft silver core wrapped in a relatively thick but still vulnerable gold layer.
- Base Metal: 925 Sterling Silver (92.5% silver, 7.5% copper alloy for hardness).
- Plating: 14k or 18k Gold Vermeil (2.5+ microns thickness).
- Standard Post Gauge: 20-gauge (0.81mm) for standard studs; 18-gauge (1.02mm) for heavier drops.
- Weak Points: The laser-soldered joint where the post meets the earring base, and the high-friction edges where plating wears thin.
Troubleshooting Matrix: Quick Fixes for Common S&Y Issues
Use the matrix below to quickly diagnose your specific problem and identify the correct intervention strategy. Never apply brute force or harsh chemicals without consulting this framework.
| Issue | Primary Cause | Material Affected | DIY Fix Difficulty | Recommended Tool / Solution |
|---|---|---|---|---|
| Green Skin / Discoloration | Vermeil wear exposing copper alloy | 14k Gold Vermeil | Medium | Rhodium flash plating or clear barrier |
| Bent Earring Post | Sleeping in earrings or improper storage | 925 Silver (20g/18g) | Easy | Nylon-jaw parallel pliers |
| Dull / Cloudy Gemstones | Hairspray, lotion, and sebum buildup | Cubic Zirconia / Moissanite | Very Easy | Soft baby toothbrush & mild dish soap |
| Loose Butterfly Back | Metal fatigue in the friction loops | Brass/Silver plated backs | Very Easy | Upgrade to silicone locking O-rings |
| Severe Tarnish (Black) | Sulfur exposure in humid environments | 925 Sterling Silver (exposed) | Hard | Professional impregnated polishing cloth |
Deep Dive: Restoring Tarnished Gold Vermeil Without Stripping
Tarnish on S&Y earrings usually appears as dark, brassy, or black spots along the edges, clasps, or post bases. This occurs because the 7.5% copper in the 925 sterling silver core reacts with sulfur and moisture in the air to form copper sulfide. When the gold vermeil wears thin in high-friction areas, this tarnish becomes visible.
The Chemical Dip Disaster
The most catastrophic mistake owners make is using liquid silver dips (like Tarn-X). These solutions contain thiourea and hydrochloric acid. While they instantly remove silver tarnish, they will aggressively strip the 2.5-micron gold layer off your S&Y earrings in seconds, leaving you with a dull, matte, uneven silver finish that cannot be undone at home. The GIA Gem Encyclopedia strongly advises against chemical dips for any plated or porous jewelry.
The Mechanical Polishing Solution
To safely remove tarnish, you must use a dry, impregnated polishing cloth (such as a Sunshine cloth). These cloths contain micro-abrasives and anti-tarnish agents embedded in the fabric. Step 1: Lay the earring on a flat, soft surface. Step 2: Gently rub the tarnished, exposed silver areas using light pressure. Step 3: Avoid aggressively rubbing the heavily plated gold sections, as micro-abrasives can slowly wear down the vermeil over time. Never use a rotary tool (like a Dremel) or a motorized polishing wheel, as the heat and friction will melt the soft gold plating right off the silver core.
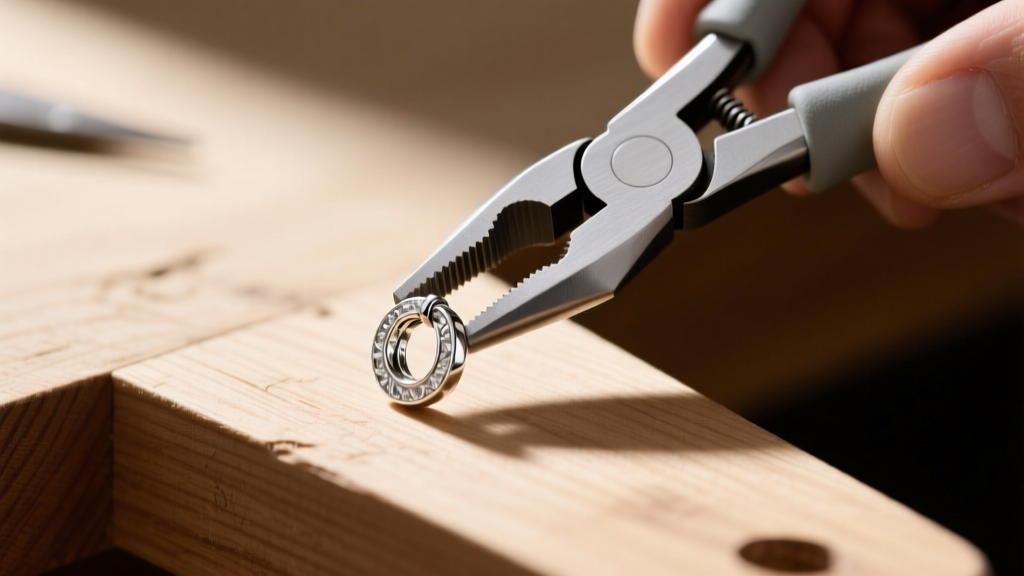
Fixing Bent Posts Without Snapping the Solder Joint
Because S&Y typically uses 20-gauge (0.81mm) posts made of soft 925 sterling silver, bending is inevitable if you sleep in your earrings or drop them on a hard surface. The critical vulnerability is the laser-soldered joint where the post meets the earring body. If you apply leverage incorrectly, the post will snap cleanly off at the base.
Expert Warning: Never use standard steel needle-nose pliers to bend a silver post. Steel is significantly harder than sterling silver and will leave deep, permanent gouges in the metal, creating weak points that will eventually snap.
The Correct Repair Method: You need a pair of nylon-jaw parallel pliers. The nylon grips the silver firmly without scratching or marring the surface. 1. Examine the post under a 10x jeweler's loupe to locate the exact apex of the bend. 2. Support the base of the earring firmly with your non-dominant thumb to absorb any downward torque. 3. Grip the post with the nylon pliers exactly at the bend. 4. Apply gentle, incremental pressure to straighten the shaft. Do not attempt to bend the post right at the solder joint; if the bend is at the very base, the earring requires professional laser welding.
Upgrading Loose Friction Backs to Secure Locks
The standard friction 'butterfly' backs included with S&Y studs rely on two small metal loops that grip the grooved post. Over months of daily wear, these loops stretch out, leading to a terrifying lack of resistance and, eventually, lost earrings. If your earring back slides off with zero resistance, do not try to pinch the metal loops tighter with pliers; this often deforms them permanently and ruins the tension.
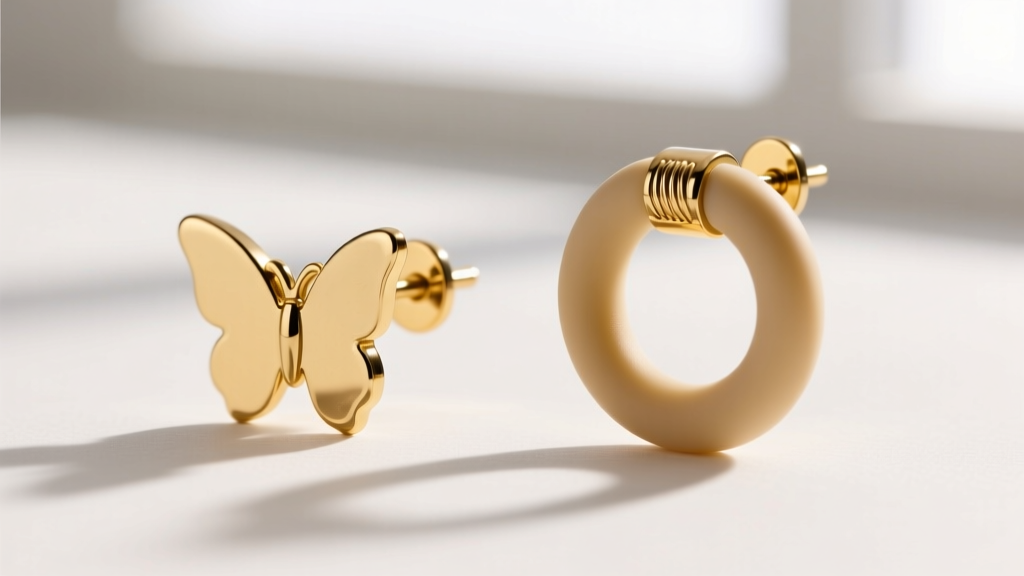
Budget Fix: Silicone Locking O-Rings
For a highly secure, budget-friendly fix ($5 to $10 for a multi-pack), discard the metal backs and use medical-grade silicone locking O-rings. These slide over the standard 20-gauge post and grip via material memory and high-friction silicone. They are completely hypoallergenic, invisible from the front, and eliminate the risk of loss during sleep or exercise.
Premium Fix: La Pousette Locking Backs
For a permanent, luxury upgrade, take your S&Y earrings to a local bench jeweler and ask for 14k yellow gold 'La Pousette' locking backs. These feature a mechanical push-button locking mechanism that clicks securely into the post's groove. While they cost roughly $30 to $50 per pair, they guarantee your investment stays safely in your ears and add a high-end mechanical satisfaction to your daily routine. For more on secure earring mechanisms, consult the Jewelers of America care guidelines.
When to Seek Professional Bench Jeweler Services
While DIY troubleshooting can solve 80% of daily wear issues, certain failure modes require professional intervention. Do not attempt to fix the following issues at home:
- Snapped Solder Joints: If the post breaks off flush with the earring base, a jeweler must use a laser welder to reattach it without melting the surrounding gold vermeil. Cost: $25 - $45.
- Severe Vermeil Loss: If the gold plating has completely worn off the front face of the earring, a professional electroplater can strip the remaining gold and apply a fresh 2.5-micron layer. Cost: $40 - $75.
- Missing Pavé Stones: S&Y earrings featuring micro-pavé settings require a microscope and specialized setting burs to replace lost cubic zirconia or diamonds. Cost: $15 - $30 per stone.
Preventative Maintenance for Long-Term Wear
Troubleshooting is reactive; maintenance is proactive. To extend the life of your S&Y earrings and prevent the issues outlined above, implement a strict storage and wearing protocol. Always remove your earrings before showering, swimming, or applying hairspray. The chlorine in tap water and the aerosolized chemicals in cosmetics will rapidly degrade the gold vermeil and accelerate copper sulfide tarnishing.
When not in use, store your S&Y earrings in an airtight anti-tarnish bag with a 3M anti-tarnish strip. These strips absorb ambient sulfur and moisture, effectively pausing the chemical reaction that causes silver to turn black. By combining proper storage with the precise repair techniques detailed in this guide, your demi-fine jewelry will maintain its structural integrity and brilliant finish for years to come.


