Troubleshooting a 3 Earring Piercing: Healing & Sizing Fixes
Expert troubleshooting for a 3 earring piercing. Solve healing bottlenecks, migration, and sizing issues with our definitive lobe stack guide.

The Biomechanics of a 3 Earring Piercing Setup
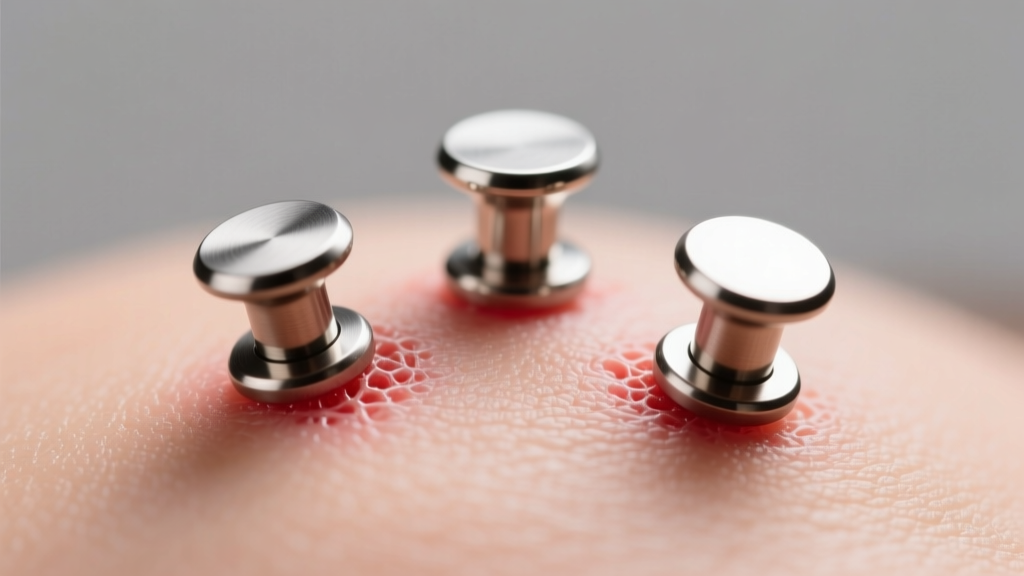
Curating a stacked ear is a hallmark of modern jewelry styling, and the 3 earring piercing (commonly known as a triple lobe or lobe constellation) remains one of the most requested configurations in 2026. However, placing three distinct fistulas within the same localized tissue zone creates unique biomechanical and immunological challenges. When you trauma the lobe three times in a single session, the body’s lymphatic drainage system becomes bottlenecked. Swelling from the lowest piercing often pushes upward, compressing the middle hole, while the top hole may experience delayed healing due to restricted blood flow from the surrounding inflammation.
Whether you are dealing with persistent crusties, uneven healing timelines, or jewelry that constantly snags, troubleshooting a multi-lobe setup requires a clinical approach to sizing, materials, and aftercare. Below, we break down the exact failure modes of triple lobe stacks and how to fix them.
Troubleshooting the Healing Bottleneck
Why Hole #3 Always Swells the Most
The standard first lobe piercing sits in the thickest, most vascular part of the earlobe, typically healing in 6 to 8 weeks. The second hole sits slightly higher, where the tissue begins to thin. The third hole, however, is often placed near the anti-tragus or the lower cartilage border. This area features denser, less pliable tissue and is highly susceptible to gravity-dependent edema (swelling).
If your third hole is angry, red, and weeping lymph fluid while the top hole looks perfectly healed, you are experiencing a cascade healing delay. The fix: Do not treat all three holes with the same timeline. According to the Association of Professional Piercers (APP), you must allow for staggered healing. Keep the initial long posts in the bottom two holes for at least 8 to 12 weeks, even if the top hole is ready for a downsize at week 6.
The Sizing Matrix: Gauges, Posts, and Threading
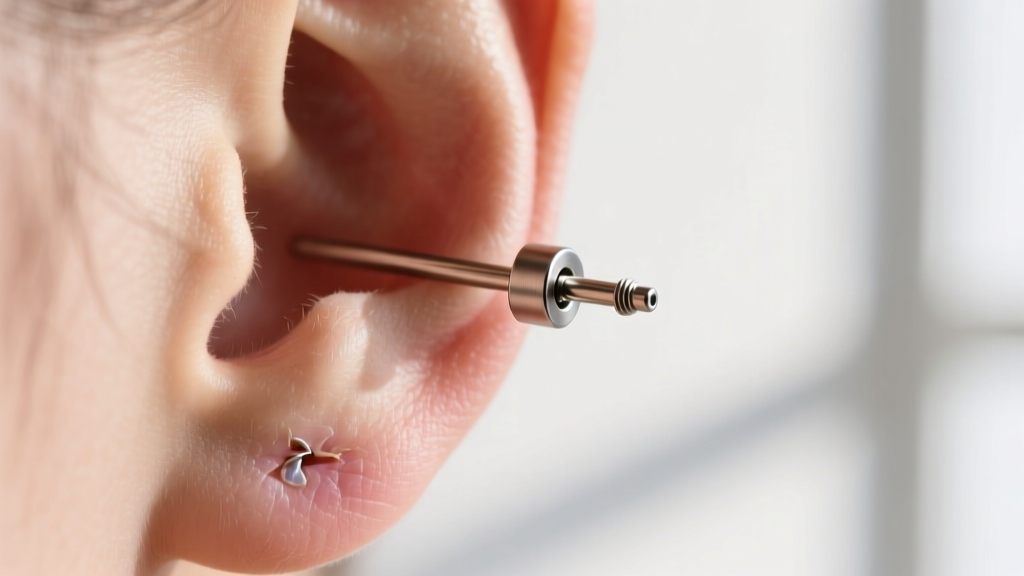
The most common reason a 3 earring piercing fails to heal symmetrically is improper initial jewelry sizing. Using standard 20-gauge butterfly-back earrings for a fresh triple stack is a recipe for migration and irritation bumps. The narrow wire concentrates pressure, while the bulky backing traps bacteria and blocks airflow.
For a stable, long-lasting stack, professional piercers in 2026 overwhelmingly recommend 16-gauge or 18-gauge flat-back labrets made from ASTM F-136 implant-grade titanium. Below is the definitive sizing matrix for a triple lobe setup:
| Hole Position | Recommended Gauge | Initial Post Length | Downsized Post Length | Best Jewelry Type |
|---|---|---|---|---|
| Hole 1 (Standard Lobe) | 16g or 18g | 8mm (5/16") | 6mm (1/4") | Threadless Flat-Back Labret |
| Hole 2 (Mid Lobe) | 16g or 18g | 9mm or 10mm | 6mm or 7mm | Threadless Flat-Back Labret |
| Hole 3 (Upper/Edge Lobe) | 16g (Preferred) | 10mm or 11mm | 7mm or 8mm | Internally Threaded or Threadless |
Note: The third hole often requires a slightly longer downsized post (7mm-8mm) because the tissue near the cartilage border remains naturally thicker and less compressible than the fleshy center of the lobe.
Migration and the "Cheese Cutter" Effect
One of the most severe complications in a 3 earring piercing is the "cheese cutter" effect. This occurs when a heavy hoop or dangle earring is worn on a thin gauge (like 20g or 18g) in the bottom or edge hole. The weight of the jewelry pulls downward, and the thin wire slowly slices through the fistula, causing the piercing to migrate toward the edge of the ear and eventually reject entirely.
Expert Rule of Thumb: Never place a piercing closer than 6mm (1/4 inch) to the absolute edge of the earlobe. If your third hole was placed too close to the margin, avoid hoops entirely. Stick to lightweight, 16-gauge threadless studs with small ends (3mm or 4mm) to distribute the physical load and preserve the tissue integrity.
If you notice the hole elongating into a slit rather than remaining a perfect circle, remove the heavy jewelry immediately and switch to a 16-gauge glass retainer or a lightweight titanium stud to allow the tissue to contract and heal.
Material Science: Why Titanium is Non-Negotiable
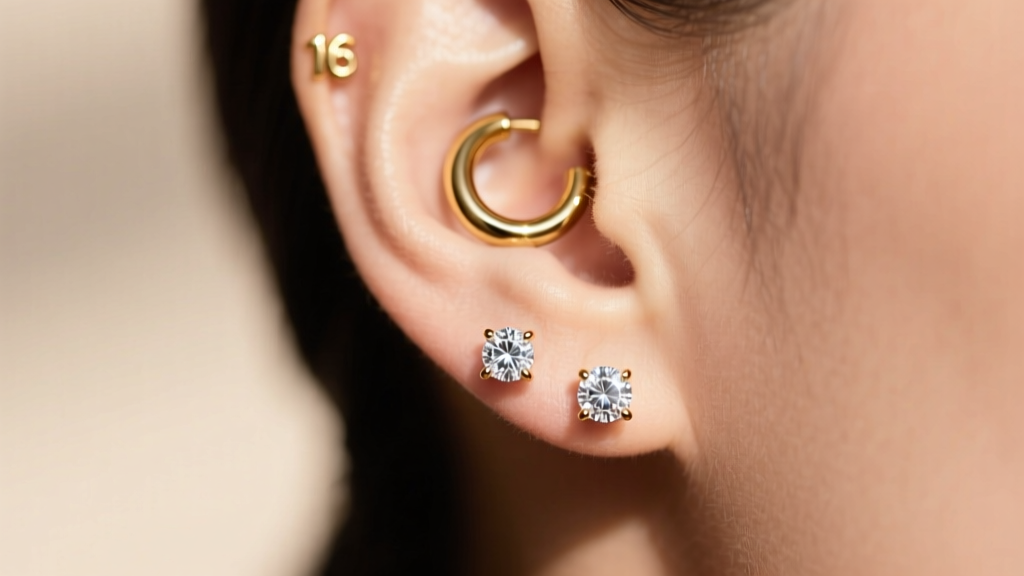
When managing three open wounds in a two-inch radius, the metallurgy of your jewelry dictates your healing success. The APP’s jewelry guidelines strictly advise against surgical steel for initial piercings due to its nickel content. With a triple stack, the cumulative exposure to nickel can trigger localized contact dermatitis, presenting as itchy, flaky, and weeping skin around all three holes.
- ASTM F-136 Implant-Grade Titanium: The gold standard. It is entirely nickel-free, highly polished, and biocompatible.
- Niobium: A safe alternative for those who want darker, anodized colors during the healing phase.
- Solid 14k or 18k Gold: Only acceptable if it is alloyed for body safety (nickel-free) and introduced after the initial 12-week healing bottleneck has passed.
The Downsizing Protocol: A Week-by-Week Guide
Failing to downsize your posts once the initial swelling subsides is the leading cause of snagging and subsequent irritation bumps. However, downsizing too early will cause the jewelry to embed into the still-swelling tissue. Follow this staggered protocol for your 3 earring piercing:
- Weeks 1-4 (The Peak Swelling Phase): Leave all initial long posts completely alone. Clean twice daily with sterile 0.9% sodium chloride saline spray. Do not use tea tree oil, alcohol, or harsh soaps, which will cause chemical burns on compromised tissue.
- Weeks 5-6 (First Assessment): Check Hole 1. If the lobe is soft and the post is visibly protruding, visit your piercer to downsize Hole 1 to a 6mm post. Leave Holes 2 and 3 alone.
- Weeks 8-10 (Second Assessment): Evaluate Hole 2. The mid-lobe tissue should now be relaxed. Downsize to a 6mm or 7mm post depending on your specific anatomy.
- Weeks 12-16 (Final Assessment): Hole 3 is finally ready. Because of its proximity to the cartilage, it will hold swelling the longest. Downsize to a 7mm or 8mm post, ensuring the flat back sits flush against the skin without compressing the fistula.
Solving the Sleep and Snagging Dilemma
Sleeping on a fresh triple stack is notoriously difficult. The pressure from a standard pillow can push the flat backs into the tissue, causing necrosis or severe irritation bumps. Furthermore, the friction from cotton pillowcases can catch on the decorative ends, twisting the jewelry and tearing the fragile fistula lining.
The 2026 Solution: Invest in a dedicated piercing pillow (a U-shaped travel pillow or a specialized foam donut pillow). By placing your ear in the center void, you eliminate direct pressure on all three holes simultaneously. Additionally, switch to a silk or satin pillowcase to reduce friction coefficients, ensuring that if your ear does brush the fabric, it glides rather than snags.
Final Thoughts on Curation
A successful 3 earring piercing is a marathon, not a sprint. By respecting the biological reality of staggered healing, insisting on 16-gauge implant-grade titanium, and adhering to a strict downsizing schedule, you will build a flawless foundation for your curated ear stack. Patience and precision metallurgy are the ultimate tools in your troubleshooting arsenal.


