The Ultimate Buying Guide to Tiny Diamond Stud Earrings
Discover how to choose the perfect tiny diamond stud earrings. Learn about mm sizes, clarity grades, secure backings, and pricing for everyday wear.

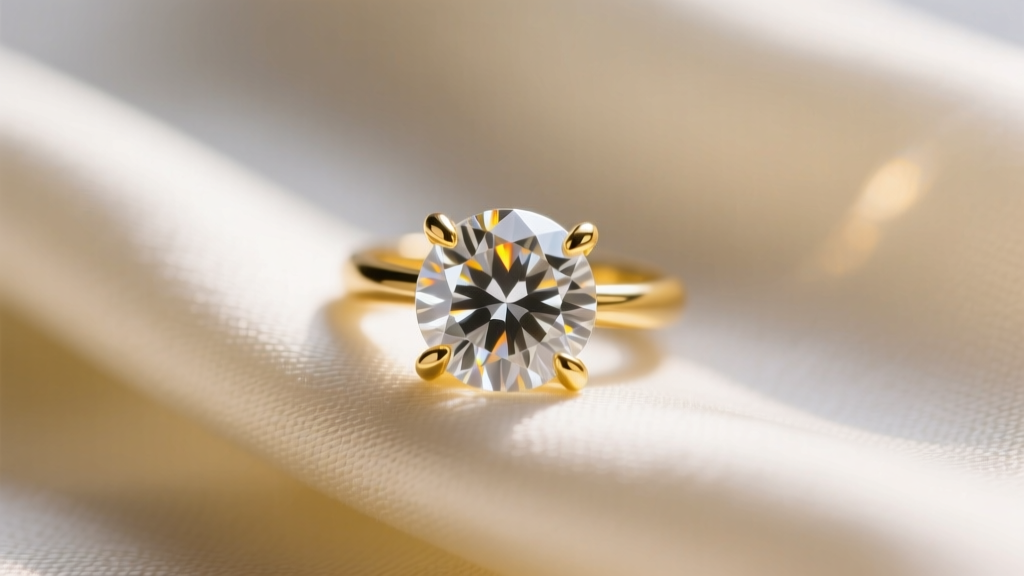
Tiny diamond stud earrings—often referred to as micro studs or everyday diamonds—have cemented their status as the ultimate minimalist jewelry staple. Whether you are curating an ear stack, shopping for a second-hole piercing, or simply seeking a subtle, understated sparkle for the office, micro studs offer unparalleled versatility. However, buying a 2mm diamond requires a completely different strategy than purchasing a 1-carat solitaire. The rules of diamond grading shift dramatically at the micro level, and understanding these nuances is the key to maximizing your budget without sacrificing brilliance.
In this comprehensive buying guide, we break down the exact specifications, setting styles, and structural details you need to know to find the perfect pair of tiny diamond stud earrings in 2026.
Decoding the Specs: Carat Weight vs. Millimeter Size
The most common mistake buyers make with micro diamonds is fixating solely on Carat Total Weight (CTW). Because tiny diamonds are so lightweight, jewelers often sell them in fractional carat weights that can be confusing. More importantly, carat weight does not perfectly correlate to the visual footprint of the stone. When buying tiny studs, millimeter (mm) size is your most reliable metric for visual impact.
| Total Carat Weight (CTW) | Individual Stone Weight | Approximate Diameter (mm) | Best Use Case |
|---|---|---|---|
| 0.05 ctw | 0.025 carats | 1.3mm - 1.5mm | Cartilage piercings, subtle ear stacks |
| 0.10 ctw | 0.05 carats | 1.8mm - 2.0mm | Everyday lobe wear, second piercings |
| 0.15 ctw | 0.075 carats | 2.3mm - 2.5mm | Standalone minimalist lobe studs |
| 0.25 ctw | 0.125 carats | 2.8mm - 3.0mm | Classic everyday studs, noticeable sparkle |
Pro Tip: If you want the look of a 0.25 ctw pair but have a 0.10 ctw budget, opt for a bezel setting. The metal rim adds roughly 0.5mm to 0.8mm to the overall diameter, creating a visual illusion of a much larger stone.
Re-Evaluating the 4Cs for Micro Diamonds
The traditional diamond grading hierarchy goes out the window when stones drop below the 3mm threshold. According to the Gemological Institute of America (GIA), the way light interacts with a diamond's anatomy changes based on its physical dimensions. Here is how you should prioritize the 4Cs for tiny diamond studs to get the most value.
1. Cut: The Non-Negotiable Factor
Cut is the only 'C' you should never compromise on, even at the micro level. A poorly cut 2mm diamond will look like a dull, cloudy piece of glass because light leaks out of the pavilion rather than reflecting back to the eye. Always insist on an 'Ideal' or 'Excellent' cut grade. Many premium jewelers utilize Hearts and Arrows precision cutting for their micro diamonds, ensuring maximum scintillation even in stones as small as 1.5mm.
2. Clarity: Stop Overpaying for Flawless
In a 1-carat diamond, an SI2 clarity grade might feature visible carbon inclusions. In a 2mm diamond, those exact same inclusions are physically impossible to see without a 10x jeweler's loupe. SI1 or SI2 clarity is completely eye-clean at the micro scale. Paying a premium for VVS (Very Very Slightly Included) or IF (Internally Flawless) grades in tiny studs is a waste of capital. Reallocate those funds toward a better cut or a higher-quality metal setting.
3. Color: Match Your Metal
Color grading is highly dependent on the metal setting. If you are choosing 14k or 18k yellow or rose gold, the warm reflections of the metal will mask lower color grades. You can comfortably drop down to J or K color without noticing any yellow tint. For white gold or platinum settings, stick to the G-H near-colorless range. Paying for D-F colorless grades in micro studs yields zero visible return on investment.
Setting Styles: Security Meets Aesthetics
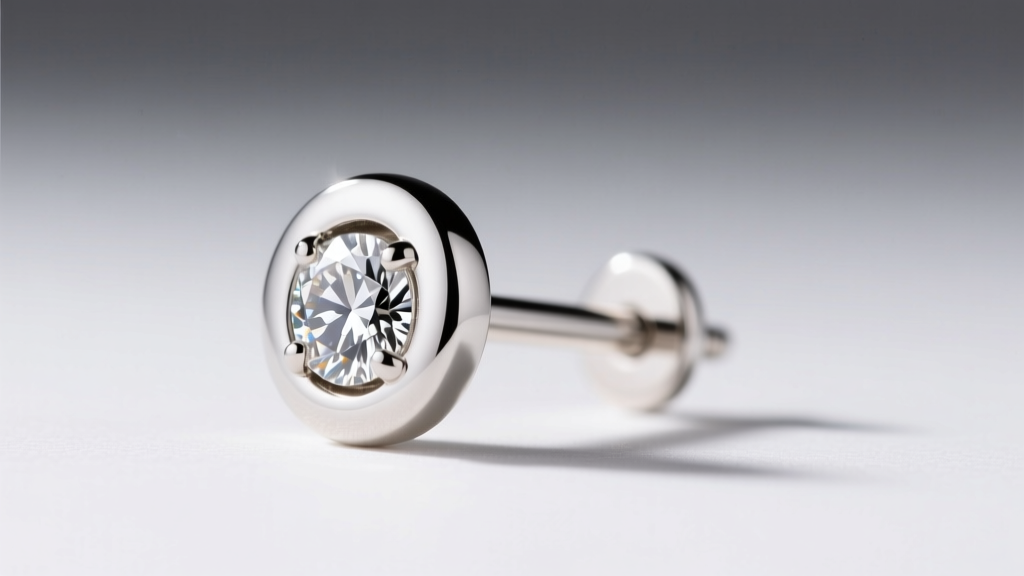
Because tiny diamonds have a very small surface area, the setting must securely grip the stone without completely obscuring it. The three most common settings for micro studs include:
- The Martini (3-Prong): The classic choice. Three delicate prongs hold the stone, allowing maximum light entry from the sides. The low-profile basket sits flush against the earlobe, preventing the earring from drooping.
- The 4-Prong Square: Offers slightly more security than the martini and gives the round diamond a subtle, modern geometric outline.
- The Bezel: A continuous rim of metal encircles the diamond's girdle. While it blocks some side light, it offers ultimate protection against snagging on hair or clothing, making it the premier choice for active lifestyles and sleeping.
Jeweler's Insight: When buying prong-set micro studs, ensure the prongs are laser-tacked or meticulously hand-finished. Thick, bulky prongs on a 1.5mm stone will make it look like a tiny diamond trapped in a metal cage, destroying its delicate aesthetic.
Earring Backings: Post Gauge, Length, and Comfort
The backing mechanism is arguably the most overlooked aspect of buying tiny diamond stud earrings. Standard friction posts can cause discomfort, especially if you sleep in your jewelry or have sensitive cartilage piercings. Understanding post gauge (thickness) and length is critical for long-term wear.
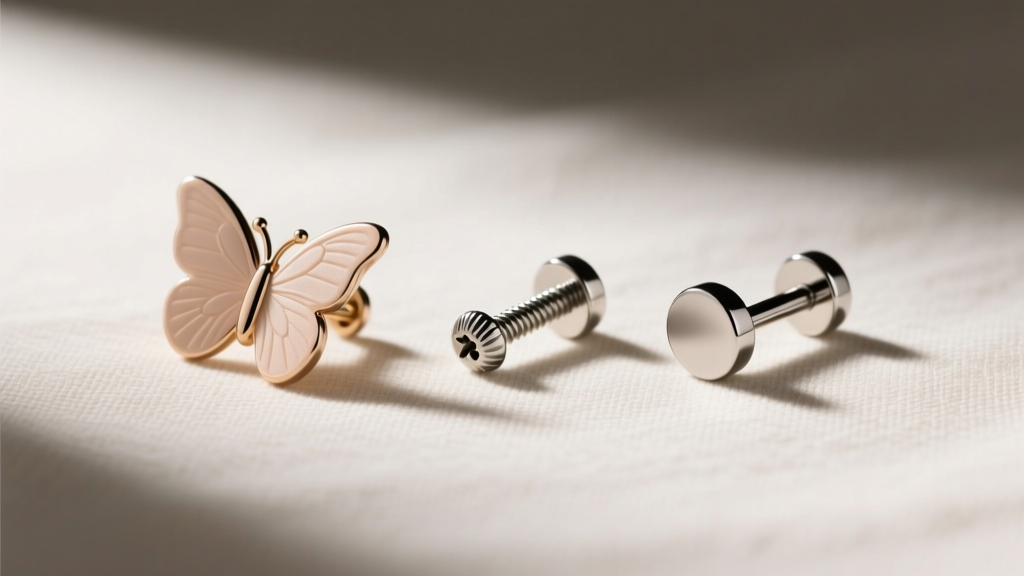
Standard Butterfly (Friction) Backs
Most commercial tiny studs come with 20-gauge (0.8mm) posts and butterfly clutches. While affordable and ubiquitous, the sharp ends of the post often poke the side of the neck during sleep. Furthermore, the grooves on a standard post can trap dead skin and bacteria, requiring rigorous cleaning.
Screw-Backs
Screw-backs feature a threaded post and a backing that screws on securely. They are excellent for preventing loss, which is vital if you are wearing natural diamonds. However, the threading can make them tedious to put on and take off daily, and the threads can wear down over years of use.
Flat-Back Labrets (The Comfort King)
For the ultimate comfort, especially for second piercings, tragus, or helix placements, seek out tiny diamond studs designed as flat-back labrets. These feature a flat disc that rests flush against the back of the ear.
What to look for: Opt for a 16-gauge (1.2mm) or 18-gauge (1.0mm) post made of implant-grade titanium or solid 14k gold. Ensure the post length is 6mm for standard lobes or 8mm for thicker cartilage. Flat-backs eliminate the 'poke' factor entirely, allowing you to sleep comfortably on your side.
Natural vs. Lab-Grown: 2026 Pricing Realities
The market for lab-grown diamonds has matured significantly, offering identical chemical and optical properties to mined diamonds at a fraction of the cost. Because tiny diamonds require less rough material to produce, the price gap between natural and lab-grown at the micro level is narrower than it is for large solitaires, but the savings are still substantial.
| Specification (CTW) | Natural Diamond Price Range | Lab-Grown Diamond Price Range |
|---|---|---|
| 0.05 ctw (1.5mm) | $120 - $200 | $40 - $80 |
| 0.10 ctw (2.0mm) | $180 - $350 | $60 - $130 |
| 0.25 ctw (3.0mm) | $350 - $650 | $120 - $220 |
Note: Prices reflect the current 2026 market for 14k/18k gold settings with G-H color and SI1 clarity. Platinum settings will add approximately $50-$100 to the base price.
Maintenance: Keeping Micro Diamonds Sparkling
Tiny diamonds are notorious for looking cloudy after just a few days of wear. Because the physical distance between the table (top) and the culet (bottom point) of a 2mm diamond is so small, even a microscopic layer of hand lotion, hairspray, or natural skin oils will completely block light return.
To maintain brilliance, avoid applying cosmetics while wearing your studs. Once a week, soak the earrings in a small bowl of warm water with a drop of gentle dish soap for 10 minutes. Use a soft-bristled baby toothbrush to gently sweep the underside of the diamond (the pavilion), where oil accumulates most heavily. Rinse with warm water and dry with a lint-free cloth. For more information on proper diamond care and structural integrity, refer to the GIA's guide to Diamond Anatomy.
Expert Buying Checklist
Before you finalize your purchase, run through this quick checklist to ensure you are getting a high-quality pair of tiny diamond stud earrings:
- Cut Grade: Confirmed as Ideal or Excellent (never compromise here).
- Clarity/Color: SI1/SI2 clarity and G-H color (or lower for yellow gold) to maximize budget.
- Setting Profile: Low-profile basket or bezel to prevent drooping and snagging.
- Post Material: Solid 14k/18k gold or implant-grade titanium (avoid gold-plated brass or sterling silver for fresh or sensitive piercings).
- Backing Type: Flat-back labret for sleeping/comfort, or secure friction/screw-backs for standard daily lobe wear.
By prioritizing optical precision over inflated clarity grades and selecting the right structural hardware for your ear anatomy, you can secure a pair of micro studs that deliver massive brilliance in a beautifully subtle package.


