Troubleshooting Earrings Ear Studs: Fixes for Pain, Allergies & Fit
Solve common issues with earrings ear studs. Learn how to fix metal allergies, cheese cutter effects, embedding, and irritation bumps.
The Hidden Culprits Behind Painful Ear Studs
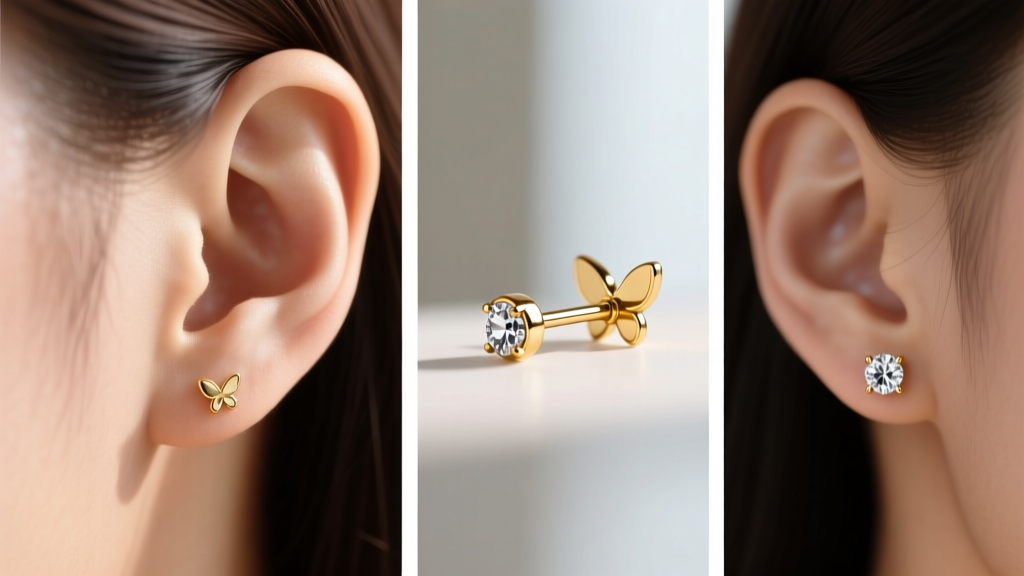
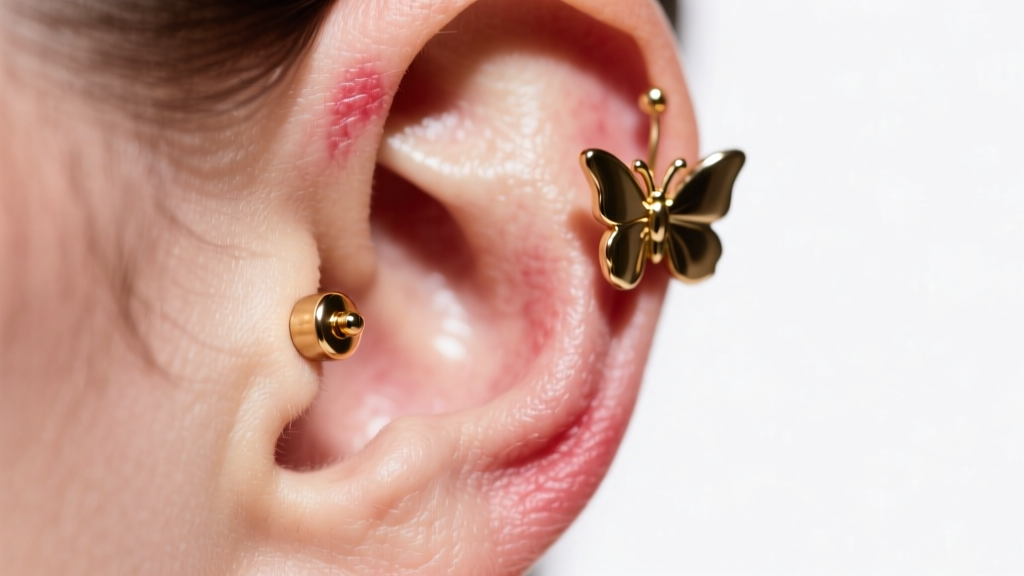
Most jewelry boxes are filled with earrings ear studs that look beautiful on the display card but become unbearable after a few hours of wear. Whether you are dealing with itchy lobes, embedded backings, or mysterious bumps, the root cause almost always traces back to metallurgy, gauge physics, or mechanical design. Commercial jewelry manufacturers often prioritize low production costs over anatomical compatibility, leading to widespread discomfort. In this comprehensive troubleshooting guide, we dismantle the most common failures associated with commercial ear studs and provide exact, actionable specifications to fix them.
The Metal Allergy Matrix: Identifying Your Trigger
If your earlobes become red, flaky, or intensely itchy within hours of wearing your favorite earrings ear studs, you are likely experiencing allergic contact dermatitis. The American Academy of Dermatology notes that nickel allergy is the most common cause of jewelry-related skin reactions, affecting roughly 18% of the population. However, nickel isn't the only offender; cobalt, copper, and certain brass alloys can also trigger immune responses.
Crucially, the term "hypoallergenic" is an unregulated marketing buzzword, not a legal or medical standard. A piece of jewelry stamped "hypoallergenic" can still contain trace amounts of reactive metals. To truly troubleshoot metal sensitivities, you must look at the specific alloy grade and manufacturing standards.
| Material Grade | Nickel Content | Standard / Certification | Troubleshooting Verdict |
|---|---|---|---|
| 316L Surgical Steel | 8% - 10% | N/A (Commercial) | Avoid. High nickel release rate; primary cause of lobe itching. |
| Implant-Grade Titanium | 0% | ASTM F136 | Best Choice. Biocompatible, completely nickel-free, ideal for sensitive ears. |
| 14k/18k Solid Gold | 0% (if alloyed correctly) | N/A | Excellent. Must be verified nickel-free and palladium/silver alloyed. |
| Sterling Silver (925) | Trace / Variable | N/A | Caution. Tarnishes easily; copper content can cause green staining and irritation. |
The Fix: Discard any unverified "surgical steel" or plated earrings ear studs. Replace your daily drivers with ASTM F136 certified implant-grade titanium or verified nickel-free 14k gold.
Gauge and Post Length Mismatches
Have you ever taken out a stud to find a deep, painful indentation on the back of your earlobe? This is a mechanical failure caused by improper gauge sizing and backing design. The vast majority of mass-produced earrings ear studs are manufactured at 20-gauge (0.81mm) or 22-gauge (0.64mm) to save on precious metal costs. However, professional piercers and the Association of Professional Piercers (APP) recommend a minimum of 18-gauge (1.0mm) or 16-gauge (1.2mm) for long-term lobe wear.
The Physics of the "Cheese Cutter" Effect
The "cheese cutter" effect occurs when a thin wire exerts excessive pressure on the fistula (the piercing channel). Because Pressure = Force / Area, a 22-gauge post concentrates the weight of the earring and the tension of the backing onto a microscopic surface area. Over time, this literally slices through the tissue, causing the piercing to migrate downward or tear. Upgrading to a thicker 16-gauge post distributes the pressure evenly, eliminating the slicing sensation.
Troubleshooting Embedding and Swelling
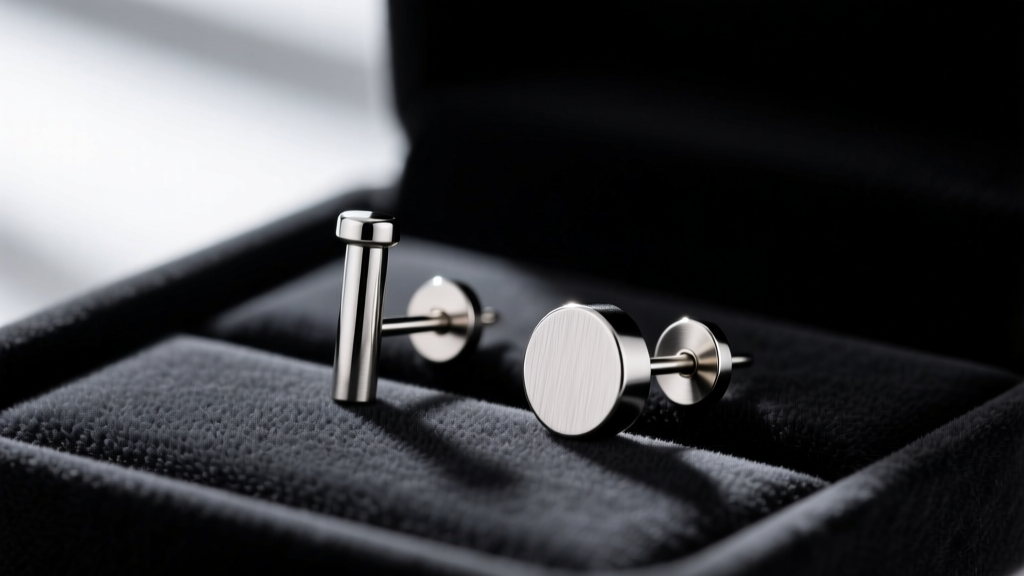
Standard butterfly backs (friction backs) are notorious for causing embedding. When an earlobe swells slightly due to heat, sleep pressure, or minor irritation, the rigid butterfly backing has nowhere to go. It digs into the flesh, trapping dead skin cells, sebum, and bacteria against the wound. This creates a moist, anaerobic environment that leads to foul odors and localized infections.
The Fix: Switch to flat back labrets. A flat back disc rests flush against the posterior of the earlobe, distributing pressure across a wide 3mm to 4mm surface area. For swollen lobes, ensure your post length is at least 8mm to 10mm to accommodate tissue expansion during sleep.
Infection vs. Irritation Bumps: A Diagnostic Guide
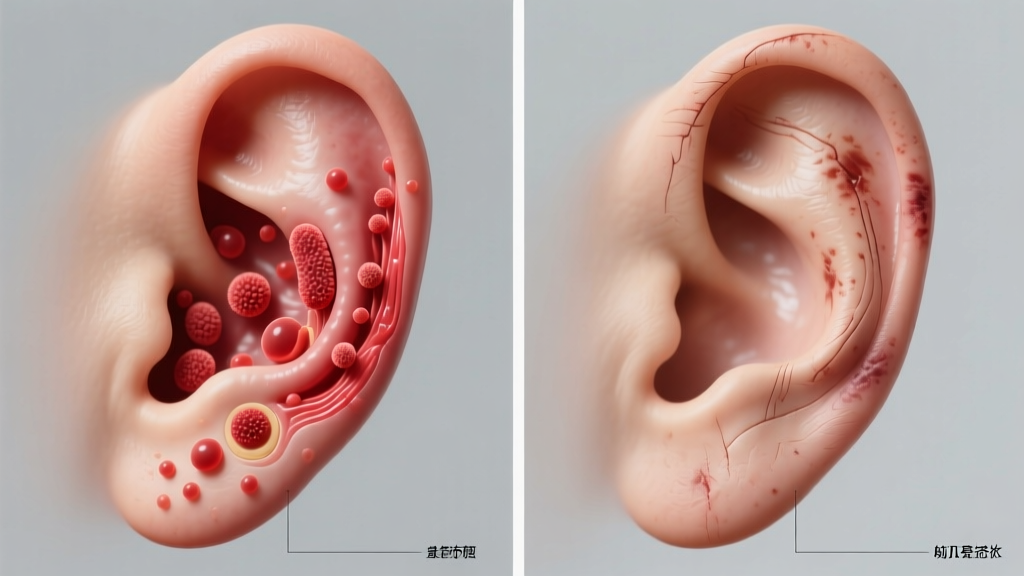
When a bump forms near your earrings ear studs, panic often sets in. However, true bacterial infections are relatively rare in established, healed piercings. Most "bumps" are actually mechanical irritation bumps caused by poor jewelry angles or excessive movement.
- Bacterial Infection: Characterized by throbbing pain, excessive heat, systemic fever, and thick yellow or green purulent discharge. The redness will spread outward from the piercing site in streaks. Action: See a doctor immediately for antibiotics; do not remove the jewelry, as the hole can close and trap the abscess.
- Irritation Bump (Hypertrophic Scarring): Localized directly adjacent to the piercing hole. Usually flesh-colored, pink, or red. May secrete clear or pale white lymph fluid. Caused by the jewelry sitting at an angle, sleeping on the ear, or using harsh chemicals like tea tree oil. Action: Switch to a flat back labret to correct the angle, and clean only with sterile 0.9% sodium chloride wound wash.
Mechanical Failures: Why Your Studs Keep Falling Out
If you are constantly losing the backs to your earrings ear studs, or the entire stud falls out during the night, the issue lies in the clutch mechanism. Standard friction backs rely on a tiny metal scroll that loses its tension over time as the metal fatigues from repeated bending. Furthermore, the grooves on commercial posts are often poorly machined, allowing the backing to slide off with minimal friction.
The Fix: Invest in threadless (push-pin) or internally threaded jewelry. Threadless jewelry uses a slightly bent pin that creates continuous, outward spring tension against the inside of the post shaft. This mechanical lock is virtually impossible to dislodge without deliberate pinching, making it the gold standard for secure, comfortable sleepwear.
The Ultimate Troubleshooting Checklist
Before purchasing or wearing your next pair of earrings ear studs, run them through this diagnostic checklist to ensure anatomical compatibility:
- Magnet Test: If a magnet sticks to your "silver" or "gold" studs, they contain ferromagnetic metals (like iron or high-nickel steel). Discard them.
- Backing Check: Throw away all butterfly clutches. Replace them with silicone O-rings for temporary friction posts, or upgrade to flat back labrets.
- Gauge Verification: Use digital calipers to measure the post thickness. If it is under 0.8mm (20g), it is too thin for healthy, long-term lobe wear.
- Angle Assessment: Look in a mirror from the side profile. The post should enter and exit the earlobe at a perfectly perpendicular 90-degree angle. If it tilts, the jewelry is too short or the piercing was done at an improper angle, requiring a professional piercer's intervention.
By treating your earlobes as complex anatomical structures rather than simple fabric to be pinned, you can permanently eliminate the pain, itching, and mechanical failures associated with substandard jewelry.


