Troubleshooting Earrings 6mm: Post Length & Swelling Fixes
Fix common fit issues with earrings 6mm posts and hoops. Learn how to prevent embedding, manage cartilage swelling, and choose the right gauge.

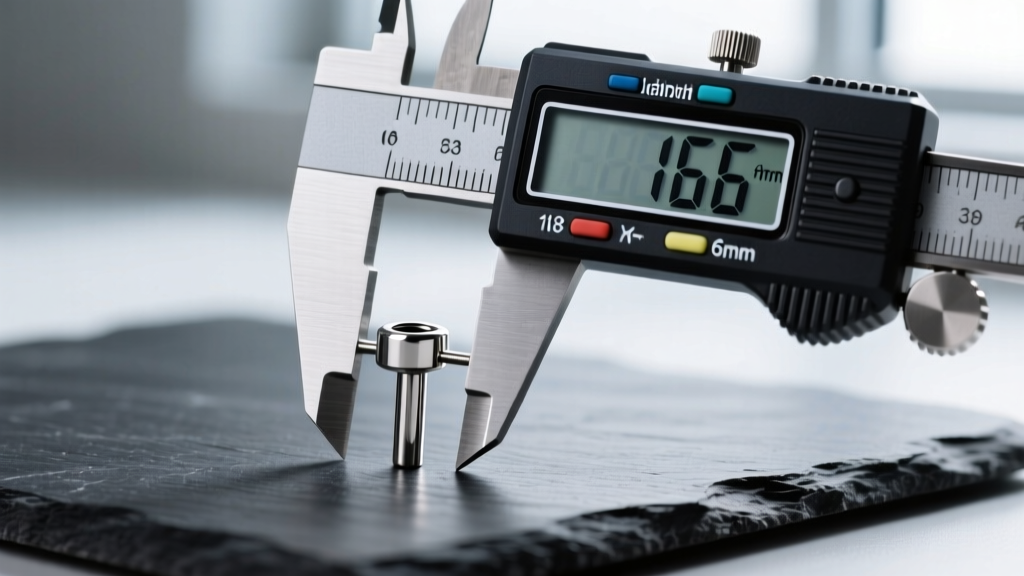
The 6mm Dilemma: Why Size Matters in Piercing Aftercare
When navigating the world of fine body jewelry, few measurements cause as much confusion and physical discomfort as the 6-millimeter mark. Whether you are dealing with labret studs, flat-back barbells, or snug huggie hoops, the term earrings 6mm usually refers to either the wearable post length or the inner diameter (ID) of a ring. While 6mm (approximately 1/4 inch) is an industry standard for healed, standard earlobe piercings, it is frequently the root cause of severe complications when applied incorrectly to cartilage or fresh piercings.
Troubleshooting fit issues requires a deep understanding of ear anatomy, tissue swelling timelines, and jewelry engineering. In this comprehensive guide, we will dissect the most common failure modes associated with 6mm earrings, from post embedding and tissue necrosis to hoop migration, and provide actionable, professional-grade solutions to restore your piercing's health.
Troubleshooting 6mm Post Lengths (Labret & Barbell Studs)
The wearable post length is the distance between the back disc (or bead) and the threading (or pin) of the earring. A 6mm post is exceptionally short. For context, a standard fresh helix or conch piercing requires an initial post length of 10mm (3/8") to 12mm (1/2") to accommodate the inflammatory phase of healing.
The Embedding Failure Mode
The most critical failure mode associated with 6mm post lengths is embedding. When a cartilage piercing is subjected to trauma, pressure (such as sleeping on it), or an allergic reaction, the tissue swells. If you are wearing a 6mm post during a swelling event, the tissue will expand past the length of the metal. The back disc will be swallowed by the skin, cutting off local blood circulation. This leads to intense pain, localized necrosis, and a high risk of staph infection.
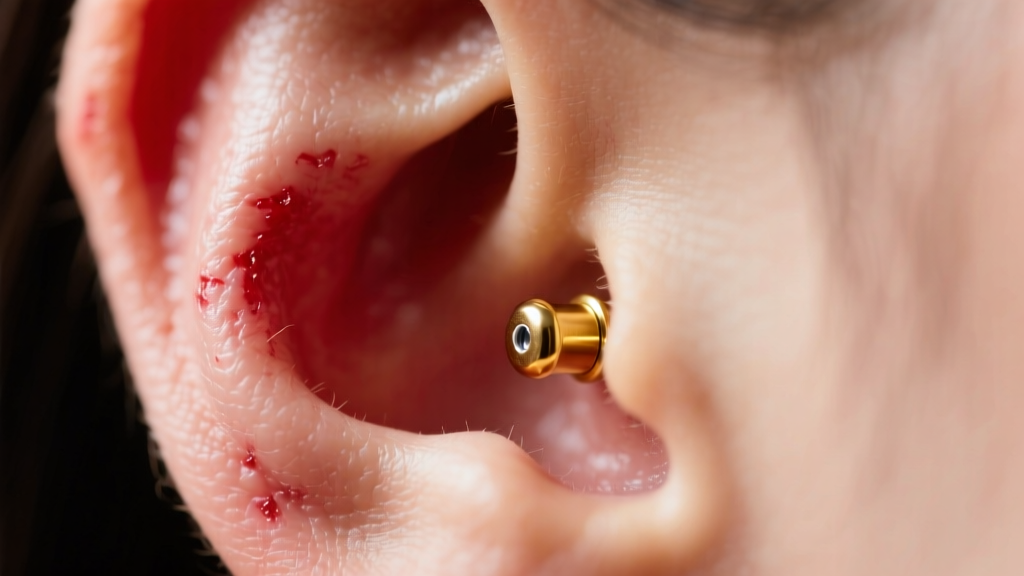
If your 6mm earring is sinking into your skin, this is a medical and piercing emergency. Do not attempt to forcefully dig the jewelry out with unsterilized tweezers. Visit an Association of Professional Piercers (APP) member immediately to have the post upsized to an 8mm or 10mm length using sterile tapers.
The Threadless (Push-Pin) Advantage
One of the best troubleshooting methods for borderline 6mm fit issues is switching to threadless (push-pin) jewelry. Brands like BVLA and Anatometal manufacture threadless titanium posts that can be custom-bent by a piercer. If a standard 6mm internally threaded post is slightly too tight, but an 8mm post is too loose and catches on hair, a piercer can bend the pin of a threadless post to create a customized 6.5mm or 7mm wearable length. This micro-adjustability is impossible with traditional threaded earrings.
Troubleshooting 6mm Inner Diameter Hoops & Huggies
When shopping for hoops, clickers, or huggies, "6mm" refers to the Inner Diameter (ID)—the empty space inside the ring. A 6mm ID is extremely small, roughly the size of a standard pencil eraser.
The Choking and Migration Risk
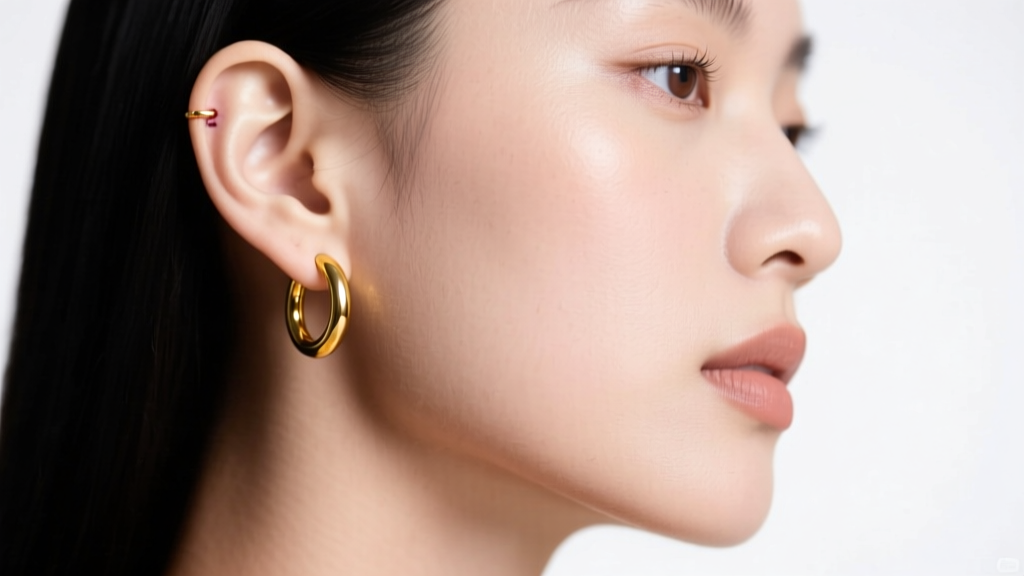
A 6mm hoop fits beautifully as a "snug" huggie on a fully healed, standard lobe piercing. However, attempting to wear a 6mm ID hoop in a tragus, helix, or conch piercing is a recipe for disaster. Cartilage piercings sit at varying angles. A 6mm ring lacks the curvature required to clear the edge of the ear's anatomy, causing the metal to press aggressively against the fistula (the piercing channel). Over time, this constant pressure causes angle migration, where the body slowly rejects the jewelry, pushing the piercing hole outward until it tears through the skin.
| Measurement Type | 6mm Specification | Ideal Piercing Location | Common Failure Mode |
|---|---|---|---|
| Post Length | 1/4 inch (6.0mm) | Healed standard lobe, minimalist flat | Embedding in fresh/swollen cartilage |
| Inner Diameter (ID) | 1/4 inch (6.0mm) | Snug lobe huggie, healed rook | Choking tragus/helix, angle migration |
| Gauge Thickness | N/A (Usually 18g/16g) | Lobe (18g), Cartilage (16g) | Tearing / Cheese-cutter effect if too thin |
Material Grade Failures Masking as Fit Issues
Frequently, clients believe their 6mm earrings are the wrong size because the piercing is red, swollen, and weeping lymph fluid. In reality, the size is fine, but the material is causing a contact dermatitis reaction that mimics the swelling of a too-tight fit.
Many mass-market 6mm earrings are crafted from "surgical steel" (316L). This alloy contains up to 10% nickel. When trapped in a snug 6mm huggie or a short 6mm labret post against the skin, sweat and moisture create a corrosive environment that leaches nickel salts into the fistula. According to guidelines published by the Association of Professional Piercers (APP), initial and problematic piercings should only be fitted with implant-grade titanium (ASTM F-136) or niobium. If your 6mm earring is causing persistent irritation bumps, troubleshoot the material before you change the size.
Step-by-Step Measurement Guide
To accurately troubleshoot your jewelry, you must stop guessing and start measuring. Eyeballing a 6mm earring against a standard ruler is inaccurate due to the thickness of the metal and the decorative ends. Here is how to measure like a professional:
- Acquire Digital Calipers: Purchase a basic set of digital calipers (available for under $15 online). Ensure they are set to millimeters (mm).
- Measure Post Length: Close the caliper jaws around the wearable post only. Do not include the back disc, the threading, or the decorative gemstone. The metal shaft must read exactly 6.00mm.
- Measure Inner Diameter (ID): For hoops, insert the caliper jaws inside the ring and expand them until they touch the inner walls. Do not measure the outside edge (Outer Diameter), as thick-gauge gold or titanium will skew your measurements.
- Verify the Gauge: Use the calipers to measure the thickness of the post. A 16-gauge post measures 1.2mm, while an 18-gauge measures 1.0mm. Forcing a 1.0mm post into a 1.2mm cartilage hole will cause the "cheese-cutter effect," where thin metal slices through heavy tissue.
"Never downsize to a 6mm post until the piercing has completely finished its initial swelling phase, which can take anywhere from 4 to 12 weeks depending on the individual's anatomy and aftercare routine." — Professional Piercing Best Practices
When to Visit a Professional Piercer
Troubleshooting 6mm earrings is not always a DIY job. If you are experiencing embedding, severe migration, or cannot physically remove a swollen 6mm huggie due to stiff threading, seek professional help. A reputable piercer will charge a standard bench fee (typically $15 to $35) to safely swap your jewelry using sterile insertion tapers, preventing tissue blowouts. Furthermore, high-end threadless ends from luxury brands can cost between $40 and $150; risking damage to these pieces by forcing them into a swollen 6mm channel is a costly mistake. Prioritize tissue health over immediate aesthetic downsizing, and always respect the biological timelines of your unique ear anatomy.


