Standard Earring Size mm: Troubleshooting Piercing Fit Issues
Confused by jewelry dimensions? Learn the exact standard earring size mm for lobes and cartilage, and troubleshoot common gauge and diameter fit issues.

Buying earrings online should be a seamless experience, but it frequently turns into a frustrating guessing game. You order a pair of beautiful studs or hoops, wait for shipping, and upon arrival, realize they are entirely the wrong fit. The post is too short, the hoop pinches your cartilage, or the wire is so thin it irritates your lobe. The root of this widespread problem almost always comes down to a fundamental misunderstanding of jewelry dimensions and the myth of a universal fit. When you search for the standard earring size mm, you are often met with conflicting charts and vague descriptions. In this comprehensive troubleshooting guide, we will dismantle the sizing myths, provide exact millimeter conversions, and help you solve the most common earring fit issues plaguing your piercings.
The Anatomy of an Earring: Gauge vs. Millimeter (mm)
Before we can troubleshoot a bad fit, we must establish the vocabulary of body jewelry. The two primary measurements that dictate how an earring sits in your piercing are gauge and millimeter (mm) length/diameter. Confusing these two metrics is the number one reason consumers end up with unwearable jewelry.
- Gauge (Thickness): This measures the thickness of the wire or post that passes through your skin. Counterintuitively, the higher the gauge number, the thinner the wire. A 20-gauge wire is much thinner than a 14-gauge wire.
- Millimeter (Length/Diameter): This measures the actual wearable space. For straight posts (like labrets or butterfly-back studs), it is the distance from the back of the front gem to the inside of the backing. For hoops, it is the inner diameter of the circle.
According to the Association of Professional Piercers (APP), using the correct gauge and mm length is critical for avoiding migration, rejection, and embedding. A post that is too long will snag and cause trauma, while a post that is too short will embed into the tissue during normal swelling cycles.
Troubleshooting the 'Standard Earring Size mm' Myth
Walk into a mainstream mall jewelry store, and you will likely be handed a 20-gauge or 18-gauge earring with a 6mm post length. Retailers market this as the 'standard.' However, human anatomy does not conform to a single retail mold. The 'standard earring size mm' is essentially a manufacturing convenience, not an anatomical guarantee.
Lobe Piercing Fit Issues
The average earlobe thickness ranges from 4mm to over 10mm, depending on genetics, age, and whether the lobe has been stretched or experienced tearing. If you have thicker lobes and attempt to wear a 'standard' 6mm post with a butterfly backing, the backing will dig into the back of your ear. This restricts blood flow, traps moisture, and creates a breeding ground for bacterial infections. The Fix: Ditch butterfly backs entirely. Switch to flat-back labrets in an 8mm or 10mm wearable length, which distribute pressure evenly across the back of the lobe.
Cartilage & Helix Fit Issues
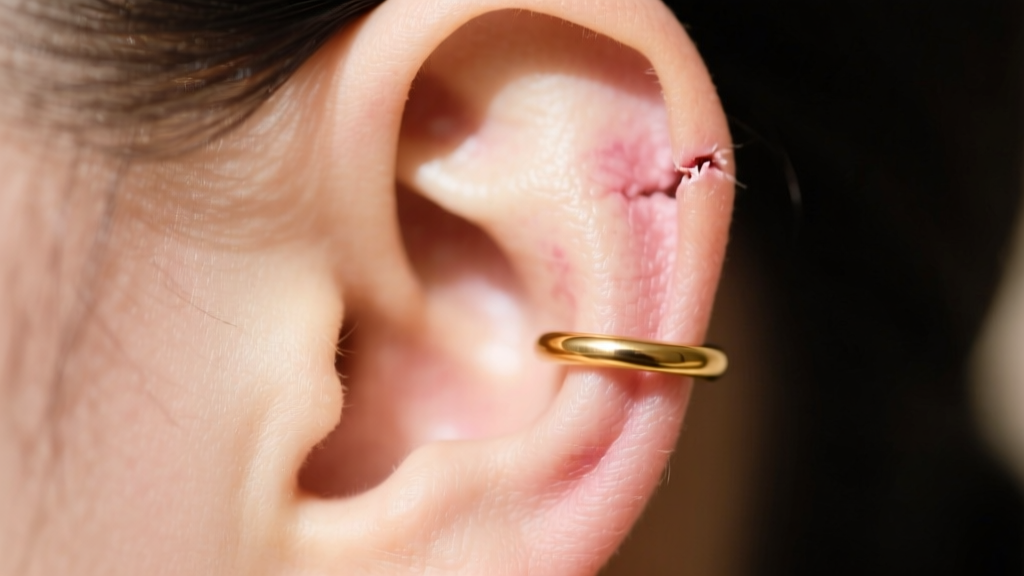
Cartilage piercings (helix, tragus, conch) are notoriously unforgiving. The standard post length for a healed helix is usually 5mm or 6mm. However, if your helix ridge is particularly thick, a 6mm post will cause the gemstone to press tightly against the front of your ear, leading to pressure bumps (hypertrophic scarring). Furthermore, if you are transitioning from a stud to a hoop, buying an 8mm inner diameter hoop for a thick helix ridge will result in the hoop pulling at an angle, causing the 'cheese cutter' effect.
The Ultimate Earring Size mm & Gauge Conversion Chart
To troubleshoot your current jewelry, you need to know exactly what you are working with. Use this reference chart to understand the precise millimeter thickness of standard jewelry gauges, as well as the typical applications for each size. For a more visual representation, the BodyArtForms Piercing Size Guide offers excellent printable templates.
| Gauge Size | Thickness (mm) | Common Applications | Troubleshooting Note |
|---|---|---|---|
| 20G | 0.81 mm | Standard mall-store lobes, delicate nose screws | Too thin for heavy pendants; risks 'cheese cutter' migration. |
| 18G | 1.02 mm | Standard lobes, some nostril piercings | Minimum safe thickness for everyday lobe wear to prevent tearing. |
| 16G | 1.29 mm | Cartilage (helix, tragus), conch, stretched lobes | Ideal balance of durability and comfort for most ear piercings. |
| 14G | 1.63 mm | Industrial bars, thick helixes, daith, rook | Provides maximum stability; prevents jewelry from flipping in curved fistulas. |
Real-World Troubleshooting: Why Your Earrings Hurt or Sag
Let us address the specific mechanical failures you experience when your jewelry dimensions do not match your anatomy.
Problem 1: The 'Cheese Cutter' Effect
Symptom: Your earring slowly migrates downward, the piercing hole elongates into a slit, and the area feels tender.
Cause: You are wearing a heavy earring (like a large gemstone drop or solid gold hoop) on a wire that is too thin (usually 20G or 0.81mm). The thin wire acts like a cheese wire, applying concentrated downward pressure that slices through the tissue.
Solution: Upsize the thickness of your jewelry. Move to a 16G (1.29mm) or 14G (1.63mm) post or hoop. The wider surface area distributes the weight of the heavy jewelry, saving your lobe from permanent stretching.
Problem 2: Forward Sagging and Drooping
Symptom: Beautiful front-facing studs constantly tilt forward, pointing at the floor instead of sitting flush and proud on your earlobe.
Cause: This happens when the post is too thin for the piercing channel, or the friction back is too small to provide a stable anchor. It is incredibly common in older piercings where the fistula (the skin tube) has stretched over time.
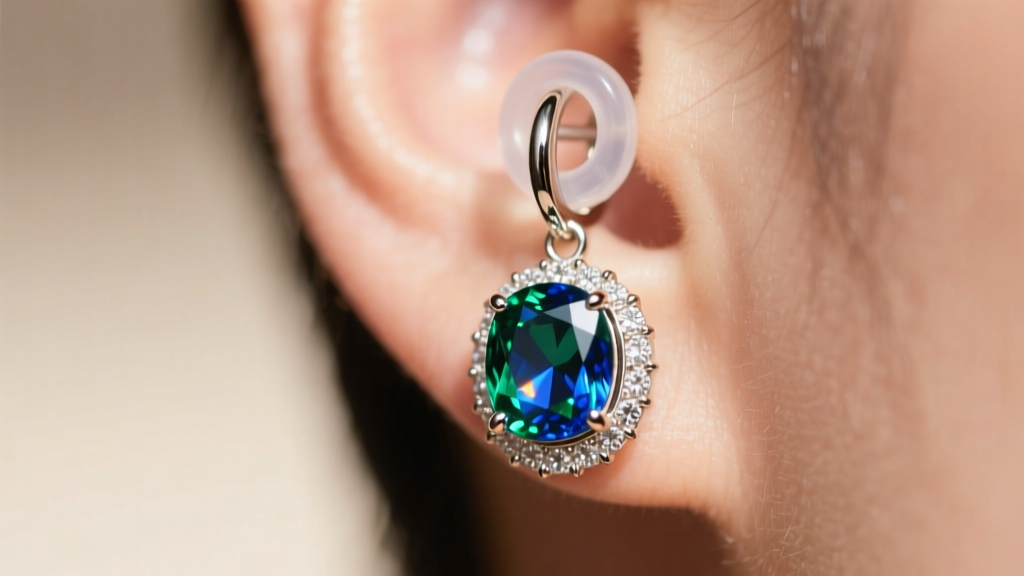
Solution: First, try adding clear silicone O-rings behind your existing friction backs to create a wider, grippier base. If that fails, switch to threadless flat-back labrets. The slight bend in the pin of a threadless end creates internal tension that locks the jewelry perfectly straight, completely eliminating the forward sag.
Problem 3: Hoop Pinching and Irritation Bumps
Symptom: Your cartilage hoop feels tight, clicks when you move your jaw, and has developed a red, angry bump directly adjacent to the jewelry.
Cause: The inner diameter (ID) of the hoop is too small. When a hoop is too tight, it does not form a perfect circle through the piercing channel; instead, it forms an oval, putting lateral pressure on the entry and exit points of the fistula.
Solution: Size up your inner diameter. If an 8mm hoop is pinching, move to a 9mm or 10mm ID. You want the hoop to hug the ear with enough clearance that it can rotate freely without pulling the tissue.
How to Measure Your Piercing at Home
Stop guessing your standard earring size mm and start measuring. You do not need professional tools to get a highly accurate baseline.
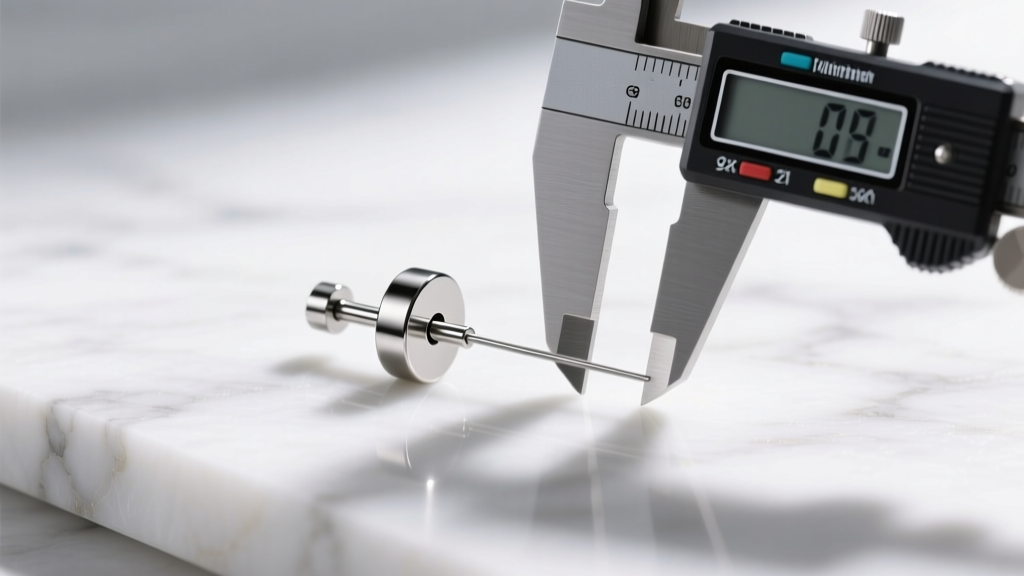
- Invest in Digital Calipers: For under $15, you can buy a pair of digital vernier calipers online. This is the single best investment for anyone who buys body jewelry online. Use them to measure the exact wearable length of your current, best-fitting posts.
- The Ruler Trick for Hoops: Place your current hoop flat against a metric ruler. Measure the distance across the inside of the hoop from one inner edge to the exact opposite inner edge. This is your inner diameter (ID).
- Printable Gauge Cards: Many reputable online body jewelry retailers offer printable gauge cards. Simply print the page at 100% scale (ensure 'fit to page' is turned off in your printer settings) and slide your jewelry into the slots until you find a snug fit.
Expert Tips for Buying Online Without Guessing
When shopping from high-end, precision-machined jewelry brands like BVLA, Junipurr, or Maria Tash, you will notice they rarely use the word 'standard.' Instead, they offer highly specific millimeter options. Here is how to navigate their catalogs:
Pro-Tip: Always buy ASTM F-136 implant-grade titanium for any new or irritated piercing. It is completely nickel-free and polishes to a mirror finish that prevents bacteria from adhering to microscopic scratches on the post.
When selecting flat-back labrets, remember that the 'wearable length' does not include the base plate. If your lobe is 7mm thick, a 7mm post will be too tight once you factor in the thickness of the front setting and the back plate. Always add 1mm to 2mm to your actual tissue measurement to find your ideal post length. For cartilage, where swelling is less of an issue in healed piercings, a snug 5mm or 6mm fit is preferred to prevent hair from snagging on the post.
Ultimately, abandoning the idea of a single 'standard earring size mm' is the key to achieving comfortable, beautiful, and healthy piercings. By understanding the precise relationship between gauge thickness, post length, and inner diameter, you can troubleshoot any fit issue and curate an ear curation that is perfectly tailored to your unique anatomy.


