Why Do Earrings Hurt My Ears? Allergy, Care & Cleaning Fixes
Discover why do earrings hurt my ears. Expert guide on metal allergies, gauge friction, biofilm buildup, and proper cleaning routines for relief.

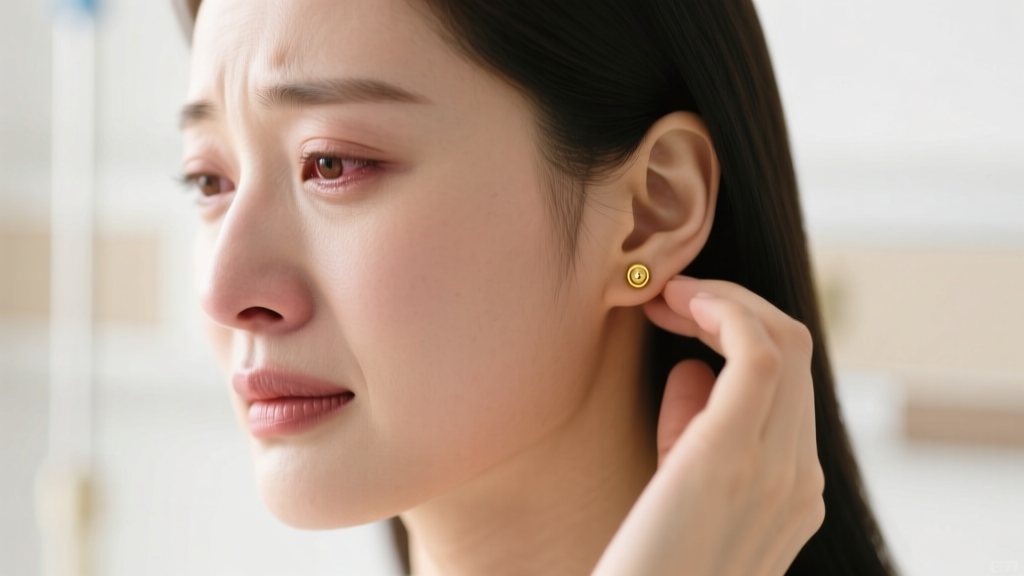
The Anatomy of Earring Pain: It’s Not Just 'Sensitive Ears'
If you have ever found yourself asking, why do earrings hurt my ears, you are likely dealing with a specific, solvable mechanical or chemical issue rather than a vague condition known as 'sensitive ears.' Earlobe and cartilage pain typically stems from three distinct categories: allergic contact dermatitis, mechanical friction (the cheese-cutter effect), and bacterial biofilm buildup. Understanding the exact failure mode of your jewelry is the first step toward pain-free wear.
Many consumers assume that if an earring is labeled 'hypoallergenic,' it is safe. However, the term is largely unregulated in the fashion jewelry industry. True comfort requires a deep dive into metallurgy, gauge sizing, and rigorous hygiene protocols. Below, we break down the exact reasons your earrings are causing pain and how to maintain your collection for lifelong wear.
Metal Allergies vs. Contact Dermatitis: The Nickel Culprit
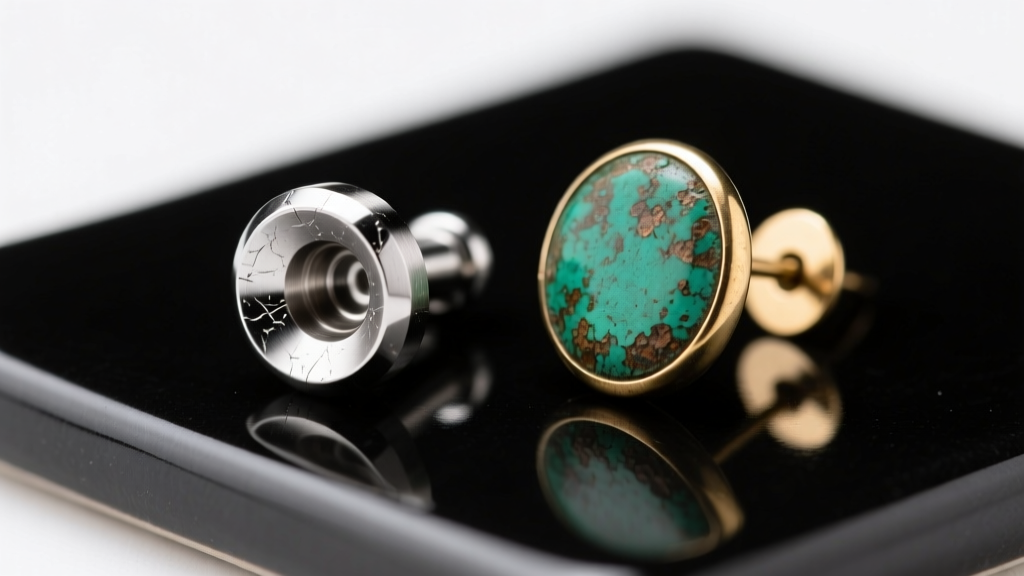
The most common answer to why earrings hurt is a nickel allergy. According to the American Academy of Dermatology, up to 20% of the population experiences allergic contact dermatitis from nickel. Even jewelry stamped as 'surgical steel' (typically 316L stainless steel) contains 8% to 12% nickel. When sweat (which contains chloride ions) interacts with the metal, it leaches nickel salts directly into the micro-tears of your piercing channel, causing itching, swelling, and sharp pain.
The Safe Metals Hierarchy
To eliminate chemical pain, you must upgrade to implant-grade materials. The Association of Professional Piercers (APP) strictly recommends specific alloys for both fresh and healed piercings.
| Metal Grade | Nickel Content | Best Use Case | Price Range (Studs) |
|---|---|---|---|
| ASTM F136 Titanium | 0% (Nickel-Free) | Healing piercings, severe allergies | $30 - $80+ |
| Niobium (99.9% Pure) | 0% | Cartilage hoops, clickers | $25 - $60 |
| 14k / 18k Solid Gold | Trace (Alloy dependent) | Everyday lobe wear, heirlooms | $100 - $400+ |
| 316L Surgical Steel | 8% - 12% | Short-term wear only | $5 - $15 |
| Brass / Copper Base | Variable / High | Avoid entirely for piercings | $2 - $10 |
Expert Tip: Beware of 'gold-plated' or 'gold vermeil' earrings for daily wear. The plating is often only 0.5 to 2.5 microns thick. Once it wears off from friction and cleaning, the underlying brass or nickel-rich base metal is exposed, triggering an immediate painful reaction.
Mechanical Stress: Gauge Size, Weight, and Friction
If your ears feel sore, heavy, or tender to the touch at the bottom of the lobe, the issue is mechanical. Piercings are essentially fistulas (tunnels of healed skin). If the jewelry post is too thin or the earring is too heavy, it creates a 'cheese-cutter' effect, slowly migrating downward and stretching the tissue.
- Standard Lobe Gauges: Most standard fashion earrings are 20-gauge (0.81mm) or 18-gauge (1.02mm). If you wear heavy dangles or large brass hoops on a 20-gauge wire, the thin metal will slice into the bottom of your piercing channel.
- Cartilage Gauges: Cartilage piercings (helix, tragus, conch) are typically pierced at 16-gauge (1.29mm) or 14-gauge (1.6mm). Forcing a standard 20-gauge butterfly-back stud into a 16-gauge cartilage hole causes immense friction, micro-tearing, and localized swelling.
- The Butterfly Back Trap: Standard friction backs (butterfly clasps) trap dead skin, sebum, and moisture against the back of the ear. They also apply uneven pressure. Upgrading to flat-back labret studs or secure silicone O-rings distributes weight evenly and eliminates the sharp poke behind the ear.
The Hidden Danger of Dirty Posts: Biofilm and Infection
Have you ever taken out a pair of earrings and noticed a grayish, foul-smelling residue on the post? This is often colloquially called 'earring cheese,' but scientifically, it is a biofilm composed of sebum, dead keratinocytes, soap residue, and environmental dust. When this biofilm hardens on the earring post, it turns the smooth metal into a microscopic file. Every time you insert the earring, you are scraping the delicate epithelial lining of your piercing channel, leading to irritant contact dermatitis and localized pain.
Why Wiping Isn't Enough
Simply wiping the post with an alcohol pad before insertion only removes surface oils. It does not dissolve the hardened sebum trapped in the crevices of butterfly backs, hinge mechanisms of huggies, or the intricate prong settings of gemstone studs. Proper maintenance requires deep cleaning to restore the smooth surface finish of the metal.
The Expert Cleaning Protocol for Pain-Free Wear
To stop the cycle of insertion trauma and irritation, implement this bi-weekly cleaning routine. This protocol is safe for solid gold, titanium, platinum, and hard gemstones (diamonds, sapphires, rubies).
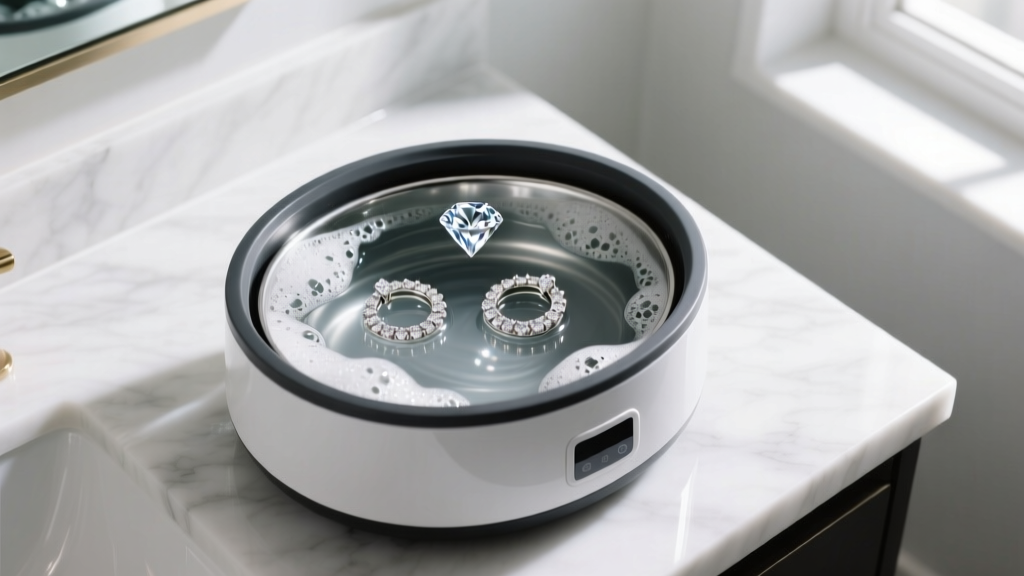
- The Ultrasonic Bath: Fill a small ultrasonic jewelry cleaner with warm water and two drops of mild, ammonia-free dish soap (like Dawn). Run it for 3 minutes at 45kHz. The cavitation bubbles will blast microscopic debris out of hinge joints and prong settings.
- The Soft Brush: Remove the earrings and gently brush the posts and backing mechanisms with a baby-soft toothbrush. Pay special attention to the grooves on friction posts where biofilm anchors.
- The Rinse & Dry: Rinse thoroughly under distilled water to prevent hard water spots. Dry completely with a lint-free microfiber cloth. Never put earrings away damp, as trapped moisture breeds Pseudomonas bacteria, which causes painful cartilage infections.
- Sanitization (Optional): For a final sanitizing step, spray the posts with 70% isopropyl alcohol and let them air dry. Do not soak pearls, opals, or emeralds in alcohol or ultrasonic cleaners, as it will destroy their nacre and structural integrity.
Troubleshooting Your Current Collection
Use this decision framework to audit your jewelry box and eliminate the pieces causing you pain:
The 24-Hour Test: If a pair of earrings causes itching or heat within 24 hours of wear, the metal alloy is incompatible with your body chemistry. Do not attempt to 'tough it out' or coat the posts in clear nail polish (which chips and introduces toxic solvents into the wound). Retire the piece immediately.
Keep: Solid 14k/18k gold, ASTM F136 titanium, and niobium pieces. Clean them bi-weekly and store them in a dry, lined jewelry box to prevent scratching.
Modify: High-quality gemstone earrings with cheap steel posts. Take these to a professional jeweler and have the posts laser-welded with 14k gold or titanium replacements (usually costs $20-$40 per pair).
Toss: Any fashion jewelry with a copper or brass base, peeling gold plating, or sharp, poorly finished butterfly backs that dig into your mastoid area.
Final Thoughts on Ear Health
Asking 'why do earrings hurt my ears' is the beginning of a much better relationship with your jewelry. By respecting the biology of your piercing channels, investing in verified implant-grade metals, and maintaining a strict ultrasonic cleaning routine, you can wear your favorite studs, hoops, and dangles from morning to night without a single wince of pain. Treat your piercings with the same care you treat your skincare routine, and your ears will reward you with lifelong comfort.


