How to Make Wood Rings Jewelry: Budget & Value Guide
Learn how to make wood rings jewelry on a budget. We compare wood species, adhesives, and finishing oils to maximize value and durability.

The True Cost of DIY Wood Rings: Budget vs. Value
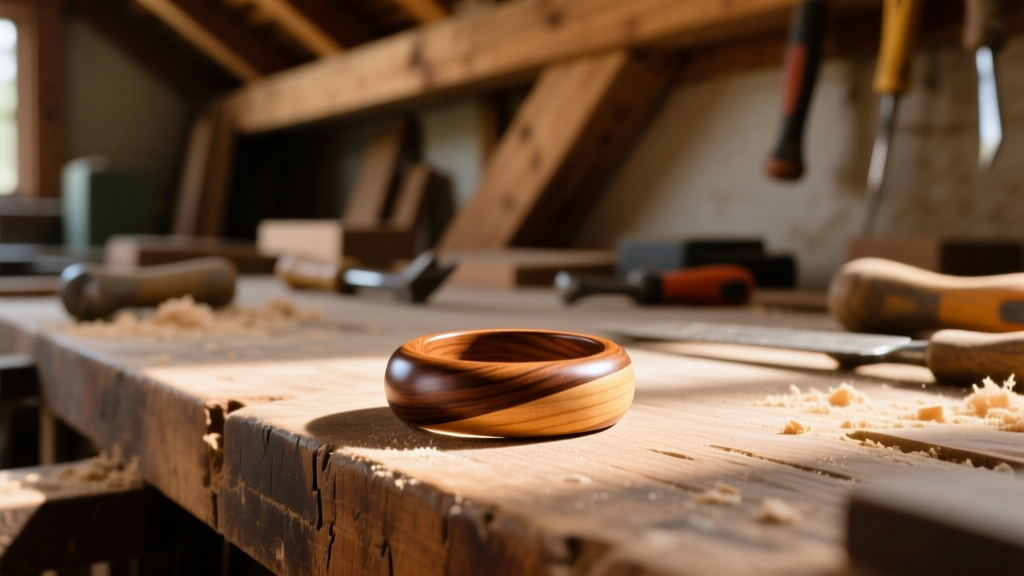
When learning how to make wood rings jewelry, the initial excitement of working with natural timber is often overshadowed by the harsh reality of material failure and hidden tooling costs. Artisan-crafted wooden rings typically retail between $150 and $350, reflecting the intense labor required for shaping and finishing. By taking a DIY approach, you can reduce the raw material cost to roughly $5 to $20 per ring. However, assessing the true value requires looking beyond the price of a scrap piece of walnut or maple. You must factor in the upfront tooling investment, the learning curve of adhesive chemistry, and the long-term durability of your chosen finishing method. This guide breaks down the exact economics and material science of crafting wooden rings, ensuring your budget yields a piece of jewelry that actually survives daily wear.
Material Selection: Wood Species Ranked by Value
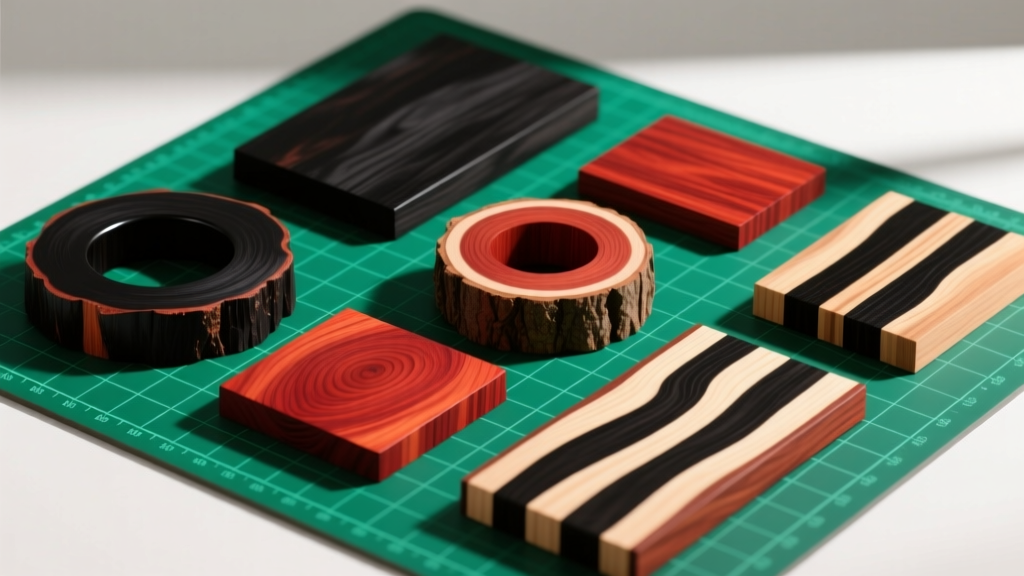
Not all lumber is created equal when it comes to jewelry. The Janka hardness scale measures the resistance of wood to denting and wear, which is critical for a ring that will encounter door handles, steering wheels, and gym equipment. According to The Wood Database, selecting a wood with a Janka rating below 1,000 lbf often results in a ring that scratches and deforms within weeks.
| Wood Species | Janka Hardness (lbf) | Avg. Cost per Board Foot | Durability & Workability Notes |
|---|---|---|---|
| Black Walnut | 1,010 | $12 - $15 | Excellent workability, rich brown hue, but prone to denting. Best for inlay work rather than solid bands. |
| Hard Maple | 1,450 | $6 - $9 | Highly durable, light color takes dyes beautifully. The best budget-friendly option for beginners. |
| African Padauk | 1,725 | $14 - $18 | Vibrant orange-red that oxidizes to deep brown over time. High oil content can interfere with some glues. |
| Lignum Vitae | 4,500 | $40 - $60+ | Exceptionally hard and self-lubricating. Extremely difficult to sand and requires specialized epoxy for stabilization. |
The Structural Debate: Solid Wood vs. Bentwood
The single biggest factor in the value and longevity of a wooden ring is its structural geometry. A traditional solid wood ring is drilled directly from a block of timber. This means the ring's circumference crosses multiple grain directions. Wood expands and contracts with humidity changes; in a solid ring, this cross-grain tension creates microscopic fractures that inevitably lead to a catastrophic snap, usually within the first year of daily wear.
The Bentwood Advantage
To solve the cross-grain weakness, professional makers use the bentwood technique. This involves soaking 1/42-inch thick wood veneers in warm water, wrapping them tightly around a ring mandrel, and laminating them with high-grade epoxy. Because the grain runs continuously in a circle around the finger, the tensile strength increases by over 300%. While bentwood requires more time and precision, the material cost is actually lower, as you can utilize expensive burl veneers that would be impossible to machine from solid blocks. For a budget-conscious maker, bentwood offers premium durability using scrap veneer offcuts.
Adhesives and Stabilization: Where Budget Builds Fail
Choosing the wrong adhesive is the most common reason DIY wood rings delaminate or shatter. Standard yellow wood glue (PVA) is entirely unsuitable for jewelry, as it remains slightly flexible and degrades when exposed to the natural oils and sweat of human skin.
- Cyanoacrylate (CA) Glue: Brands like Starbond Adhesives offer thin CA (EM-02) for deep wood penetration and thick CA (EM-2000) for gap filling. CA glue cures into a hard acrylic plastic. When used as a topical finish, it creates a glass-like, waterproof shell. However, it is brittle; a hard impact on a concrete floor will cause a CA finish to spiderweb and crack.
- Two-Part Epoxy: For bentwood lamination and stabilizing soft woods, a slow-cure, low-viscosity epoxy like System Three Clear Cast is mandatory. It penetrates deep into the wood fibers, displacing air and moisture, and cures with a slight flexibility that absorbs impact shock without shattering.
Finishing Oils vs. Topical Sealants
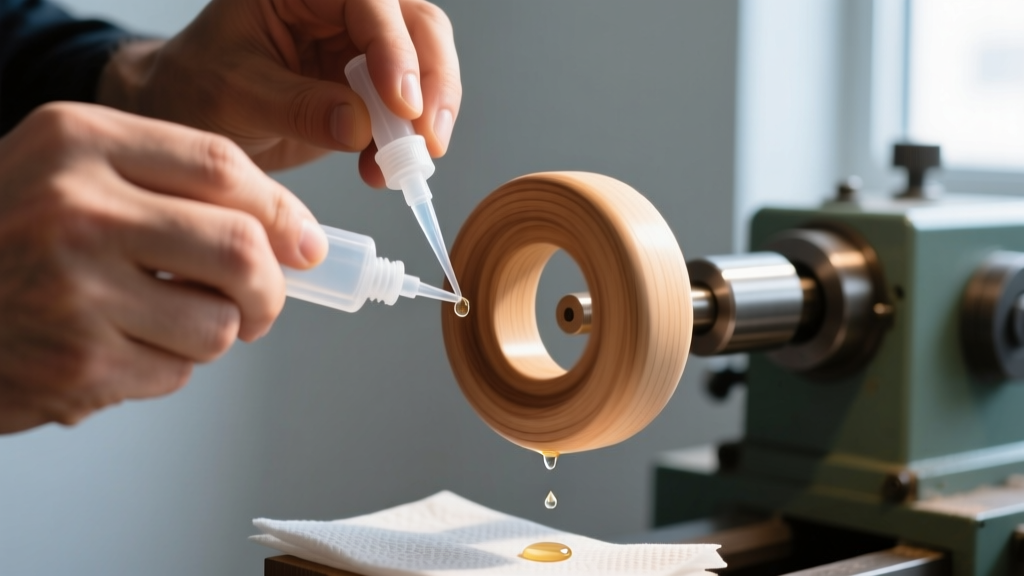
If you opt against a brittle CA glue finish, you must use a penetrating oil to waterproof the ring. Raw wood will absorb hand sanitizer, soap, and sweat, leading to a swollen, gray, and degraded band. Pure Tung Oil or polymerized Walnut Oil are the premier choices for value and longevity. Unlike mineral oil, which never fully cures and leaves the ring feeling greasy, Tung Oil undergoes a chemical polymerization process when exposed to oxygen. It hardens from the inside out, providing deep water resistance while allowing the natural texture and warmth of the wood to remain tactile. The trade-off is time: a proper Tung Oil finish requires five to seven thin coats, with 24 hours of curing time between each application.
Tooling on a Budget: The Sanding Progression Framework
You do not need a $2,000 wood lathe to make professional-grade rings. A budget benchtop drill press (around $100) equipped with a ring mandrel and a drill chuck will suffice for shaping and sanding. The true secret to a high-value finish lies in your sanding progression. Skipping grits will leave deep scratches that become glaringly obvious once the finish is applied.
Follow this exact abrasive progression for a mirror-like polish:
- Shaping (80 - 120 Grit): Use aluminum oxide sandpaper to establish the outer profile and bevel the edges.
- Smoothing (220 - 400 Grit): Remove the deep tool marks. Wipe the ring with a damp cloth between 220 and 320 to raise the grain, ensuring a perfectly smooth surface.
- Pre-Polish (600 - 1500 Grit): Switch to wet/dry silicon carbide paper. Use a light mist of water as a lubricant to prevent the paper from clogging with wood dust.
- Burnishing (Micro-Mesh 2400 - 12000): Micro-Mesh pads use a flexible cloth backing that conforms to the ring's curves. By the time you reach 12,000 grit, the natural friction will generate enough heat to burnish the wood fibers, creating a glass-smooth surface before any oil or glue is even applied.
Final Verdict: Is DIY Wood Jewelry Worth the Investment?
Learning how to make wood rings jewelry is a masterclass in material science and patience. From a purely financial standpoint, the initial $150 tooling investment pays for itself after crafting just three or four rings, compared to buying artisan equivalents. However, the true value lies in the ability to engineer a ring that defies the fragile nature of wood. By prioritizing high-Janka hardwoods or bentwood veneer laminations, utilizing proper cyanoacrylate or epoxy adhesives, and committing to a rigorous 10-step sanding progression, you can produce heirloom-quality wooden bands on a shoestring budget. Skip the shortcuts, respect the grain, and your DIY rings will rival any high-end boutique offering.


