How to Tie a Adjustable Knot Necklace: Technical Guide
Learn how to tie a adjustable knot necklace with our expert guide. Discover cord friction metrics, material grades, and step-by-step sliding knots.

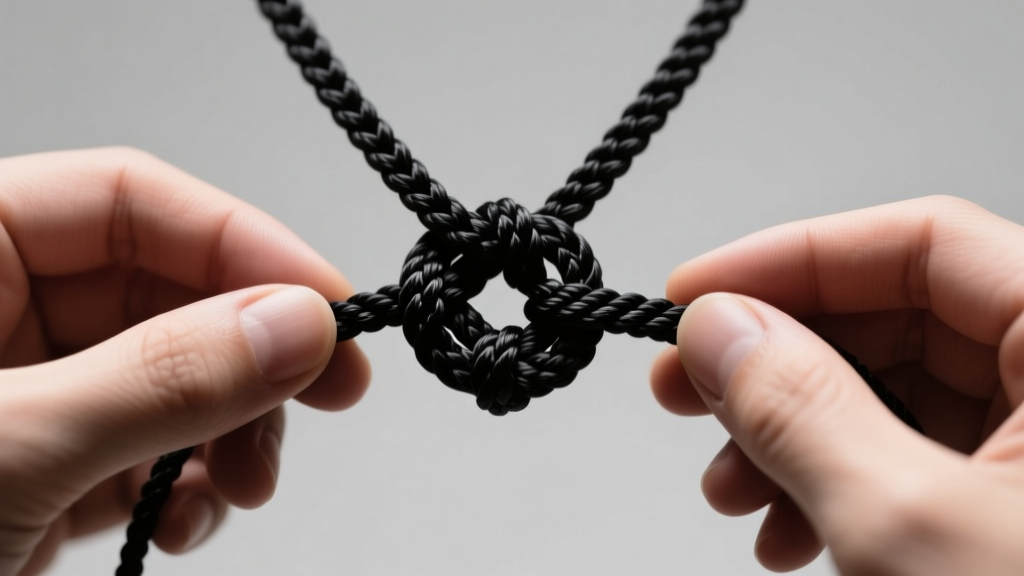
The Physics of Cord Friction in Jewelry
Creating a flawless adjustable necklace is less about basic crafting and more about applied physics. When you learn how to tie a adjustable knot necklace, you are essentially engineering a dynamic friction brake. The sliding knot must possess enough static friction to hold the weight of the pendant and resist the kinetic energy of daily movement, yet maintain a low enough kinetic friction coefficient to allow the wearer to adjust the length smoothly. According to textile engineering principles, the interaction between the base cord and the wrapping cord dictates this balance. If the surface textures are too similar, the knot jams; if they are too disparate, the knot slips under load.
Many jewelers fail because they treat all cords as identical. A sliding square knot tied with waxed cotton behaves fundamentally differently than one tied with Chinese knotting nylon due to variations in surface drag and material memory. To master this technique, we must first analyze the material science of the cords themselves.
Material Selection: Cord Grades and Tensile Data
Before picking up your cord, you must understand the thermal and mechanical properties of your materials. Synthetic fibers can be heat-sealed, while natural fibers require mechanical stoppers or adhesive whipping. Below is a technical comparison of the most common jewelry cords used for adjustable necklaces.
| Cord Material | Avg. Diameter | Friction Coefficient (μ) | Melt/Seal Temp | Best Use Case |
|---|---|---|---|---|
| Chinese Knotting Nylon (C-Lon) | 0.5mm - 1.0mm | ~0.25 (Low) | 220°C (428°F) | Micro-macramé, lightweight pendants |
| Waxed Cotton | 1.0mm - 2.0mm | ~0.45 (High) | Combusts at 210°C | Rustic styles, heavy stone pendants |
| Polyester Paracord (Type I) | 1.85mm | ~0.30 (Medium) | 250°C (482°F) | Outdoor gear, survival bracelets |
| Kangaroo Leather | 1.5mm - 3.0mm | ~0.55 (Very High) | Cannot melt | High-end artisan pendants, bolo ties |
For the smoothest adjustable mechanism, a low-friction synthetic base cord (like nylon) paired with a slightly higher-friction wrapping cord (like a matte polyester) provides the ideal mechanical bite. As noted by the experts at Animated Knots, matching the cord diameter ratio is equally critical: the knotting cord should be exactly 50% to 75% the diameter of the base cord to ensure the wraps lay flat without overlapping chaotically.
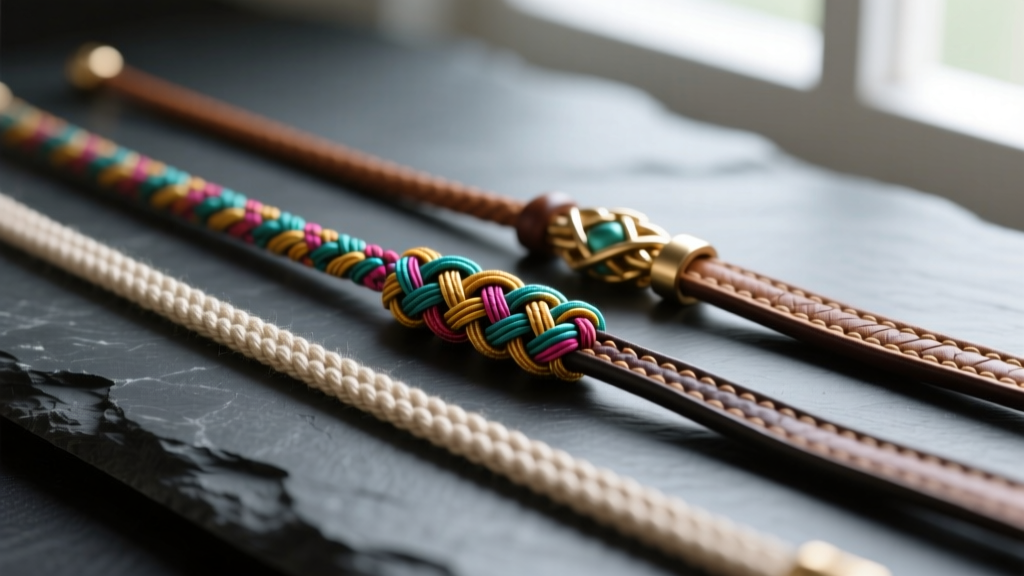
Step-by-Step: The Sliding Square Knot
The sliding square knot (often referred to as a macramé square knot) is the industry standard for adjustable jewelry. However, the difference between a professional-grade knot and an amateur one lies in tension control and wrap count.
Tension and Wrap Count Ratios
The number of wraps determines the surface area of friction. Too few wraps, and the knot will slip when supporting a heavy pendant. Too many wraps, and the internal pressure will cause the cord to bind, making adjustment impossible.
- 1.0mm Base Cord / 0.5mm Knotting Cord: Execute 6 to 8 wraps.
- 1.5mm Base Cord / 1.0mm Knotting Cord: Execute 5 to 7 wraps.
- 2.0mm Base Cord / 1.5mm Knotting Cord: Execute 4 to 5 wraps.
The Execution Sequence
Begin by laying your base cord flat. Take your knotting cord and place it under the base cords, leaving a 4-inch tail on the left side. Bring the left tail over the base cords and under the right tail. Next, take the right tail over the base cords, up through the loop formed on the left, and pull tight. This completes one half-knot.
For the second half, reverse the direction: right over base, under left; left over base, up through the right loop. Pull tight. Alternate this left-right sequence to build the square knot. Crucial Expert Tip: Apply exactly 1.5 lbs of lateral tension per wrap. You can achieve this by anchoring the base cord to a silicone macramé board with T-pins and pulling the working cords at a consistent 45-degree angle. Do not yank the final knot tight against the base cord; leave a microscopic gap (approx. 0.2mm) to allow the base cord to glide.
Engineering the End Stoppers: The Barrel Knot
A sliding knot is useless if it slides completely off the end of the necklace. You must engineer a mechanical stopper. For synthetic cords, a melted bead works, but for a professional finish, the Double Overhand Knot (Barrel Knot) is superior.
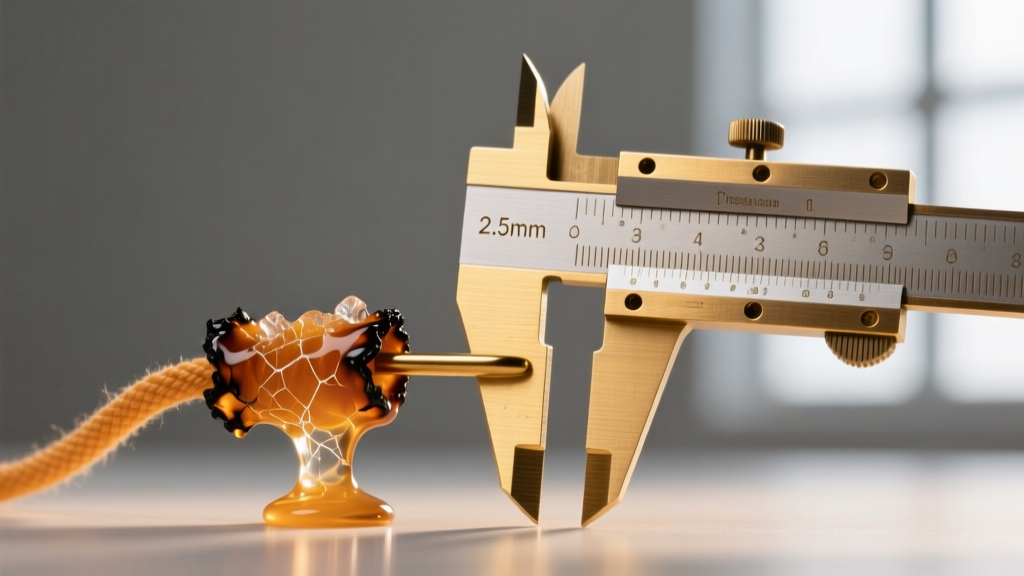
To tie a barrel knot, wrap the end of the base cord around your index finger three times. Slide the loops off, pass the working end through the center of the coils, and pull tight. The resulting stopper must be exactly 1.5x to 2.0x the diameter of the base cord. If your base cord is 2.0mm, use a digital caliper to verify the stopper is between 3.0mm and 4.0mm. If it is smaller, the sliding square knot will eventually stretch and slip over the stopper during wear.
Failure Modes and Troubleshooting
Even experienced jewelers encounter mechanical failures when tying adjustable knots. Here is a technical troubleshooting guide for the most common issues, backed by material science.
1. The Knot Jams and Will Not Slide
Cause: Capillary action from improper adhesive use. Many crafters apply Cyanoacrylate (Super Glue) to the ends of the knotting cord to secure it. CA glue is highly fluid and wicks into the microscopic gaps between the wraps via capillary action, bonding the sliding knot to the base cord.
Solution: Never use CA glue on a sliding knot. Instead, use a precision thread burner to melt the synthetic tail flush against the knot, or apply a microscopic dot of G-S Hypo Cement, which is viscous enough to stay in place without wicking.
2. The Knot Slips Under Pendant Weight
Cause: Insufficient surface area or low-friction material mismatch. A 1.0mm nylon cord wrapped only 3 times with 0.5mm silk will not generate enough static friction to hold a 50-gram quartz pendant.
Solution: Increase the wrap count by 50%, or switch the knotting cord to a higher-friction material like waxed cotton or matte polyester. Suppliers like Paracord Planet offer specialized textured cords designed specifically to increase drag without sacrificing glide.
3. The Cord Frays at the Melt Point
Cause: Using an open flame (lighter or candle) instead of a focused heat source. Open flames produce soot and uneven heat distribution, causing the nylon to oxidize and turn brittle.
Solution: Use a piezoelectric thread burner or a soldering iron with a fine-point tip heated to exactly 250°C. This sears the nylon instantly, creating a smooth, glass-like bead that will not catch on clothing or skin.
Expert Insight: Always test your adjustable mechanism under dynamic load before delivering a piece to a client. Suspend the pendant and drop the necklace from a height of 12 inches onto a padded surface. If the sliding knot shifts more than 2mm from the impact shock, you need to add two more wraps to increase the static friction threshold.
Conclusion
Mastering how to tie a adjustable knot necklace requires moving beyond simple memorization of knot patterns and embracing the mechanical realities of your materials. By calculating the correct diameter ratios, understanding the thermal limits of synthetic fibers, and applying precise tension during the wrapping process, you elevate your jewelry from fragile crafts to durable, professional-grade accessories. Whether you are working with delicate C-Lon nylon or heavy kangaroo leather, respecting the physics of friction will ensure your necklaces remain both beautiful and functional for years to come.


