How to Clean, Authenticate, and Restring an Amber Chip Necklace
Learn how to safely clean, authenticate, and restring your amber chip necklace. Expert steps for preserving Baltic resin and securing irregular beads.

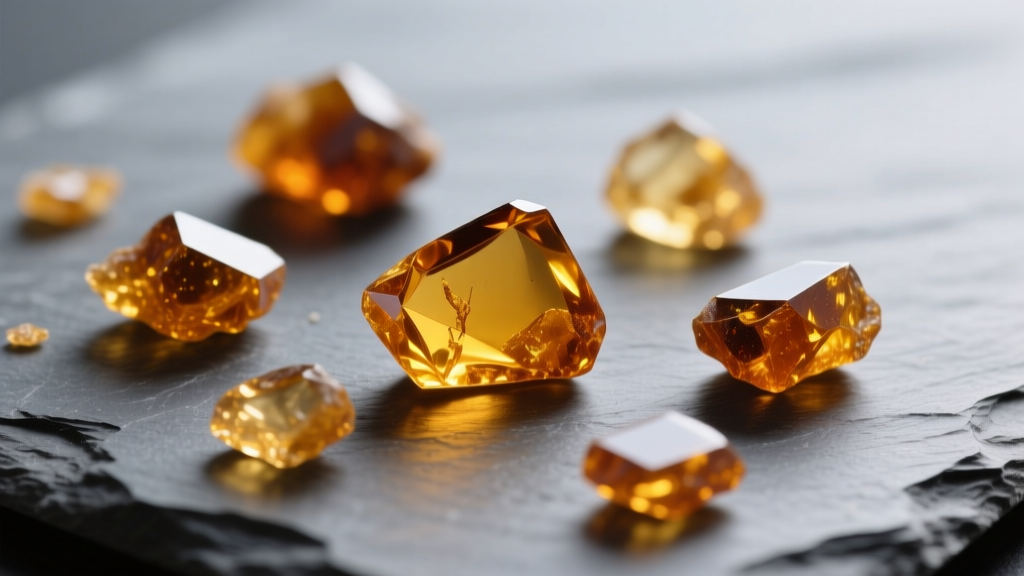
The Material Science of Amber: Why Chip Necklaces Require Special Care
Amber chip necklaces are celebrated for their organic, earthy aesthetics and the natural beauty of fossilized tree resin. However, caring for an amber chip necklace requires a fundamentally different approach than caring for crystalline gemstones like quartz or beryl. According to mineralogical data from Mindat.org, amber registers a mere 2.0 to 2.5 on the Mohs hardness scale. This makes it exceptionally soft—only slightly harder than a human fingernail.
The "chip" cut (tumbled, irregular fragments) presents a unique structural vulnerability. Unlike perfectly round beads with smooth, machine-drilled channels, amber chips often feature rough, jagged edges around their drill holes. Over time, these sharp internal edges act like tiny saws, fraying and eventually snapping traditional silk beading threads. Furthermore, Baltic amber contains succinic acid, which can react adversely to common cosmetics, perfumes, and harsh cleaning agents, leading to a permanent cloudy appearance or surface degradation.
Step 1: Authenticating Your Baltic Amber Chips
Before investing time in restringing or deep cleaning, you must verify that your beads are genuine Baltic amber and not copal (young, unfossilized resin) or synthetic plastic. The Gemological Institute of America (GIA) notes that the market is flooded with convincing imitations. Use these non-destructive tests to verify your necklace:
The Saltwater and UV Fluorescence Tests
- The Saltwater Test: Mix 1 part table salt to 4 parts lukewarm water in a glass. Stir until fully dissolved. Genuine amber is remarkably lightweight and will float in this saturated solution, while most glass and plastic imitations will sink.
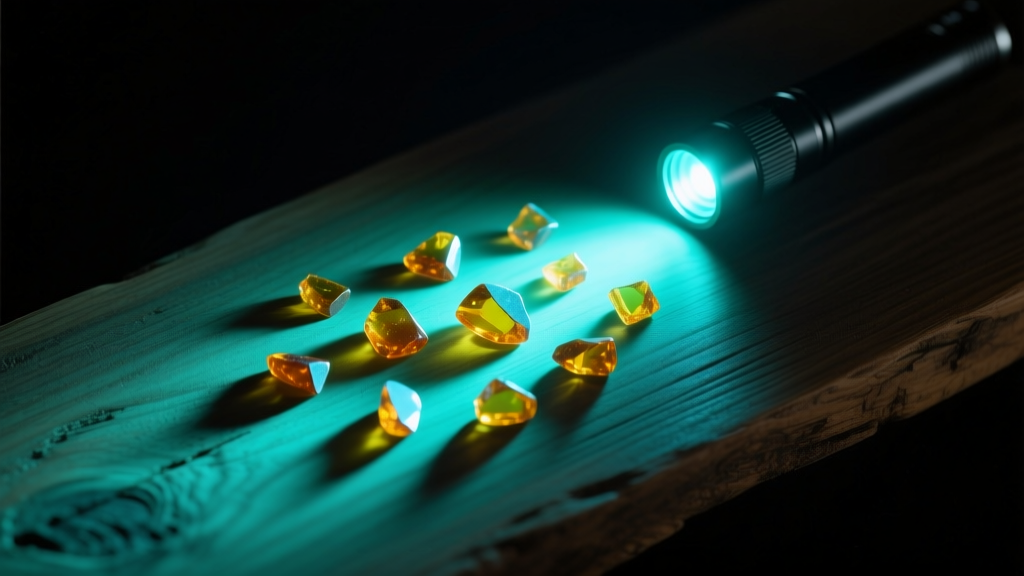
- The UV Light Test: Shine a 365nm UV flashlight on the chips in a dark room. True Baltic amber will fluoresce with a distinct pale blue or greenish-yellow glow. Copal often glows bright white, while plastic will not fluoresce at all.
- The Acetone Swab: Dab a cotton swab in nail polish remover (acetone) and rub it on an inconspicuous chip. Genuine amber will show no reaction. Copal and plastics will become sticky or tacky to the touch.
| Authentication Method | Genuine Baltic Amber | Copal / Plastic Imitation |
|---|---|---|
| Saltwater Float (1:4 ratio) | Floats to the surface | Sinks to the bottom |
| UV Light (365nm wavelength) | Pale blue/green fluorescence | Chalky white or no glow |
| Acetone Swab Test | No surface reaction | Surface becomes sticky/tacky |
| Static Charge Test | Attracts small paper bits after rubbing on wool | Weak or no static attraction |
Step 2: The Safe Cleaning Protocol
The International Gem Society (IGS) strictly warns against using commercial jewelry dips, ultrasonic cleaners, or steamers on organic gemstones. Ultrasonic vibrations can easily fracture internal stress points within the fossilized resin, causing your chips to shatter.
Expert Warning: Never clean your amber chip necklace with alcohol-based solutions, hand sanitizer, or perfume. Alcohol dissolves the outer oxidized layer of the resin, leaving the chips permanently dull, cloudy, and prone to micro-cracking.
Step-by-Step Safe Cleaning
- Prepare the Solution: Fill a bowl with lukewarm (never hot) distilled water. Add a single drop of mild, unscented, phosphate-free dish soap.
- Submerge Briefly: Dip the amber chip necklace into the water for no more than 30 to 60 seconds. Do not let it soak, as water can eventually weaken the stringing material and degrade metal findings.
- Gentle Agitation: Use your fingers to gently swish the chips. Do not use a toothbrush, even a soft-bristled one, as it can inflict micro-scratches on the 2.0 Mohs surface.
- Dry Immediately: Lay the necklace flat on a clean, dry microfiber cloth. Pat the chips dry and allow them to air dry completely in a cool, shaded area before storing or wearing.
Step 3: Restringing Your Amber Chip Necklace
Because of the jagged drill holes inherent to tumbled chip beads, traditional silk beading thread is a poor choice for an amber chip necklace. The sharp edges will slice through silk fibers within months of wear. Instead, you must use a high-tensile, abrasion-resistant synthetic cord.
Tools and Materials Required
- Cord: 0.3mm or 0.4mm braided polyethylene line (e.g., PowerPro) or C-Lon nylon beading cord.
- Findings: Two 925 sterling silver or 14k gold-filled clamshell bead tips (knot covers).
- Clasp: A secure lobster claw clasp and a soldered jump ring.
- Tools: Collapsible-eye beading needle, chain-nose pliers, flush cutters, and G-S Hypo Cement (jewelry adhesive).
The Step-by-Step Stringing Process
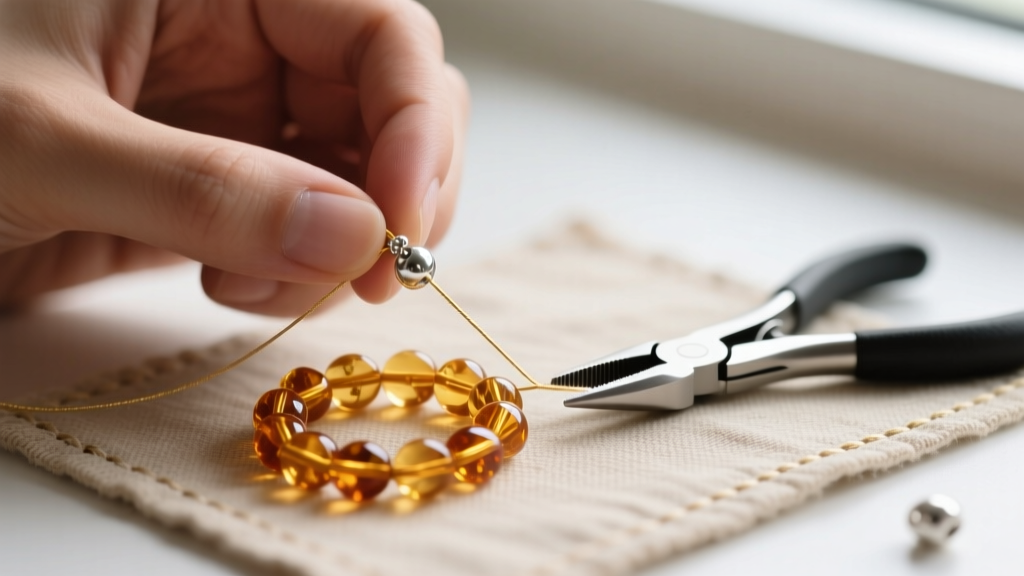
- Secure the First End: Thread your needle and cord through the bottom hole of a clamshell bead tip. Tie a triple surgeon’s knot around the inner hinge. Apply a microscopic drop of G-S Hypo Cement to the knot. Let it cure for 10 minutes, then use chain-nose pliers to gently squeeze the clamshell shut over the knot.
- Sort and Thread the Chips: Amber chips are irregular. For a professional, graduated look, sort your chips by size before stringing. Place the smallest chips near the clasp ends and the largest, most visually striking chips with prominent inclusions in the center of the necklace.
- Close the Second End: Once all chips are threaded, pass the needle through the second clamshell bead tip. Pull the cord taut so there is zero slack between the chips (amber chips should sit snugly against one another to prevent excessive movement and cord wear). Tie off with another surgeon’s knot, glue, and close the clamshell.
- Attach the Clasp: Use your pliers to open the jump ring (always twist open, never pull apart). Slide on the lobster clasp and the loop of your first clamshell bead tip. Twist the jump ring closed. Repeat for the soldered ring on the other end.
Step 4: Long-Term Storage and Wear Rules
To maximize the lifespan of your amber chip necklace, adopt the "Last On, First Off" rule. Amber should be the last piece of jewelry you put on after applying makeup, hairspray, and perfume, and the first piece you take off when returning home.
Never store your amber necklace in a communal jewelry box where it can rub against harder gemstones like diamonds, sapphires, or quartz, which will easily gouge the soft resin. Always keep your amber chip necklace in a dedicated soft flannel pouch or a lined jewelry roll, away from direct sunlight and extreme heat sources, which can cause the resin to dry out, craze, and fracture over time.


