How to Authenticate and Style a Vintage Turquoise Bead Necklace
Learn how to authenticate, restring, and style a vintage turquoise bead necklace with expert tips on matrix identification, dye testing, and layering.

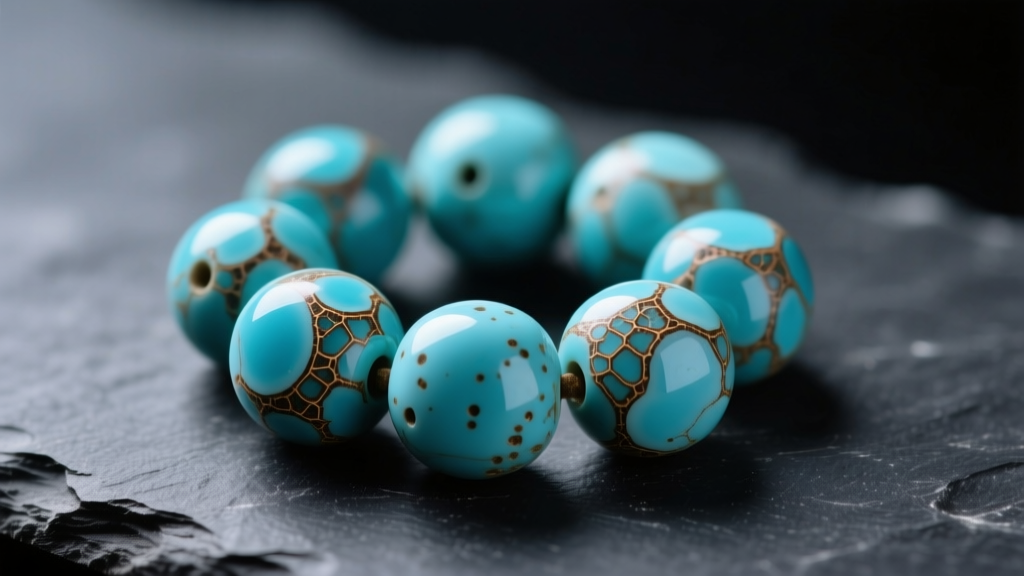
The Allure of Vintage Turquoise: What You Need to Know
A vintage turquoise bead necklace is more than just an accessory; it is a wearable piece of geological and cultural history. From the uniform sky-blue hues of Arizona’s Sleeping Beauty mine to the intricate, pyrite-flecked spiderweb matrix of Nevada’s Candelaria, turquoise has been prized for millennia. However, the secondary market for vintage turquoise is currently flooded with sophisticated imitations, dyed howlite, and heavily stabilized chalk. Whether you have inherited a mid-century squash blossom necklace or are hunting for a 1970s heishi strand at an estate sale, knowing how to authenticate, maintain, and style these pieces is essential for any serious jewelry collector.
In this comprehensive guide, we will walk you through the exact gemological tests used to verify natural turquoise, how to properly restring aging heirloom beads, and modern layering techniques to integrate vintage pieces into a 2026 wardrobe.
Step 1: Authenticating Your Vintage Turquoise Bead Necklace
Before restringing or wearing a vintage piece, you must verify its authenticity. According to the Gemological Institute of America (GIA), turquoise is one of the most frequently treated and imitated gemstones in the world. Treatments range from acceptable stabilization to deceptive dyeing and reconstitution.
Visual Matrix Inspection
The matrix—the host rock visible as webbing or flecks within the stone—is your first clue. Natural turquoise matrix exhibits depth and three-dimensional variation. For example, vintage Bisbee turquoise often features a "smoky" blue background with distinct, metallic red-brown pyrite inclusions. Conversely, dyed howlite or magnesite (common turquoise simulants) features superficial, uniform grey or black veining that looks like it was drawn on with a marker. Under a 10x jeweler's loupe, natural matrix will show crystalline structures, whereas dyed veins will appear as concentrated dye pools in the stone's natural fissures.
The Acetone and Hot Pin Tests
To test for surface dyes, apply a small amount of 100% pure acetone to a cotton swab and rub it vigorously on an inconspicuous bead. If the swab turns blue, the stone is dyed. Be aware that some vintage pieces were treated with early oil or wax polishes; this is acceptable, but polymer dyes are not.
For reconstituted turquoise (turquoise dust mixed with epoxy resin), the hot pin test is definitive. Heat a sewing needle until it is red-hot and touch it to a hidden area of the bead, such as near the drill hole. Natural or stabilized turquoise will not melt. If the bead emits a harsh, acrid plastic smell or the needle sinks into a gummy residue, you are dealing with reconstituted stone or plastic.

Step 2: Evaluating and Replacing the Stringing Material
Most vintage turquoise bead necklaces from the 1950s through the 1980s were strung on cotton thread, early nylon, or silk. Over decades, these materials degrade, stretch, and absorb skin oils, leading to catastrophic strand failure. If your necklace feels stiff, shows visible fraying near the clasp, or has gaps between the beads, it requires immediate restringing.
| Material | Best For | Pros | Cons |
|---|---|---|---|
| 49-Strand Stainless Steel Wire (0.018") | Heavy, large beads (8mm+) | Extreme tensile strength; no stretch | Stiff drape; requires crimping |
| Griffin Silk Cord (Size 2 or 3) | Small heishi or round beads | Beautiful drape; allows traditional knotting | Degrades over time; vulnerable to moisture |
| WildFire Beading Thread | Intricate multi-strand designs | Waterproof; thermoplastic coating | Can be difficult to thread through tiny holes |
Step 3: Restringing Techniques for Heirloom Beads
Restringing a vintage turquoise bead necklace requires precision to protect the antique beads from chipping. Turquoise is relatively soft, ranking between 5 and 6 on the Mohs hardness scale (Mindat.org). Sharp metal edges can easily saw through the stone around the drill hole over time.
- Prep the Workstation: Lay out your beads on a flocked bead board to map the design and measure the exact length. Clean each bead gently with a damp microfiber cloth—never use ultrasonic cleaners or harsh chemicals.
- Protect the Ends: Cut a 2-inch piece of French wire (also known as bullion). Thread your stringing material through the French wire before attaching the clasp. This prevents the metal clasp from sawing through the cord.
- Secure the Clasp: If using beading wire, thread the wire back through a sterling silver crimp tube and use a micro-crimping tool to fold and round the crimp. If using silk, tie a secure surgeon’s knot and seal it with a microscopic drop of jeweler's epoxy.
- String and Knot: For silk cord, use a micro-knotter tool or fine tweezers to tie an overhand knot between every single bead. This ensures that if the necklace breaks, you only lose one bead rather than the entire strand.
- Finish the Clasp: Repeat the French wire and crimping/knotting process on the opposite end, ensuring there is zero slack in the strand before the final seal.
Step 4: Styling and Layering for Modern Wardrobes
The key to wearing vintage turquoise in 2026 is to avoid looking like you are wearing a costume. The modern approach relies on juxtaposition—mixing the rustic, organic texture of vintage turquoise with refined, contemporary metals and silhouettes.

- The Mixed-Metal Layer: Pair a 16-inch vintage turquoise choker with an 18-inch hammered yellow gold snake chain and a 20-inch oxidized silver pendant. The yellow gold warms up the blue tones, while the silver echoes the cool matrix.
- The Corporate Contrast: A single strand of 6mm vintage Kingman spiderweb turquoise beads worn over a crisp, structured white poplin button-down shirt creates a striking, high-contrast focal point suitable for creative professional environments.
- The Bohemian Cascade: For deep V-necklines or wrap dresses, layer three strands of graduated turquoise heishi (18", 20", and 22") with raw, unpolished coral or lapis lazuli beads for a rich, textural cascade.
Market Value and Sourcing Tips
Understanding the market value of specific turquoise origins protects you from overpaying. The Federal Trade Commission (FTC) Jewelry Guides mandate that any treatments, such as dyeing or heavy stabilization, must be disclosed by the seller, as they drastically affect the stone's value.
| Mine / Origin | Condition / Treatment | Estimated Price per Gram | Key Identifying Features |
|---|---|---|---|
| Sleeping Beauty (AZ) | Natural, Untreated | $50 - $150+ | Uniform sky-blue, little to no matrix |
| Kingman (AZ) | Stabilized (Epoxy) | $10 - $25 | Deep blue with distinct black/brown spiderweb |
| Bisbee (NM) | Natural / Lightly Stabilized | $30 - $80 | Smoky blue with red/brown pyrite inclusions |
| Dyed Howlite | Dyed Simulant | < $1 | Superficial grey veining, chalky texture |
Expert Tip: When purchasing vintage turquoise online, always request high-resolution macro photos of the drill holes. Natural turquoise will show clean, sharp drilling with slight color variation inside the hole. Dyed stones will show concentrated, dark blue dye pooling around the edges of the drill hole where the liquid dye seeped into the porous stone during the manufacturing process.
By mastering these authentication techniques and proper maintenance protocols, you ensure that your vintage turquoise bead necklace remains a vibrant, structurally sound, and highly stylish heirloom for decades to come.


