Follow Along as Barb Is Making a Bead Necklace: Beginner Guide
Follow along as Barb is making a bead necklace in this beginner-friendly guide covering wire gauges, crimping, and essential beading tools.

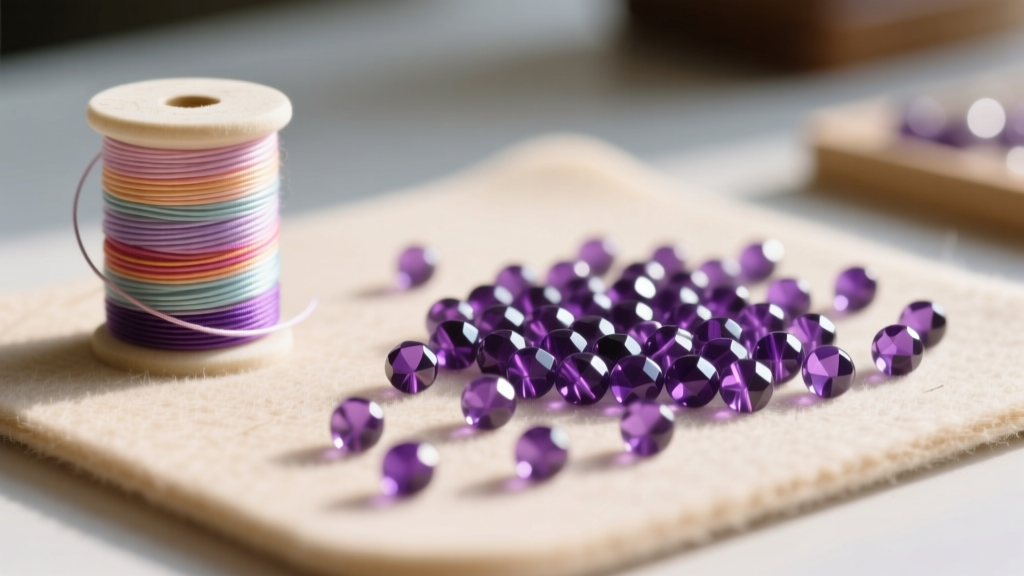
Meet Barb: Why Bead Stringing is the Perfect Starting Point
Entering the world of jewelry design can feel overwhelming, but it doesn't have to be. If you have ever thought to yourself, 'I want to learn jewelry design,' following a narrative where Barb is making a bead necklace provides the perfect blueprint. Bead stringing is the foundational pillar of jewelry making. It requires minimal initial investment, teaches essential tension and design principles, and yields professional-looking results in a single afternoon.
Barb, a composite of our most successful beginner students, decided to craft a classic 18-inch gemstone necklace. Instead of guessing her way through the craft store aisles, she approached the project with a focus on material science and proper technique. In this guide, we will break down exactly how Barb selected her materials, the specific wire gauges she used, and the mechanical principles of securing a clasp that will last for decades.
Barb’s Toolkit: Essential Materials and Wire Gauges
When Barb sat down at her workstation, she didn't just grab any thread. The structural integrity of a beaded necklace relies entirely on the stringing material. Barb opted for a 49-strand stainless steel beading wire coated in nylon. According to the experts at Soft Flex Company, 49-strand wire offers the best drape, mimicking the fluidity of silk thread while providing the tensile strength of steel.
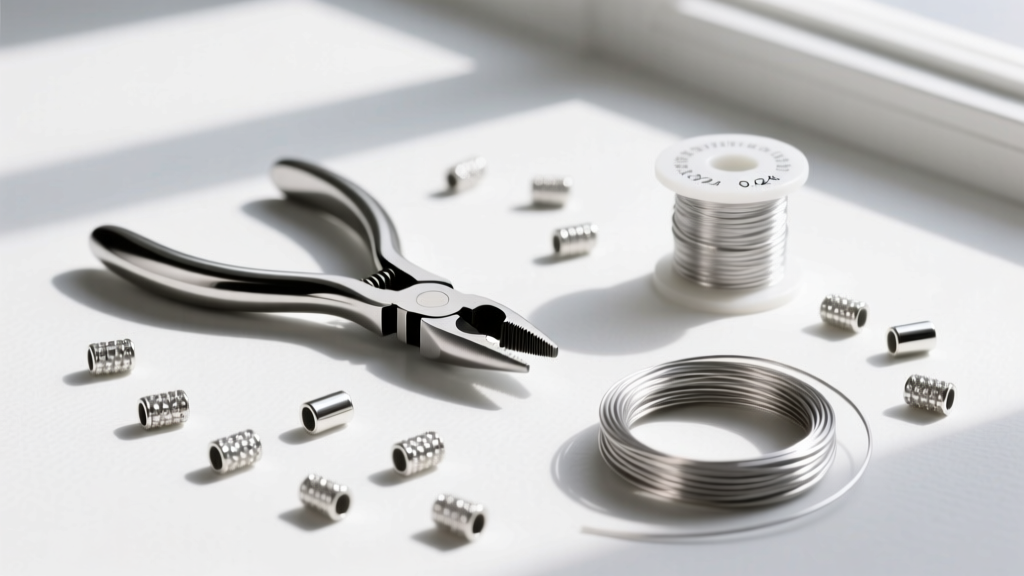
Understanding Wire Diameters
Barb had to choose a wire diameter. Beading wire typically comes in three standard thicknesses:
- 0.012" - 0.015" (Fine): Best for lightweight freshwater pearls, seed beads, and small crystals with tiny drill holes.
- 0.018" (Medium): The versatile middle ground for standard glass beads and 4mm-6mm gemstones.
- 0.024" (Heavy): Barb's choice for her 8mm amethyst beads. This thickness handles the weight and abrasive edges of larger, heavier gemstones without snapping.
Alongside her 0.024" 49-strand wire, Barb gathered 2mm sterling silver (.925) tube crimps. Beginners often buy cheap base-metal round crimps, but sterling silver tubes are superior. The .925 silver is soft enough to fold securely without cracking, and the tube shape provides a larger surface area to grip the wire, preventing slippage.
Step-by-Step: Watch How Barb Is Making a Bead Necklace
With materials selected, Barb began the physical assembly. She used a flocked bead design board to lay out her pattern, ensuring her 18-inch necklace would sit perfectly on the collarbone. Here is the exact sequence she followed to ensure professional tension and durability.
1. Securing the First Clasp
Barb threaded her wire through a 2mm tube crimp, then through the jump ring of a sterling silver lobster clasp. She looped the wire back through the crimp bead, creating a small, teardrop-shaped loop. Leaving a 2-inch 'tail' of wire, she moved to her crimping pliers.
2. Managing Tension and Threading
As Barb strung her 8mm amethyst beads, she was careful to thread the 2-inch wire tail through the first three beads, hiding it inside the necklace. A critical mistake beginners make is pulling the wire too tight. Barb left a microscopic amount of slack—about 1mm of play per inch of necklace. This 'drape' prevents the wire from bowing and showing between the beads when the necklace is worn and bent around the neck.
Selecting the Right Bead Hole Sizes
One of the most common points of failure is mismatching wire gauge to bead hole size. Barb referenced a standard compatibility chart to ensure her 0.024" wire (approx. 0.61mm) would pass through her beads smoothly, sometimes requiring a bead reamer for natural stones.
| Bead Material | Average Hole Size | Recommended Wire Gauge | Strand Count |
|---|---|---|---|
| Freshwater Pearls | 0.5mm - 0.8mm | 0.012" - 0.015" | 19 or 49 |
| Glass / Crystal (4-6mm) | 0.8mm - 1.0mm | 0.018" | 19 or 49 |
| Gemstone (8mm+) | 1.0mm - 1.5mm | 0.024" | 49 |
| Metal Spacers | 1.5mm+ | 0.024" | 49 |
Securing the Clasp: Barb’s Crimping Technique
The most intimidating part of the process is the finish. If the crimp fails, the necklace shatters. Barb used a Micro Crimping Plier, a specialized tool recommended by Beadalon that features two distinct notches to mechanically lock the metal.
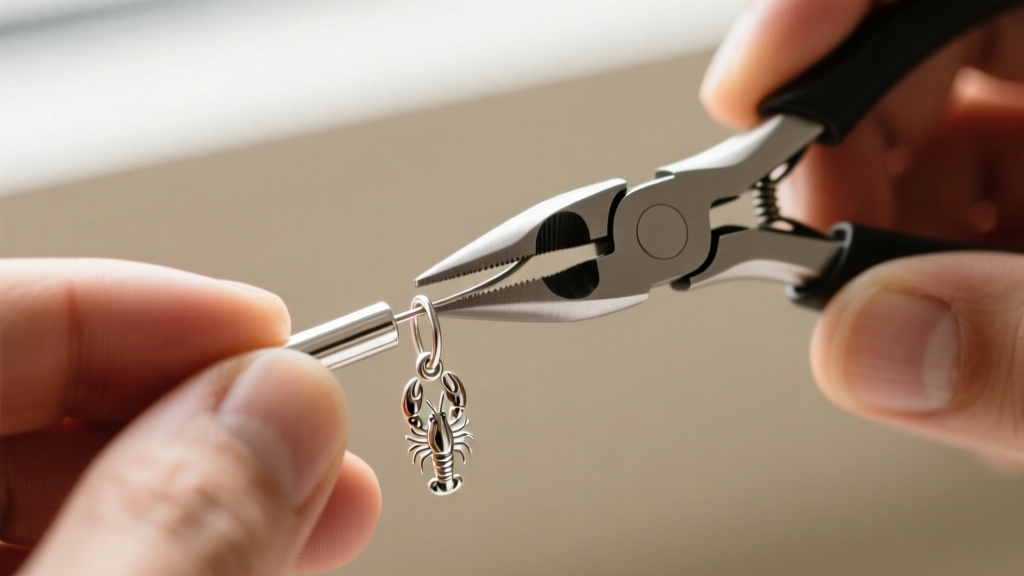
The Two-Step Crimp Method
- The Indent (First Notch): Barb placed the tube crimp in the back notch of the pliers (the one with the small dip in the jaw). She squeezed firmly, creating a deep crease down the middle of the tube, separating the two wires inside into distinct channels.
- The Fold (Second Notch): She then moved the crimp to the front notch (the one with the rounded dimple). Rotating the crimp 90 degrees so it stood on its edge, she squeezed again. This folded the two halves of the tube inward over each other, encasing the wires in a tight, rounded metal bead.
To elevate the finish, Barb slid a 3mm sterling silver crimp cover over the folded crimp and used the very tip of her chain-nose pliers to gently close it, making it look like a seamless metal bead.
Common Beginner Mistakes Barb Avoided
Through her research on forums like Fire Mountain Gems, Barb learned to avoid three catastrophic beginner errors:
- Ignoring Abrasive Holes: Natural gemstones often have sharp, unpolished drill holes that act like tiny saws, eventually cutting through the nylon coating and snapping the steel wire. Barb inspected her amethyst beads and used a diamond bead reamer to smooth any sharp edges before stringing.
- Using Round Base Metal Crimps: Cheap brass or aluminum round crimps often crack when squeezed or fail to grip the nylon-coated wire. Barb's choice of sterling silver tubes guaranteed a secure, malleable bite.
- Omitting Wire Protectors: For high-stress areas where the wire loops through the clasp, metal-on-metal friction can cause fatigue. While Barb's heavy 0.024" wire was robust enough for a simple lobster clasp, she noted that for toggle clasps, she would need to use French wire (bullion) to protect the loop.
Final Thoughts on Your Own Beading Journey
Watching how Barb is making a bead necklace proves that professional jewelry design is less about innate artistic talent and more about understanding material properties and mechanical execution. By investing in 49-strand wire, sterling silver tube crimps, and a proper micro-crimping tool, you bypass the frustrations that cause most beginners to quit. Set up your design board, respect your wire tension, and start stringing your first masterpiece today.


