How to Craft and Style a Custom Necklace Bottle Cap
Learn how to craft, seal, and style a custom necklace bottle cap pendant. Discover resin types, chain pairings, and pro tips for upcycled jewelry.

The Anatomy of a Perfect Bottle Cap Pendant
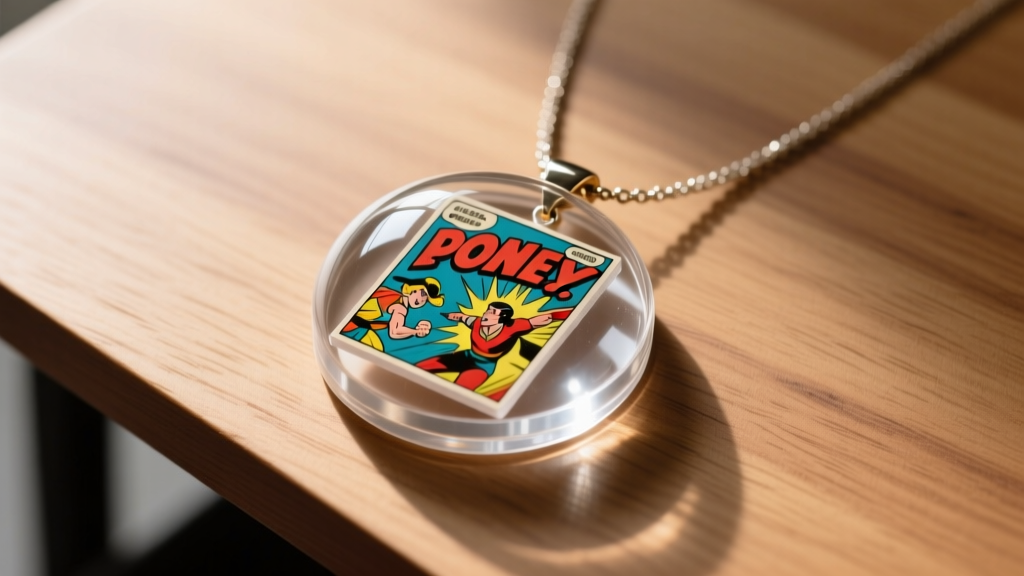
Upcycled jewelry has evolved far beyond simple macramé and wire-wrapping. Today, crafting a custom necklace bottle cap pendant is a precise intersection of nostalgic art and chemical sealing. To create a professional-grade piece, you must first understand the anatomy of the standard crown cork. A typical US beverage cap features an outer diameter of 1.025 inches (26mm) and an inner seating diameter of roughly 25mm. This 25mm inner lip is your canvas. Standard 1-inch (25.4mm) circular paper punches are designed specifically to fit this recess with less than a millimeter of tolerance, ensuring your artwork sits perfectly flush against the inner wall without buckling.
Sourcing the Right Cap: Pry-Off vs. Twist-Off
Not all caps are created equal for jewelry making. You must exclusively source pry-off caps. Twist-off caps feature interior threading and ridges designed to grip the bottle's screw-top neck. If you attempt to pour resin into a twist-off cap, these microscopic ridges will trap air, creating a ring of stubborn bubbles against your artwork that is nearly impossible to extract. Pry-off caps, commonly found on craft beers and imported sodas, have a smooth interior skirt, allowing resin to self-level flawlessly against the metal edge.
Resin Showdown: Epoxy vs. UV for Jewelry Sealing
The most critical decision in your build is the sealing medium. Beginners often grab whatever craft resin is on sale, leading to yellowing, shrinking, or sticky finishes. According to the experts at ArtResin, understanding the chemical difference between UV-cured acrylates and two-part epoxies is vital for long-term clarity.
| Feature | UV Resin (e.g., Padico) | Two-Part Epoxy (e.g., ArtResin) |
|---|---|---|
| Cure Time | 2-4 minutes under 36W UV lamp | 24 hours at room temperature |
| Shrinkage | High (up to 10% volume loss) | Negligible (less than 1%) |
| Doming Ability | Poor (requires multiple thin layers) | Excellent (high surface tension) |
| Yellowing Resistance | Moderate (prone to UV degradation) | High (contains HALS stabilizers) |
| Cost per Ounce | $$$ (Expensive) | $ (Economical) |
For a true glass-like dome over a necklace bottle cap, two-part epoxy is the superior choice. Its high surface tension allows it to pool slightly over the 25mm inner lip, creating a convex magnifying effect without spilling over the crimped edges.
Step-by-Step: Sealing Your Necklace Bottle Cap
Follow this exact workflow to prevent the most common beginner failure mode: resin bleed (where resin soaks into the paper, turning it translucent and dark).
- Prep the Metal: Lightly scuff the inside of the cap with 400-grit sandpaper. This removes factory oils and gives your adhesive a mechanical tooth to grip.
- Punch and Seal the Art: Cut your 1-inch design. Before placing it in the cap, seal the paper. Apply three thin coats of matte acrylic spray sealer, letting each dry for 15 minutes. This creates an impermeable barrier against the liquid resin.
- Adhere the Canvas: Do not use liquid glues like Mod Podge for the final adhesion, as the moisture can warp the paper. Instead, use a 1-inch double-sided glue dot or a tiny dab of E6000 craft adhesive spread evenly with a toothpick. Press the paper firmly into the cap.
- Mix the Epoxy: Measure your two-part epoxy strictly by volume (1:1 ratio). Stir slowly for a full three minutes, scraping the sides and bottom of the cup. Incomplete mixing results in permanently sticky spots.
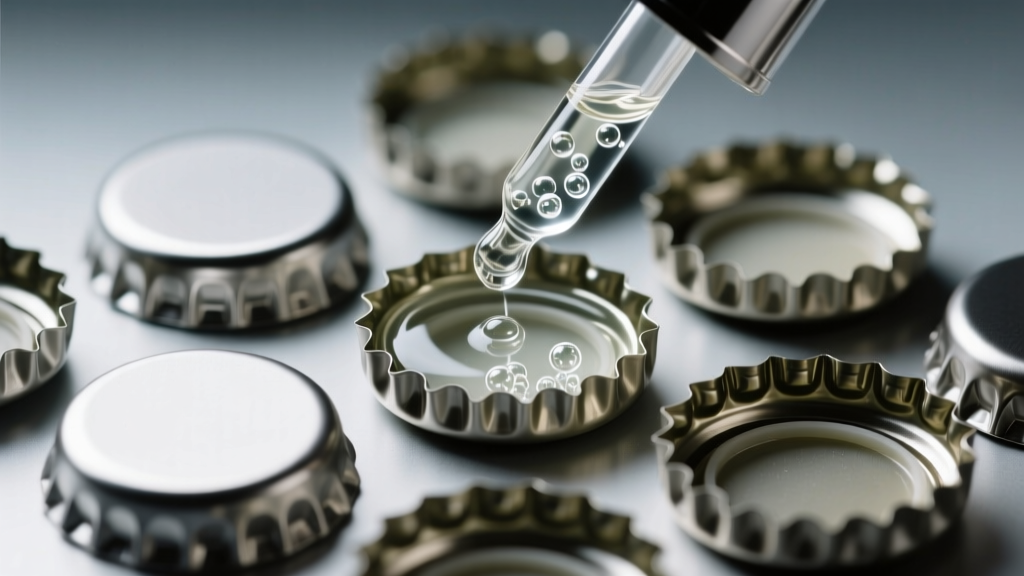
- Pour and Dome: Using a silicone dropper, place a pool of resin in the center of the cap. Let it spread naturally. Stop pouring when the resin reaches the absolute brim of the inner lip; surface tension will hold it in a perfect dome.
Hardware and Chain Pairings
Once your resin has fully cured for 24 hours, you need to attach it to a chain. You have two structural options:
- The Glue-On Bail: A flat-pad pendant bail glued to the back of the cap using two-part jeweler's epoxy. This preserves the integrity of the cap but can snap if the necklace is snagged.
- The Punched Hole (Recommended): Using 1.5mm metal hole-punch pliers, pierce a hole through the top skirt of the cap before pouring your resin. Thread a 16-gauge stainless steel split ring or a 6mm sterling silver jump ring through the hole. This offers vastly superior tensile strength.
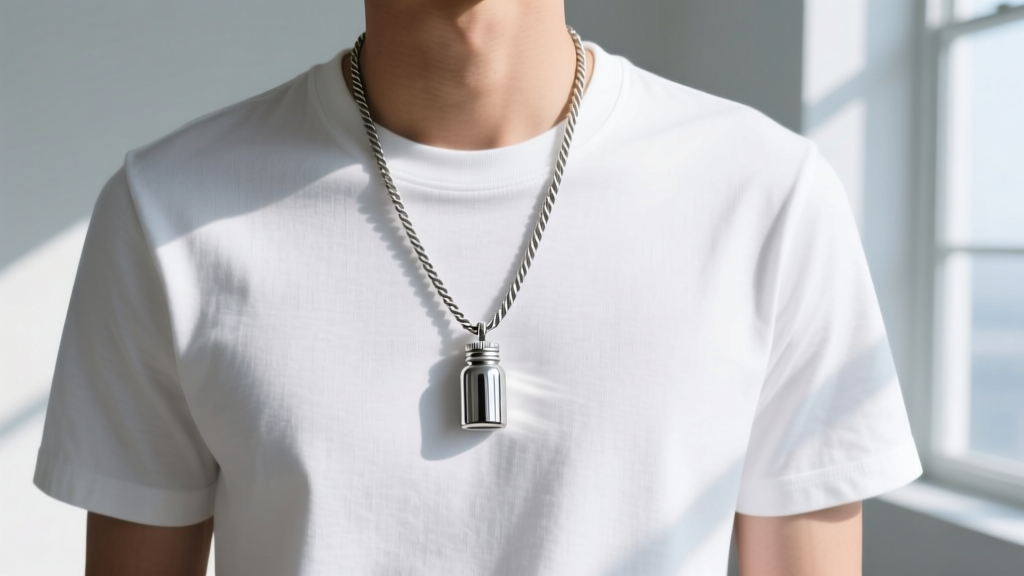
For chain selection, match the visual weight. A heavy, upcycled bottle cap pendant looks best on a 2mm to 3mm rope chain or a flat curb chain. Avoid delicate cable chains (under 1mm), as the weight of the metal cap and resin will cause them to tangle and eventually snap. For styling resources and chain hardware, Fire Mountain Gems offers extensive tutorials on matching pendant weights to appropriate chain gauges.
Troubleshooting Common Resin Flaws
Even experienced crafters encounter chemical anomalies. Here is how to troubleshoot the big three:
Micro-Bubbles
If you see tiny bubbles trapped against the paper, you poured too thick or mixed too vigorously. To fix this during the curing window, pass a butane culinary torch or a heat gun quickly over the surface, keeping it at least two inches away. The heat drops the resin's viscosity, allowing bubbles to rise and pop. Do not hold the heat source still, or you will scorch the epoxy.
Amine Blush
If your cured resin feels waxy or looks cloudy, it has developed amine blush—a reaction between the epoxy hardener and ambient humidity. This is easily fixed. Simply wash the pendant with warm water and a drop of dish soap, scrubbing gently with a soft cloth. The waxy residue will wash away, revealing a crystal-clear finish.
Shrinkage and Pulling
If the resin pulls away from the edges of the cap, exposing the metal lip, you likely used UV resin or an epoxy not formulated for doming. Always ensure your workspace is level using a small bubble level on your crafting mat; an uneven table will cause the resin to pool on one side and recede on the other.
Styling Your Upcycled Masterpiece
A necklace bottle cap pendant is inherently casual, carrying a grunge, nostalgic, or indie aesthetic. To elevate it, practice intentional layering. Pair your 24-inch bottle cap pendant with a 16-inch minimalist choker and a 20-inch simple bar necklace. This creates a cascading visual triangle that draws the eye downward. Because the metal cap provides an industrial edge, it pairs exceptionally well with matte metals like oxidized silver or brushed titanium, allowing your sealed artwork to remain the undeniable focal point of your outfit.


