Beginner Necklace Making: Tools, Wire Gauges & Techniques
Master beginner necklace making with our expert guide on essential tools, wire gauges, stringing techniques, and pro troubleshooting tips.

Entering the world of jewelry design is both a creative and technical endeavor. For many aspiring artisans, necklace making serves as the perfect entry point. Unlike ring sizing or complex stone setting, crafting necklaces allows beginners to focus on fundamental mechanics, material behavior, and aesthetic balance without requiring a fully equipped silversmithing studio. However, a common pitfall for novices is underestimating the precision required for structural integrity. A beautifully strung necklace will quickly fail if the wrong wire gauge is used or if crimp tubes are improperly secured.
This comprehensive guide strips away the guesswork, providing you with exact tool recommendations, material grades, and structural frameworks needed to transition from a hobbyist to a confident jewelry maker.
The Core Mechanics: Stringing vs. Wire Wrapping
Before purchasing materials, you must decide on your primary construction method. Beginner necklace making generally falls into two distinct categories, each requiring different supplies and skill sets.
Flexible Stringing
Stringing involves threading beads onto a flexible, multi-strand stainless steel cable coated in nylon (commonly known by the brand name Soft Flex). This method is ideal for gemstone beads, glass, and pearls. The nylon coating protects the steel core from the abrasive edges of bead holes, while the steel core provides the tensile strength needed to support heavy pendants.
Wire Wrapping and Linking
Wire wrapping uses solid, non-coated wire to create structural links, jump rings, and bails. This technique relies on the metal's malleability and work-hardening properties. It is the preferred method for creating chainmaille patterns, wire-wrapped pendants, and rosary-style linked necklaces.
Essential Tools for Your First Workbench
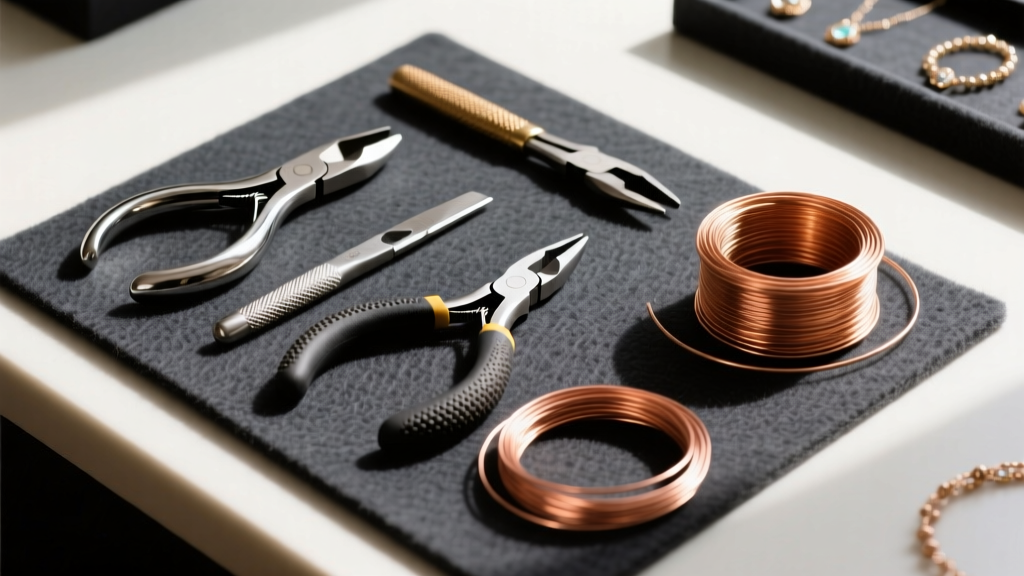
Investing in high-quality tools prevents material damage and hand fatigue. Cheap hardware store pliers often feature serrated teeth that will mar soft metals and leave permanent scratches on your wire. Instead, source jewelry-specific tools with smooth, polished jaws.
- Flush Cutters: The Xuron 410 Micro-Shear is the industry standard for beginners. It cuts wire perfectly flat on one side, eliminating sharp protruding ends that can scratch the wearer's skin.
- Chain-Nose Pliers: Used for gripping, bending, and closing jump rings. Look for a pair with a tapered, smooth jaw, such as those made by Wubbers or Lindstrom.
- Round-Nose Pliers: Essential for creating uniform loops and wire-wrapped bails. The conical jaws allow you to form different sized loops depending on where you grip the wire.
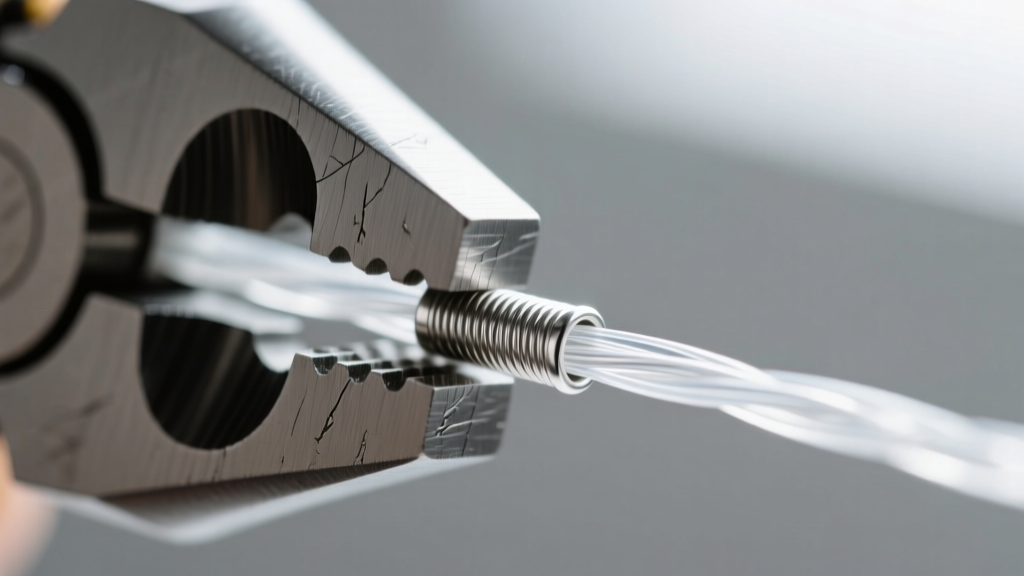
- Crimping Pliers: If you are stringing beads, a dedicated crimping tool (like the Beadalon 1-Step Crimper) is non-negotiable. It folds and rounds a metal crimp tube into a secure, bead-like shape.
Understanding Wire Gauges and Hardness
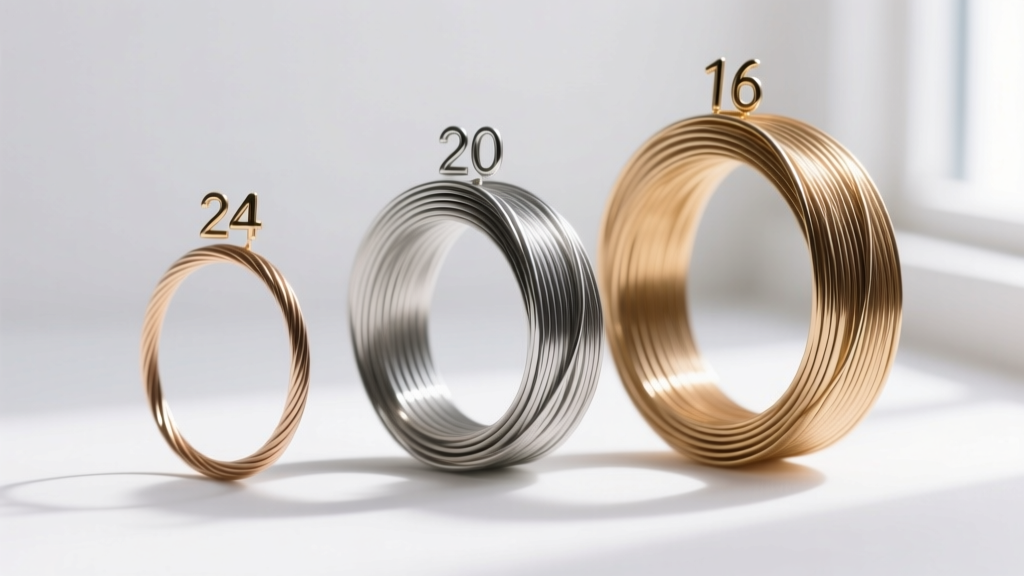
In necklace making, wire is measured by the American Wire Gauge (AWG) system. Counterintuitively, the higher the gauge number, the thinner the wire. Equally important is the wire's hardness, which dictates how easily it bends and how well it holds its shape.
- Dead Soft: Extremely pliable. Ideal for intricate wire weaving and wrapping around cabochons. It work-hardens as you manipulate it.
- Half-Hard: The most versatile temper for beginners. It offers a balance of malleability for bending and stiffness for holding structural shapes like jump rings and clasps.
- Full-Hard: Very stiff and springy. Rarely used by beginners, but excellent for making durable ear wires and heavy-duty clasps.
Wire Gauge Quick Reference Chart
| AWG Size | Diameter (mm) | Best Uses in Necklace Making |
|---|---|---|
| 26-28 Gauge | 0.40 - 0.32mm | Wire weaving, wrapping small briolettes, delicate chainmaille. |
| 24 Gauge | 0.51mm | Standard wire wrapping, making headpins, attaching beads to links. |
| 20 Gauge | 0.81mm | Jump rings, ear wires, structural links, and rosary-style chains. |
| 16-18 Gauge | 1.29 - 1.02mm | Heavy-duty clasps, thick bails, and rigid neck collars. |
Step-by-Step: Your First Beaded Strand
Let us walk through the exact process of creating a durable, professionally finished beaded necklace using flexible stringing wire and crimp tubes.
- Cut the Cable: Cut a length of 0.019-inch diameter Soft Flex beading wire. The 0.019-inch size is the universal standard, accommodating most glass and gemstone beads while remaining flexible enough to drape elegantly.
- Secure the Clasp: Thread a 2x2mm sterling silver crimp tube onto the wire, followed by a wire guardian (a horseshoe-shaped metal finding that protects the wire from fraying against the clasp). Pass the wire back through the crimp tube, leaving a 2-inch tail.
- Crimp and Trim: Use your crimping pliers to fold and round the tube. Pull the tail tight so the beads will sit snugly. Flush-cut the excess tail wire.
- String Your Design: Thread your chosen beads onto the wire, ensuring the 2-inch tail is hidden inside the first few beads.
- Finish the End: Repeat the crimping process on the opposite end, attaching the other half of your clasp. Always leave a tiny amount of slack before the final crimp so the necklace has movement; a strung necklace pulled too tight will kink and break.
Troubleshooting Common Beginner Mistakes
Expert Insight: The number one reason beginner necklaces snap is not the weight of the beads, but metal fatigue caused by sharp bends in the stringing cable. Always use wire guardians at your clasp connections to maintain a natural curve.
Even with the best instructions, novice makers encounter structural issues. Here is how to diagnose and fix them:
- Problem: Crimp tubes are slipping.
Solution: You are likely using a crimp tube that is too large for your wire. A 2x2mm tube is designed for 0.015 to 0.024-inch wire. If using thinner 0.012-inch wire, downgrade to a 2x1mm tube. Ensure you are pulling the wire taut before squeezing the pliers. - Problem: Wire wrapping looks messy and dented.
Solution: You are gripping the wire too tightly with your chain-nose pliers. Practice your grip tension using inexpensive 20-gauge solid copper wire before moving on to costly sterling silver or 14k gold-filled wire. - Problem: Jump rings pull apart under tension.
Solution: You are closing the jump ring by pushing the ends together like a hinge. This weakens the metal and leaves a gap. Instead, use two pairs of pliers to twist the ends laterally past each other, then wiggle them back into perfect alignment. This work-hardens the seam and creates a flush closure.
Sourcing Quality Materials on a Budget
Where you source your materials dictates the longevity of your jewelry. Avoid craft store 'mystery metals' that tarnish instantly or cause skin discoloration. For professional-grade supplies, turn to established industry wholesalers like Rio Grande for precious metals and findings, or Fire Mountain Gems for bulk gemstone beads and stringing supplies.
When working with gold tones, skip standard gold plating, which wears off quickly. Instead, invest in 14/20 Gold-Filled wire. Gold-filled material contains a thick, mechanically bonded layer of 14k gold that constitutes at least 1/20th of the total weight of the item. It behaves exactly like solid gold during the wire-wrapping process but costs a fraction of the price, making it the ultimate material for beginner necklace making entrepreneurs looking to sell their first collections.
For further education on metal properties and advanced finishing techniques, the Halstead Bead blog offers exceptional, free technical articles written by master jewelers. By mastering these foundational techniques and respecting the physical properties of your materials, you will build a portfolio of necklaces that are not only visually stunning but structurally engineered to last a lifetime.


