The Best Way to Unknot a Necklace: Easy Beginner Guide
Discover the best way to unknot a necklace with our beginner-friendly guide. Learn safe lubricants, tool tips, and techniques to save delicate chains.

The Anatomy of a Tangle: Why Delicate Chains Knot
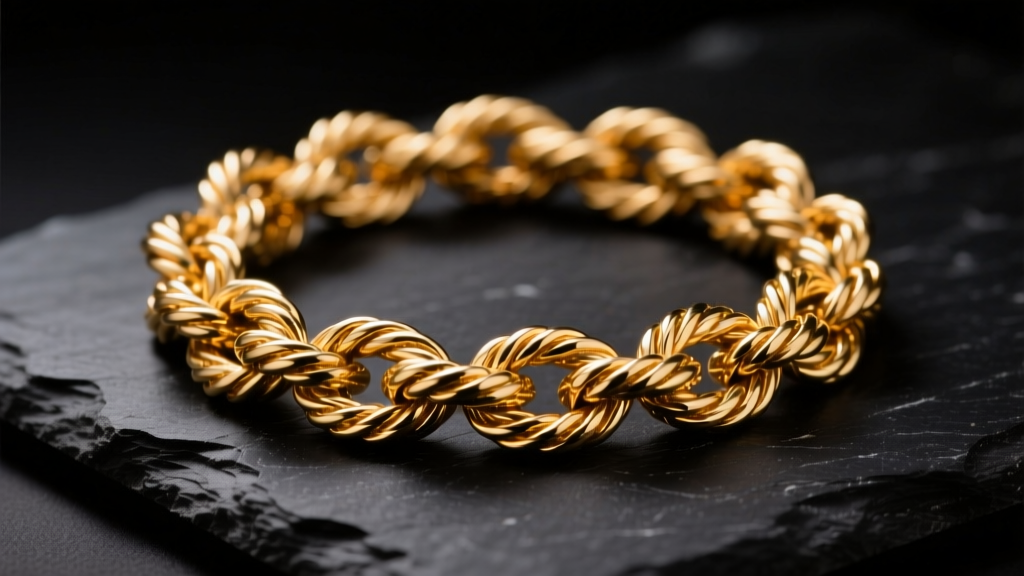
Every jewelry lover has experienced the sinking feeling of pulling a beloved piece from a drawer only to find it transformed into a microscopic bird's nest. Before you learn the best way to unknot a necklace, it helps to understand the physics of why it happens. Delicate chains—typically those ranging from 0.8mm to 1.5mm in width—are highly susceptible to friction-based knotting. When multiple chains are stored together, their links act like tiny hooks. According to metallurgical insights from Rio Grande's chain structure guides, chains with high surface-area links (like box or rope chains) catch on one another during transit or drawer movement, pulling a single link through another and tightening under the weight of the pendant or clasp.
Pulling at a knot with your fingers introduces natural skin oils and increases the tension, effectively locking the links together. The secret to untangling isn't brute force; it is friction reduction and precision manipulation. By treating the knot like a mechanical puzzle rather than a stubborn obstacle, you can save even the most fragile gold vermeil or sterling silver chains from permanent deformation.
Your Unknotting Toolkit: Beyond Fingernails
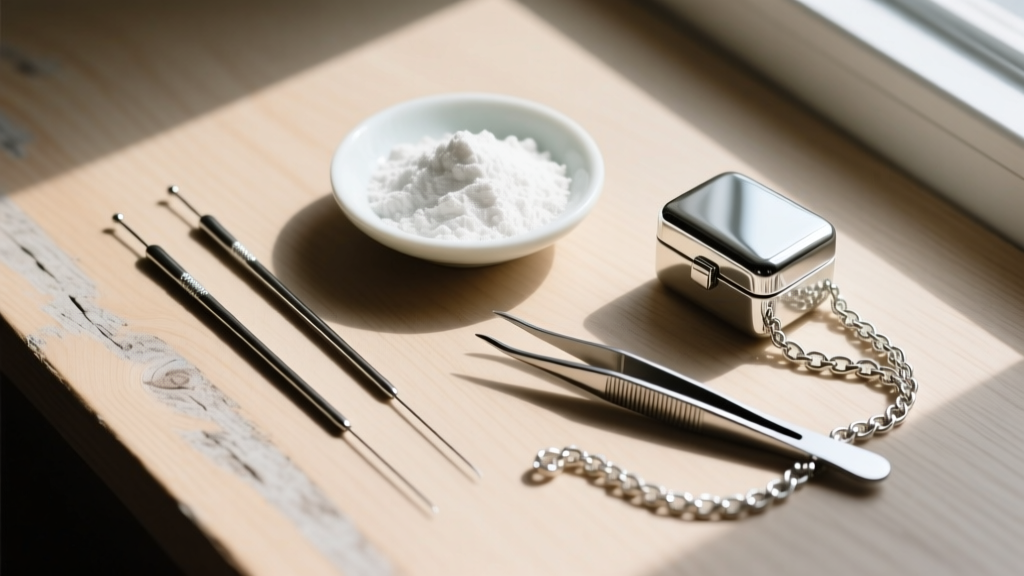
To execute the proper technique, you need to abandon the use of your fingernails. Nails are too thick to penetrate tight link intersections and can easily scratch soft metals like 24k gold plating or high-polish sterling silver. Instead, assemble a beginner-friendly toolkit:
- Beading Needles: Size 10 (0.46mm diameter) or Size 12 (0.38mm diameter) John James beading needles are thin enough to slip through tightly cinched 1.0mm chain links.
- Smooth-Tip Tweezers: Avoid serrated jewelry tweezers, which will gouge soft metals. Opt for Swiss-style tweezers with a high-polish, non-magnetic tip.
- Friction Reducers: Baby powder, jojoba oil, or a specialized jewelry polishing cloth.
- Optic Magnification: A 10x jeweler's loupe or a well-lit magnifying desk lamp to identify the exact 'pinch point' of the knot.
The Best Way to Unknot a Necklace: Step-by-Step
Follow this systematic approach to safely dismantle the knot without stressing the metal's structural integrity.
Step 1: Unclasp and Isolate
Never attempt to unknot a necklace while it is still clasped. The tension of the closed loop restricts the chain's movement. Unfasten the lobster or spring ring clasp and lay the necklace completely flat on a hard, non-porous surface like a glass table or a ceramic plate. Avoid fabric surfaces like towels or carpets, as the fibers will snag the loose links and create secondary tangles.
Step 2: Apply the Appropriate Lubricant
Identify the exact center of the knot. Apply a microscopic amount of your chosen friction reducer directly to the pinch point. If using baby powder, tap a small mound over the knot and gently blow away the excess. If using oil, use a single drop on the tip of a needle. Allow the lubricant to seep into the metal gaps for about 60 seconds to break the surface tension.
Step 3: The Two-Needle Technique
Insert the tip of your first beading needle into the loosest outer loop of the knot. Do not pull; simply wiggle the needle to widen the gap. Insert the second needle into the adjacent loop. Gently push the needles apart in opposite directions, working from the outside of the knot toward the center. Once the central 'locking' link is freed, the rest of the chain will slide apart effortlessly.
Lubricant Matrix: Choosing the Right Slip Agent
Not all lubricants are safe for all jewelry. The Gemological Institute of America (GIA) warns that certain chemicals can destroy porous gemstones often found on pendants. Use this chart to select the right agent for your specific piece.
| Lubricant | Best For | Avoid Using On | Cleanup Required |
|---|---|---|---|
| Baby Powder (Talc) | Sterling silver, bare gold chains | Chains with diamond accents (dulls sparkle) | Soft brush wipe |
| Jojoba / Olive Oil | Stubborn, hardened knots | Pearls, Opals, Emeralds (causes staining) | Dawn dish soap & warm water |
| Windex (Ammonia) | Platinum and white gold | Any porous gemstone, oxidized silver | Rinse with distilled water |
| Graphite (Pencil) | Thick, heavy gauge clasps | Light-colored gemstones, porous beads | Jewelry polishing cloth |
Chain-Specific Troubleshooting
The best way to unknot a necklace heavily depends on the chain's weave. Different structures fail in different ways.
Rope and Herringbone Chains
Rope chains feature twisted links that mimic the texture of a literal rope. When knotted, the links twist inward, hiding the pinch point. Fix: Roll the knot gently between two flat glass surfaces (like a magnifying glass and a table) to force the twisted links to lay flat before applying your needles. Herringbone chains are highly prone to permanent kinking rather than traditional knotting. If a herringbone chain bends at a sharp angle, lay it flat and use the back of a metal spoon to gently burnish (rub) the kink flat against the table.
Box and Snake Chains
Box chains feature square, interlocking links that catch on one another's sharp corners. Snake chains are made of tightly wound metal rings that form a smooth, tubular surface. Fix: Snake chains rarely knot, but they do 'snag' and kink when bent backward against their natural curve. Never pull a snagged snake chain. Instead, use a single needle to lift the exact link that is caught out of alignment, allowing it to snap back into its tubular formation.
Long-Term Prevention Strategies
Mastering the untangling process is valuable, but preventing the knot is the hallmark of true jewelry care. According to the Jewelers of America, proper storage is the first line of defense against chain friction.
- The Straw Hack for Travel: Thread one end of the necklace through a plastic or silicone drinking straw and clasp it. The rigid tube prevents the chain from coiling and knotting inside your luggage.
- Individual Anti-Tarnish Pouches: Store chains in separate, airtight polyethylene ziplock bags. Squeeze out excess air before sealing to limit the chain's ability to move around.
- Always Clasp Before Storing: An unclasped chain acts like a whip, easily threading itself through other jewelry. Always secure the clasp, even if you are only taking the piece off for the night.
- Layering with Intent: If you prefer wearing layered necklaces, ensure there is at least a 2-inch difference in length between each chain to prevent their pendants from interlocking and causing friction-based tangles throughout the day.
Pro Tip: If a knot simply will not yield to needles and lubricants, do not resort to cutting the chain. Take it to a professional bench jeweler. They possess specialized microscopes and ultra-fine dental picks that can dismantle a 0.5mm knot in minutes without compromising the structural integrity of your precious metals.


