How to Fix Broken Necklace: DIY vs Jeweler Value Guide
Learn how to fix broken necklace chains and clasps. Compare DIY repair costs versus professional jeweler pricing to maximize your jewelry's value.

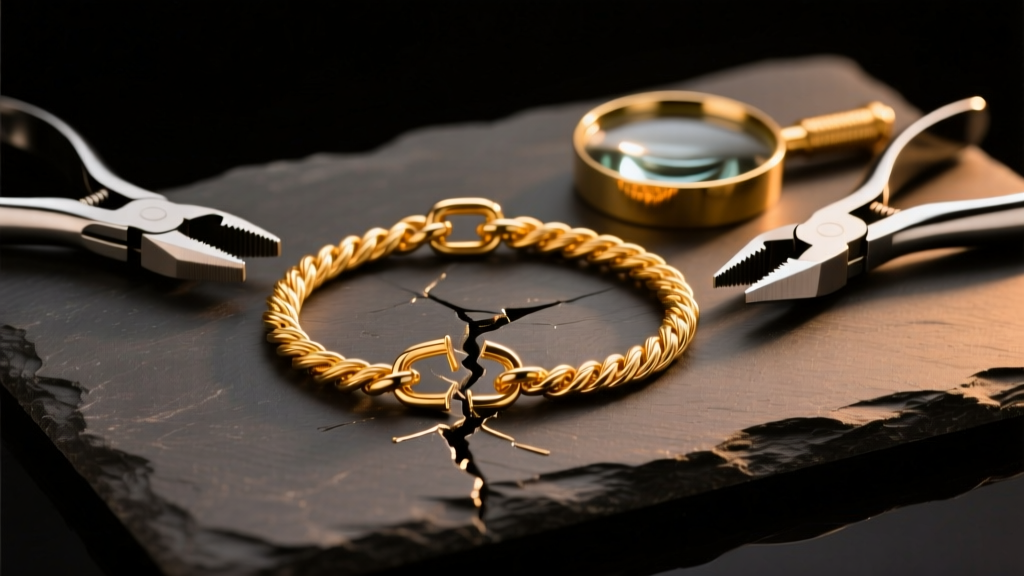
There are few things more frustrating than feeling the sudden, weightless snap of a favorite chain against your collarbone. When you need to figure out how to fix broken necklace chains, the immediate question isn't just about mechanics—it is about economics. Should you spend twenty minutes learning a DIY jump-ring twist, or pay a professional jeweler to solder the link? In 2026, with precious metal prices fluctuating and laser-welding technology becoming standard at local benches, the cost-benefit analysis of jewelry repair has shifted dramatically. This guide breaks down the exact financial thresholds, material considerations, and repair methodologies to help you maximize the value and longevity of your necklaces.
The Economics of Necklace Repair: When to Fix vs. Replace
Before picking up a pair of pliers or driving to the mall, you must assess the intrinsic versus sentimental value of the piece. According to the Gemological Institute of America (GIA), the melt value of a standard 14-karat gold cable chain often hovers between $80 and $150, depending on weight. If a professional laser-welding repair costs $95, you are spending nearly 60% of the chain's raw material value on labor.
However, if the necklace is sterling silver, the math changes entirely. A 20-inch sterling silver chain might have a melt value of less than $5. Paying a jeweler $45 to torch-solder a broken silver link is a purely sentimental or aesthetic investment. For fashion jewelry (brass, copper, or gold-plated bases), professional repair is almost never financially viable, as the heat from soldering will strip the plating and ruin the piece. In these cases, DIY clasp replacements or complete chain swaps are the only value-positive options.
Common Necklace Failures and DIY Repair Costs
Approximately 70% of all necklace breakages occur at the connection points rather than the chain links themselves. The jump ring connecting the clasp to the chain, or the spring-ring mechanism itself, are the usual culprits. Fixing these at home requires minimal investment but demands the right tools to avoid inflicting secondary damage.
- Generic Hardware Pliers ($10 - $15): Avoid these. The serrated teeth will permanently gouge soft precious metals like 18k gold and fine silver.
- Jeweler's Chain-Nose Pliers ($35 - $60): Brands like Lindstrom or Wubbers offer smooth, flat inner jaws that grip wire without marring the finish.
- Replacement Lobster Clasps ($3 - $12): Buying solid 14k gold or sterling silver lobster clasps in bulk online costs a fraction of a jeweler's markup.
- Spare Jump Rings ($5 - $15 per pack): Essential for replacing stretched or lost connection rings.
Professional Jeweler Pricing Breakdown (2026 Benchmarks)
If the break occurs mid-chain, or if the metal is too thick for hand-tools, you need a pro. Below is a value-assessment matrix comparing DIY feasibility against average independent jeweler pricing in 2026.
| Repair Type | DIY Cost | Jeweler Cost | Value Verdict |
|---|---|---|---|
| Jump Ring Replacement | $1 - $3 | $15 - $25 | DIY: High savings, easy learning curve. |
| Lobster Clasp Swap | $4 - $10 | $30 - $55 | DIY: Best value for solid gold/silver. |
| Mid-Chain Torch Solder | N/A | $35 - $65 | Pro: Required for structural integrity. |
| Laser Welding (Hollow/Delicate) | N/A | $85 - $150 | Pro: Mandatory for hollow or white gold. |
Step-by-Step: How to Fix Broken Necklace Jump Rings
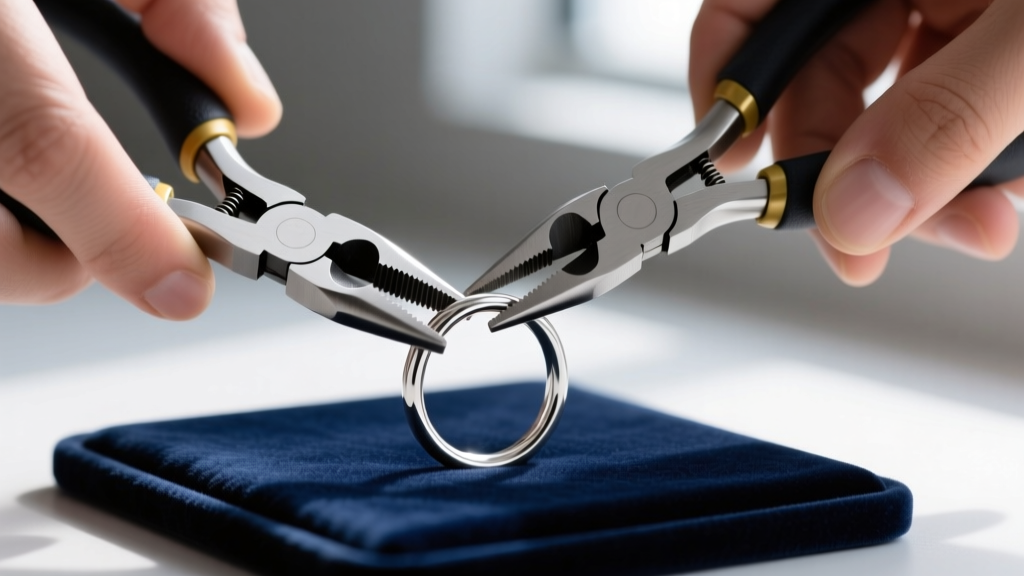
The most common reason a necklace separates from its clasp is a stretched jump ring. Many people make the fatal error of pulling the ring apart horizontally (like opening a door), which ovalizes the metal and weakens its structural memory. To properly fix a broken necklace jump ring, you must use the lateral twist method.
- Secure the Ring: Grip the jump ring with two pairs of smooth chain-nose pliers, one on each side of the split (the cut in the wire).
- Apply Torsion: Push one pair of pliers away from you while pulling the other toward you. The ring should twist open like a spiral staircase, maintaining its perfect circular shape.
- Attach Components: Slide the chain end and the clasp onto the opened ring. Ensure the chain links are fully seated inside the wire.
- Close and Align: Reverse the twisting motion. Push and pull until you hear or feel a microscopic "click" as the two flat ends of the wire meet perfectly flush. If light passes through the seam, the ring will catch on clothing and eventually pull apart again.
Soldering vs. Laser Welding: High-End Chain Repairs
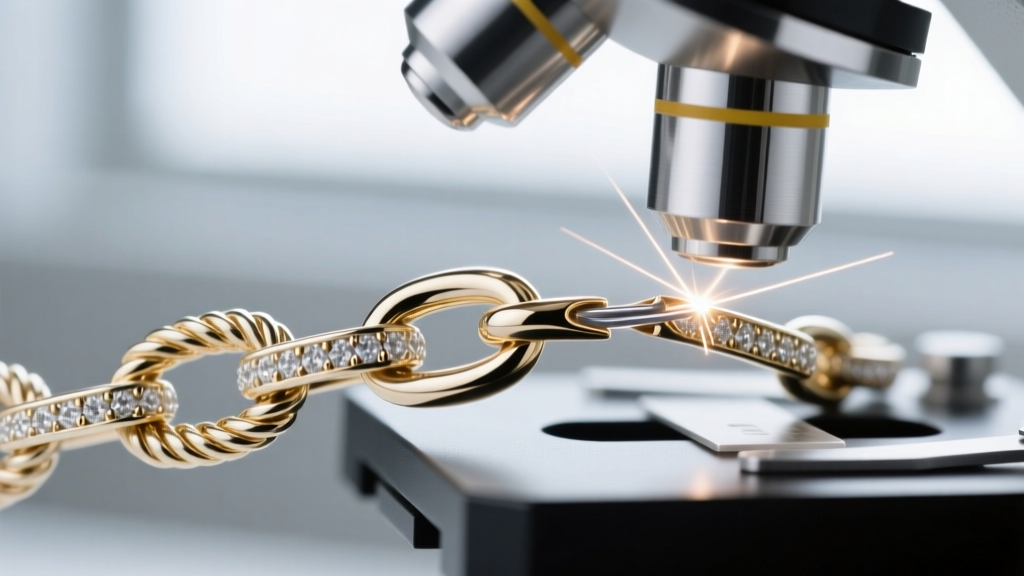
When a chain link snaps, a jeweler must fuse the metal back together. The method they use drastically impacts both the cost and the final aesthetic of your necklace.
Traditional Torch Soldering
Torch soldering involves using a micro-torch to heat the gold or silver link and introducing a filler metal (solder) with a lower melting point. For sterling silver, jewelers use three grades of solder: Easy (melts at 1,325°F), Medium (1,390°F), and Hard (1,450°F). While highly effective for solid cable, box, and curb chains, torch soldering requires flux and heat distribution that can oxidize surrounding links, requiring a full chain polish and sometimes leaving a visible color mismatch at the repair joint.
Precision Laser Welding
Laser welding uses concentrated pulses of light to melt the parent metal itself, fusing the link without adding foreign solder. This is the only safe method for repairing hollow chains (like herringbone or omega styles) and micro-pave diamond necklaces, as the heat-affected zone is less than 0.2 millimeters. While the upfront cost is higher ($85+), the structural integrity and invisible finish provide superior long-term value for luxury pieces.
The Hidden Costs of White Gold and Plated Repairs
A crucial budget assessment factor often overlooked by consumers is the post-repair finishing cost. As noted by the Jewelers of America, white gold is naturally a pale yellow alloy that is plated with rhodium to achieve its bright, silvery-white appearance.
If a jeweler uses a traditional torch to solder a broken 14k white gold chain, the intense heat will burn off the rhodium plating around the repair site, and often tarnish the entire chain. To make the repair invisible, the jeweler must re-plate the entire necklace in rhodium, adding $40 to $75 to your final bill. Conversely, because laser welding localizes heat so precisely, the rhodium plating remains intact. Therefore, for white gold necklaces, paying $90 for a laser weld is actually cheaper than paying $45 for a torch solder plus $60 for a rhodium re-plate.
Final Value Assessment Checklist
Before committing to a repair path, run your broken necklace through this quick value-assessment checklist:
- Is it a jump ring or clasp issue? If yes, buy a $40 set of smooth pliers and fix it yourself. The ROI is immediate.
- Is the chain hollow or micro-link? Do not attempt DIY. Seek a jeweler equipped with a laser welder to prevent melting the piece.
- Is it white gold? Always ask if the quoted repair price includes rhodium re-plating if torch soldering is used.
- Is it fashion/plated jewelry? Do not pay for professional soldering. Replace the chain entirely or use a DIY cold-connection clasp swap.
Understanding the metallurgy and labor economics behind jewelry repair ensures you never overpay for a fix, nor do you accidentally destroy a valuable heirloom with improper DIY tools. By matching the repair technique to the metal grade and chain style, you preserve both the financial and sentimental value of your favorite necklaces.