The Ultimate Budget Guide to Layering Necklaces for Maximum Value
Discover how to master layering necklaces on a budget. We compare material grades, chain styles, and pricing to help you build a high-value stacked look.


Building a curated, stacked neckline is one of the most impactful ways to elevate your everyday style, but the costs of purchasing multiple chains can quickly compound. When layering necklaces, the line between a high-end, cohesive look and a tangled, cheap-looking mess is often drawn by material grades, chain geometry, and strategic budget allocation. In 2026, the jewelry market offers more accessible alternatives to solid gold than ever before, but navigating the terminology of vermeil, gold-filled, and plated metals requires a discerning eye.
This comprehensive budget and value assessment will break down the exact economics of building a layered stack. We will explore where to invest your money, where to save, and how to avoid the hidden costs of chain failure and tarnishing.
The Economics of the Stack: Why Material Grade Dictates Value
When purchasing multiple chains for a stack, buying solid 14k or 18k gold for every layer is financially prohibitive for most consumers. A single delicate solid gold chain can cost between $200 and $400, meaning a three-piece stack could easily exceed $1,000. To maximize value, you must understand the metallurgical differences between affordable alternatives.
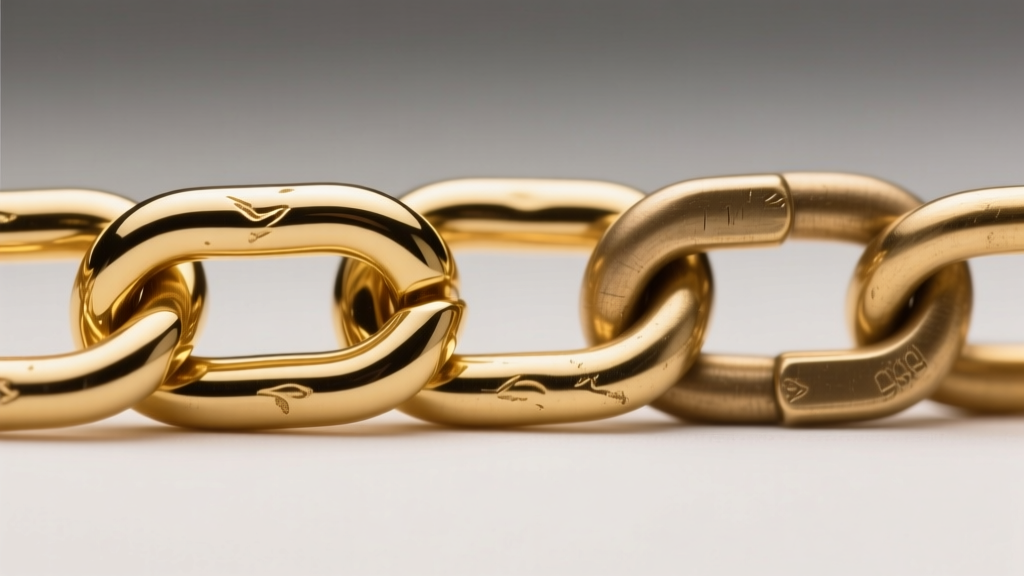
Vermeil vs. Gold-Filled vs. Plated
According to the Federal Trade Commission (FTC) Jewelry Guides, there are strict legal definitions for gold overlays. Understanding these is critical for budget-conscious buyers:
- Gold Vermeil: Must have a sterling silver base and a gold plating of at least 2.5 microns thick. This is the gold standard for budget layering. A 16-inch vermeil chain typically costs $45 to $80. Because the base is silver, it holds structural integrity even if the gold eventually wears off.
- Gold-Filled: Composed of a brass core with a thick layer of gold mechanically bonded to it, making up at least 5% of the total weight. Gold-filled chains ($50 to $90) are incredibly durable and highly resistant to tarnishing, making them excellent for the base layer of your stack.
- Gold-Plated: Usually features a brass or copper base with a microscopic gold layer (often less than 0.5 microns). While cheap ($15 to $30), these chains will tarnish quickly when exposed to the friction and sweat inherent in layering necklaces. Avoid these for your core stack.
Expert Insight: Always prioritize a sterling silver or gold-filled base. The Gemological Institute of America (GIA) notes that base metals like brass react aggressively to skin acidity, meaning a cheap plated chain will not only tarnish but can cause contact dermatitis when trapped under other layers.
Chain Styles and Tangling: The Hidden Cost of Cheap Links
The most frustrating failure mode when layering necklaces is tangling. When chains knot together at the nape of the neck or twist around pendants, the microscopic friction causes metal fatigue, leading to snapped links. Cheaper, lightweight chains are actually more prone to severe tangling than slightly heavier, well-constructed links. Investing an extra $15 per chain in a tangle-resistant style saves you the cost of chain repair (which averages $35 to $60 per fix).
| Chain Type | Tangle Risk | Durability | Avg. Price (14k Gold-Filled) |
|---|---|---|---|
| Cable Chain | High | Medium | $45 - $65 |
| Box Chain | Low | High | $60 - $85 |
| Rope Chain | Medium | High | $75 - $110 |
| Figaro Chain | Medium | Medium | $55 - $80 |
| Snake Chain | Very High | Low (Kinks easily) | $40 - $60 |
The Strategy: Use a Box chain for your longest layer (18 or 20 inches). The squared-off, tightly woven links of a box chain lay flat and naturally resist twisting. Use a Rope or Figaro chain for your middle layer to add textural contrast without sacrificing too much structural integrity.
Strategic Carat Plating vs. Solid Gold: Where to Spend and Save
To build a luxurious-looking stack on a $300 to $500 budget, you must strategically mix solid gold with high-quality alternatives. The rule of thumb is to spend heavily on the pieces that experience the most friction and wear, and save on the pieces that are purely decorative.
Where to Spend (The Anchors)
Your shortest chain (usually a 14-inch choker or 16-inch princess length) rests directly against the pulse points of your neck, enduring the most sweat, perfume, and skin oils. This piece should ideally be solid 14k gold or, at minimum, high-grade 14k gold-filled. Spend $150 to $250 here to ensure longevity.
Where to Save (The Pendants and Extenders)
The longest chain in your stack (20 inches or longer) usually features a pendant. Because it swings freely and experiences less direct skin contact, you can safely use a high-quality gold vermeil chain ($50) and pair it with an affordable gemstone or enamel pendant ($30 to $60). This creates the illusion of a fully solid gold stack while cutting your total expenditure in half.
The 2-4-6 Rule: Budgeting Your Lengths and Pendants
One of the most common mistakes when buying chains for layering necklaces is purchasing chains that are too similar in length. This causes the clasps to bunch together at the back of the neck and the pendants to stack directly on top of one another, ruining the visual cascade.
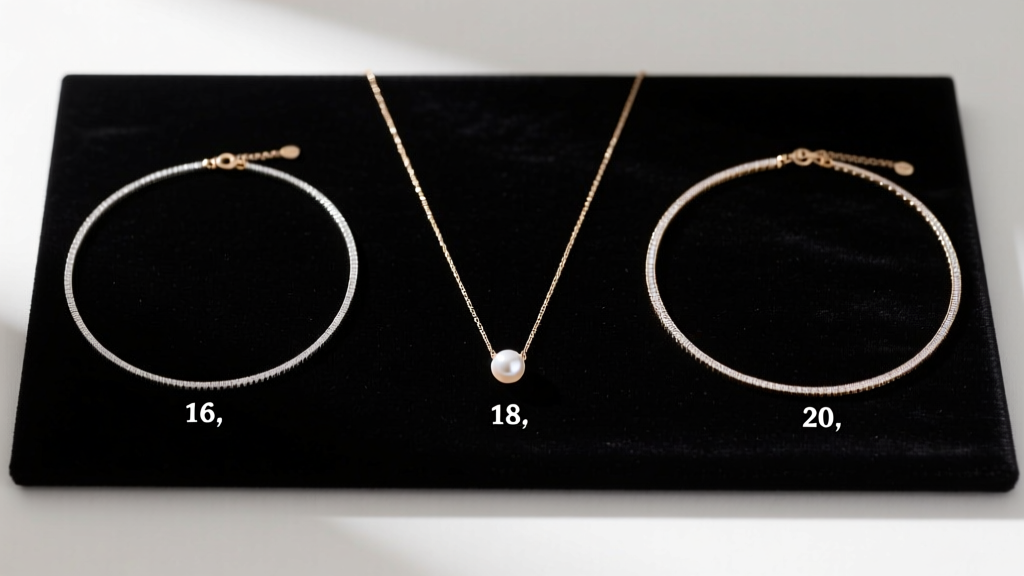
To achieve a balanced look without wasting money on chains that don't fit the stack, follow the 2-inch spacing rule:
- Layer 1 (The Base): 14 or 16 inches. A simple, unadorned chain or a delicate choker. (Budget: $150 for solid 14k or $60 for gold-filled).
- Layer 2 (The Focal Point): 16 or 18 inches. This chain should hold your primary pendant, such as a small diamond solitaire, a pearl, or a vintage coin. (Budget: $50 for vermeil chain + $80 for pendant).
- Layer 3 (The Anchor): 18 or 20 inches. A slightly thicker chain, like a 2mm rope or box chain, left bare or featuring a very subtle, minimalist charm. (Budget: $75 for gold-filled).
By adhering strictly to this spacing, you ensure that every dollar spent on a chain is visually accounted for, eliminating the need to buy redundant lengths.
Maintenance and Failure Modes: Protecting Your Investment
Even the most budget-friendly stack becomes a poor investment if the hardware fails. When layering necklaces, the clasp is the most vulnerable component. Standard spring-ring clasps are notoriously difficult to manage when you are taking off multiple chains at once, often leading to bent springs and lost jewelry.
Upgrade to Lobster Clasps: When buying budget chains, look for brands that utilize lobster clasps instead of spring rings. Lobster clasps have a heavier, more secure internal spring mechanism that resists catching on other chains. If you purchase a cheaper chain with a spring ring, a local jeweler can swap it for a gold-filled lobster clasp for about $15 to $20—a minor upgrade that drastically improves the user experience and security of your stack.
Furthermore, always store your layered stack flat or hanging individually. Tossing a tangled stack into a jewelry box creates micro-abrasions on gold-filled and vermeil surfaces, accelerating the wear of the gold overlay and exposing the base metal beneath.
Final Verdict: Building a $350 Capsule Stack
Mastering the art of layering necklaces on a budget is entirely possible when you prioritize material science and structural geometry over brand names. By anchoring your stack with a durable 16-inch gold-filled box chain ($70), adding an 18-inch vermeil chain with a meaningful pendant ($120), and finishing with a 20-inch gold-filled rope chain ($85), you can achieve a rich, multi-dimensional look for under $300. The remaining budget can be allocated to professional clasp upgrades and proper anti-tarnish storage, ensuring your layered stack remains a high-value staple in your wardrobe for years to come.


