How to Choose and Style Charms on a Necklace Perfectly
Discover how to choose, balance, and style charms on a necklace. Learn about chain gauges, clasp types, and metal grades for a flawless layered look.

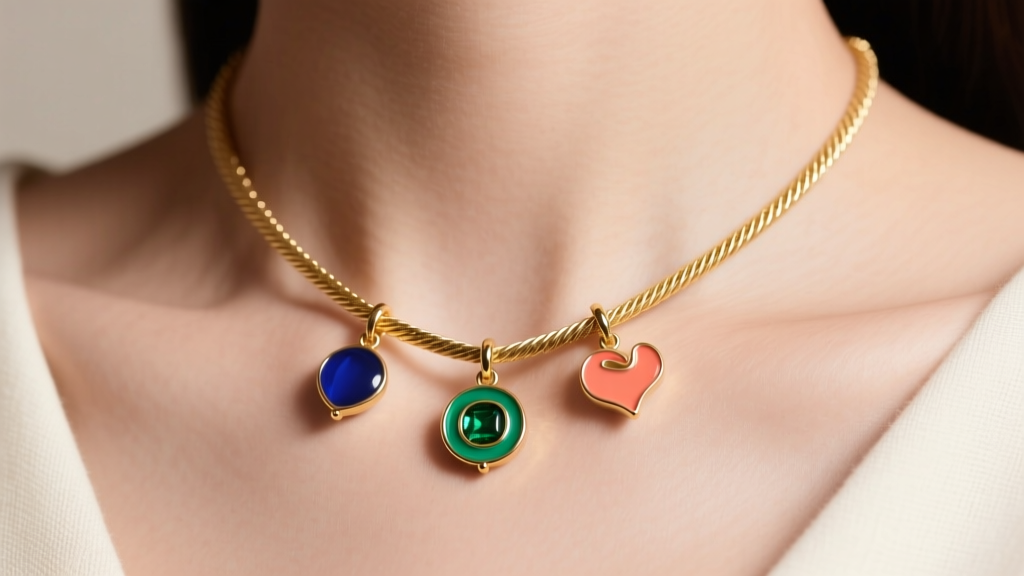
The art of curating a personalized necklace has evolved significantly. As we move through 2026, the trend of wearing charms on a necklace has shifted away from chaotic, heavy clustering toward intentional, modular storytelling. Whether you are commemorating milestones, showcasing travel memories, or simply building a versatile everyday piece, selecting the right hardware and understanding weight distribution are critical. This comprehensive buying guide will walk you through the exact specifications, metal grades, and styling frameworks needed to build a charm necklace that is both structurally sound and aesthetically flawless.
The Structural Foundation: Selecting the Right Chain
When stringing charms on a necklace, the chain is not merely a backdrop; it is the load-bearing foundation of your jewelry. A chain that is too delicate will snap under the kinetic stress of swinging charms, while a chain that is too thick will visually overpower smaller pendants.
Chain Gauge and Weave Dynamics
For most standard charm necklaces, you want a chain gauge between 0.9mm and 1.2mm. This thickness provides enough tensile strength to hold multiple metal or enamel charms without looking like industrial hardware. The weave of the chain also dictates how charms behave:
- Cable Chain: The classic choice. Its uniform oval links allow charms to slide freely and lay flat against the chest.
- Rolo Chain: Featuring alternating round links, rolo chains offer excellent structural integrity and a slightly more textured, vintage aesthetic.
- Wheat (Spiga) Chain: Avoid this for charm necklaces. The tightly woven, directional links easily snag the small jump rings of charms, causing friction wear over time.
- Box Chain: While highly durable, box chains tend to kink if a heavy charm pulls the links out of their natural geometric alignment. Use only for very lightweight, single charms.
Clasp Mechanics for Charm Necklaces
Standard lobster clasps are ubiquitous, but they can be frustrating to operate when a necklace is weighed down by multiple charms. If you are building a heavy charm necklace, opt for a toggle clasp. The weight of the charms naturally pulls the toggle bar securely through the ring, making it self-tightening and significantly more secure than a spring-ring or lobster mechanism. According to the GIA Gem Encyclopedia, ensuring your clasp's jump ring is properly soldered is just as vital as the clasp type itself to prevent accidental unclasping.
The Hardware: Bails and Jump Rings
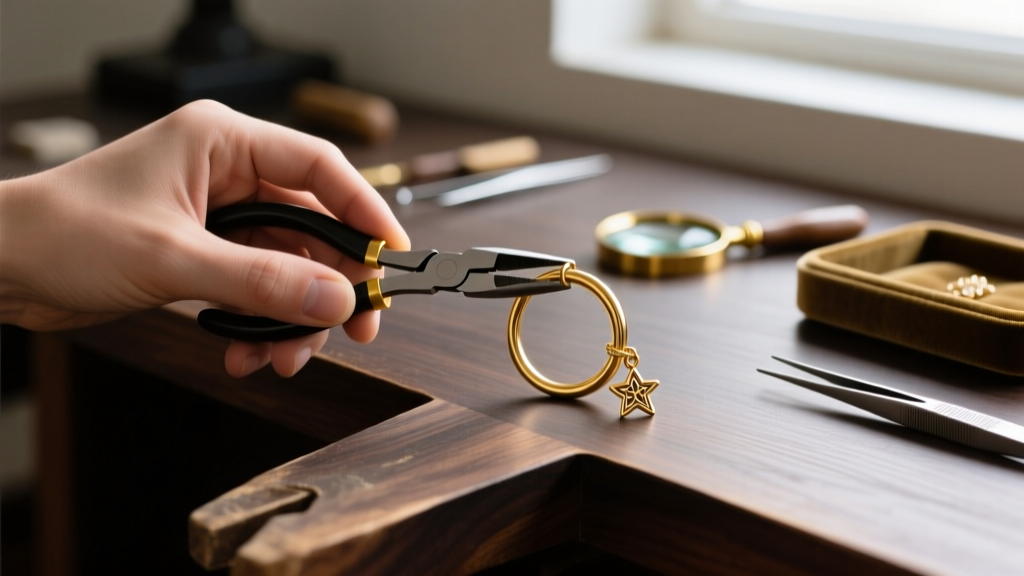
The connection point between your chain and your charm is the most common failure point in jewelry. Understanding how to size and manipulate jump rings is a non-negotiable skill for charm necklace curation.
Sizing the Jump Ring
The jump ring must be large enough to slide over the links of your chosen chain, but small enough that it doesn't look like an afterthought. A standard 4mm to 5mm outer diameter (OD) jump ring works for most cable chains. More importantly, pay attention to the wire gauge of the jump ring itself. An 18-gauge (1.0mm thick) jump ring is the gold standard for charm attachment, offering the perfect balance of flexibility for opening and rigidity for holding shape.
The "Twist" Technique
Never pull a jump ring apart laterally (left and right). This distorts the circle into an oval, making it nearly impossible to close perfectly flush, which leads to snagging and lost charms. Always use two pairs of flat-nose pliers to twist the ends of the jump ring toward and away from you. When closing, push the ends slightly past each other before aligning them; the tension of the metal will snap them into a perfectly flush seam. For high-value charms, always invest in soldered jump rings or have a jeweler solder your unsoldered rings shut.
Metal Grades and Tarnish Resistance
Mixing metals is a major styling trend, but mixing metal grades can lead to uneven wear and galvanic corrosion if not managed properly. Below is a comparison of the most common metals used for charm necklaces, evaluated on durability and maintenance.
| Metal Grade | Durability & Tarnish | Best Use Case | Avg. Price Range (Chain + 3 Charms) |
|---|---|---|---|
| Sterling Silver (925) | Prone to sulfur tarnish; relatively soft. Scratches easily against harder charms. | Everyday casual wear; vintage aesthetics. | $150 - $350 |
| 14k Solid Gold | Excellent durability; highly tarnish-resistant. The ideal balance of hardness and purity. | Permanent, heirloom-quality charm necklaces. | $600 - $1,200 |
| 18k Solid Gold | Softer than 14k due to higher gold content; richer color but more prone to micro-scratches. | Luxury pieces with lightweight, static charms. | $1,000 - $2,500+ |
| Gold Vermeil | Thick gold plating over sterling silver. Will eventually wear through with heavy friction. | Trend-driven, seasonal styling on a budget. | $80 - $200 |
When sourcing components, industry suppliers like Rio Grande offer detailed specifications on metal alloys, ensuring you are buying genuine 14k or 18k findings rather than misleadingly marketed plated base metals.
The 2026 Styling Framework: Spacing and Visual Weight
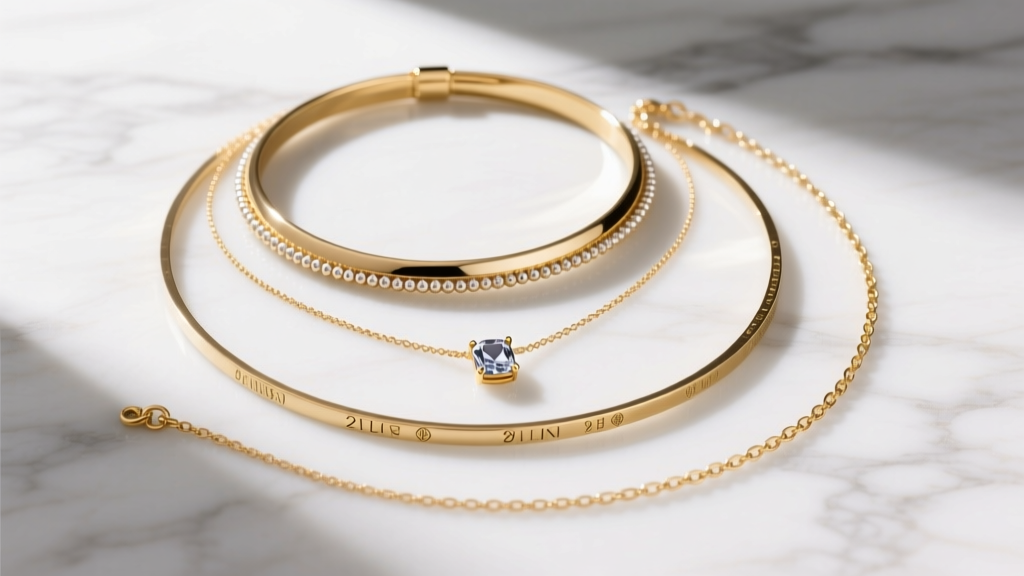
Throwing five charms onto a 20-inch chain does not make a curated necklace; it makes a tangled mess. Modern styling requires an understanding of visual weight and spatial distribution.
The Rule of Odds and Graduated Sizing
The human eye finds odd numbers more visually pleasing and dynamic. When arranging charms on a necklace, aim for three or five charms. Furthermore, avoid using charms of the exact same size. Create a focal point by placing the largest, heaviest charm in the dead center (or at the very bottom of a V-shaped lariat), and flank it with progressively smaller charms. For example, pair a 15mm central medallion with two 8mm enamel drops and two 4mm gemstone beads.
Using Spacers for Intentional Placement
If you want your charms evenly distributed across the collarbone rather than sliding together into a single cluster at the base of your throat, you must use spacers.
- Silicone O-Rings: A modern, invisible solution. Tiny, translucent silicone rings can be threaded onto the chain to act as friction stoppers, locking charms in place without altering the metal aesthetic.
- Metal Bead Spacers: Small 2mm gold or silver beads soldered or crimped onto the chain at 2-inch intervals provide a vintage, permanent spacing solution.
- Asymmetrical Clustering: Alternatively, embrace the slide. Cluster all your charms on the left third of the necklace, allowing the right side to remain a bare chain. This creates a striking, avant-garde asymmetry that is highly favored in contemporary editorial styling.
Sourcing and Long-Term Maintenance
Building a charm necklace is an ongoing process. The best charms are often sourced from antique estate sales, where you can find solid gold and silver pieces with genuine historical patina that modern mass-market jewelry cannot replicate. When integrating vintage charms with new chains, always have a jeweler check the structural integrity of the vintage bail, as decades of wear can thin the metal to a breaking point.
For maintenance, avoid ultrasonic cleaners if your charms feature porous gemstones (like turquoise or opals) or cold enamel, as the high-frequency vibrations can shatter the materials. Instead, use a mild dish soap solution and a soft-bristled baby toothbrush to clean the crevices of your charms, followed by a microfiber polishing cloth for the chain. By treating your charm necklace as a modular, evolving archive of your personal style, you ensure it remains a staple of your wardrobe for decades to come.


