How to Choose and Style a Lab Grown Emerald Necklace
Learn how to select, evaluate, and style a lab grown emerald necklace. Expert guide on the 4Cs, settings, chain lengths, and care tips.

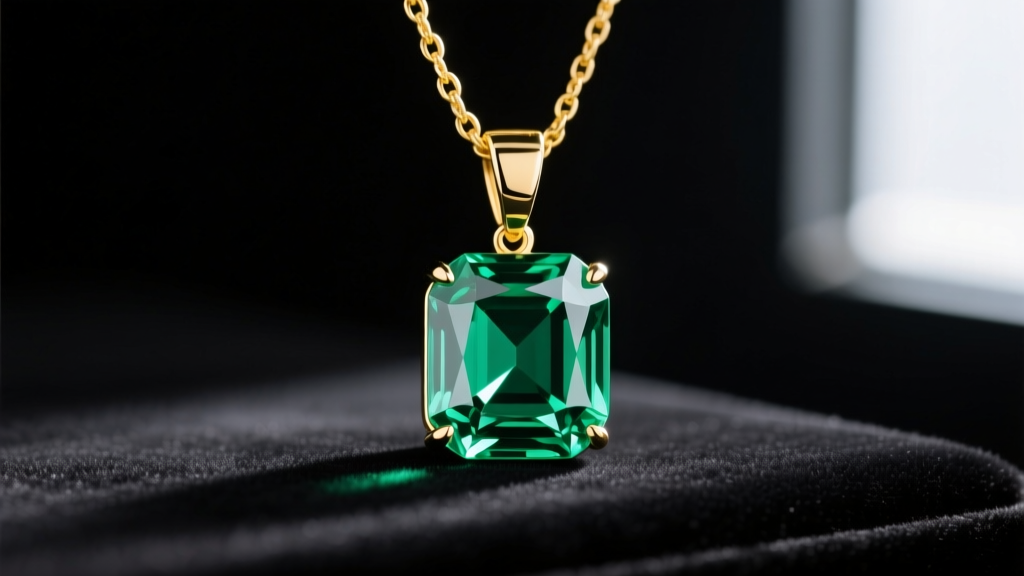
The Science of Lab Grown Emeralds: Hydrothermal vs. Flux
When shopping for a lab grown emerald necklace, understanding the genesis of your gemstone is the first step toward making an informed purchase. Unlike mined emeralds, which are formed under extreme tectonic pressure over millions of years, lab grown emeralds are cultivated in controlled environments. Chemically, they are identical to their natural counterparts: beryllium aluminum silicate (Be3Al2(SiO3)6), with trace amounts of chromium and vanadium responsible for their signature vivid green hue. According to the GIA Gem Encyclopedia, there are two primary methods for synthesizing emeralds: hydrothermal and flux growth.
Hydrothermal synthesis mimics the natural conditions of the Earth's crust by using high heat and pressure to dissolve nutrients in an acidic solution, allowing crystals to grow on a beryl seed. This method typically yields emeralds with exceptional clarity and a higher refractive index (1.57–1.58). Flux growth, on the other hand, involves dissolving beryl nutrients in a molten flux (often lithium molybdate). While flux-grown emeralds are beautiful, they often contain microscopic flux inclusions and possess a slightly lower specific gravity. Knowing which method was used can help you anticipate the stone's clarity and durability.
Step 1: Decoding the 4Cs for Lab Grown Emeralds
Evaluating a lab grown emerald requires a different framework than evaluating a diamond. Because emeralds are classified as a Type III gemstone (meaning they are almost always included in nature), the grading priorities shift heavily toward color and cut.
Color: The Ultimate Value Driver
Color is the most critical factor in any emerald. You want to look for a medium-dark tone (Tone 6 or 7 on the GIA scale) with strong to vivid saturation. The most prized hue is a slightly bluish-green. Lab grown emeralds excel here, as the controlled environment eliminates the color zoning often found in mined stones, resulting in a uniformly saturated gem from edge to edge.
Clarity: Embracing or Avoiding the 'Jardin'
Natural emeralds are famous for their 'jardin' (garden) of internal inclusions. Lab grown emeralds can be grown to be entirely eye-clean (VVS or VS clarity). However, some manufacturers intentionally introduce flux inclusions to mimic the natural look. If you prefer a flawless, brilliant stone, opt for hydrothermal lab emeralds. If you prefer a more traditional, organic look, a flux-grown stone might appeal to you.
Cut: Maximizing the Green
The classic 'emerald cut' (a rectangular step cut) was designed specifically to protect the fragile corners of the crystal while showcasing its deep color. However, step cuts highlight inclusions and color zoning. Because lab grown emeralds are generally cleaner, they can be beautifully faceted into brilliant cuts like ovals, pears, or radiants, which maximize light return and sparkle.
Step 2: Mined vs. Lab Grown Comparison
To understand the true value proposition of a lab grown emerald necklace, it is essential to look at the market data. Below is a comparison of a high-quality 1-carat emerald in the current market.
| Feature | Mined Emerald (1ct) | Lab Grown Emerald (1ct) |
|---|---|---|
| Average Retail Price | $4,500 - $9,000+ | $350 - $800 |
| Clarity Grade | Type III (Heavily Included) | VVS to VS (Eye Clean) |
| Color Consistency | Variable, often zoned | Highly uniform saturation |
| Environmental Impact | High (Earth displacement) | Low (Controlled lab setting) |
| Disclosure Requirements | Standard origin disclosure | Strict FTC synthetic labeling |
As outlined by the FTC Jewelry Guides, retailers must clearly disclose the lab-created origin of these stones to prevent consumer deception. Always ensure your jeweler provides a certificate from a reputable lab (like IGI or GCAL) explicitly stating the stone is synthetic or lab-created.
Step 3: Selecting the Right Metal and Setting
Emeralds rank between 7.5 and 8 on the Mohs scale of hardness. While this makes them resistant to scratching, their toughness (resistance to chipping and breaking) is notably poor due to their natural crystal structure and potential internal fissures. Even lab grown emeralds can be brittle if struck at the wrong angle.
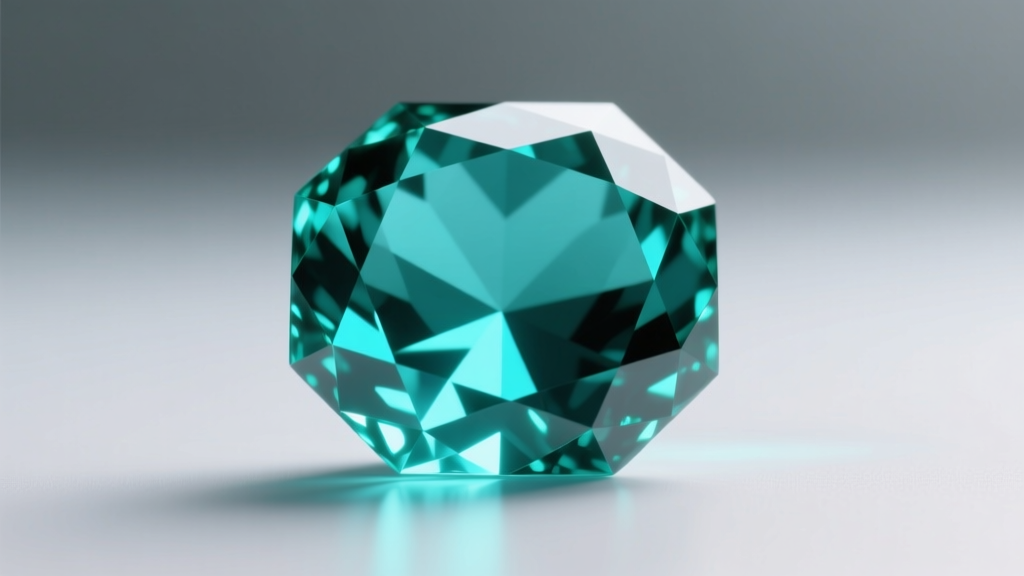
Bezel vs. Prong Settings
For an emerald cut or pear-shaped lab grown emerald pendant, a bezel setting or V-prong setting is highly recommended. A full bezel wraps a rim of metal entirely around the gemstone's girdle, protecting the vulnerable corners from daily impacts. If you prefer the light exposure of a prong setting, ensure the jeweler uses V-shaped prongs at the corners rather than standard round prongs.
Metal Pairings
- 18k Yellow Gold: Enhances the warm, rich green tones of the emerald. This is the most classic and historically significant pairing.
- Platinum or 14k White Gold: Provides a crisp, modern contrast that makes the bluish-green hues pop. Platinum is also denser and offers superior protection for the setting.
- 14k Rose Gold: Creates a unique, vintage-inspired aesthetic, though it can sometimes clash with the cool blue undertones of a high-quality emerald.
Step 4: Choosing Chain Lengths and Neckline Pairing
The impact of your lab grown emerald necklace depends heavily on the chain length and how it interacts with your wardrobe. Here is a step-by-step guide to matching your pendant with the right chain and neckline.
The 16-Inch Choker / Collarbone Length
A 16-inch chain sits snugly at the base of the neck. This length is ideal for smaller emerald pendants (0.50ct to 0.75ct) or delicate bezel-set stations. It pairs beautifully with V-neck blouses, scoop necks, and off-the-shoulder tops, drawing the eye directly to the collarbone.
The 18-Inch Princess Length
The 18-inch chain is the industry standard for pendants, resting perfectly on the upper chest. This is the optimal length for a 1-carat to 2-carat lab grown emerald pendant. It works seamlessly with crew necks, button-down shirts, and evening wear. If you are layering, an 18-inch emerald pendant serves as an excellent middle piece between a 16-inch gold choker and a 22-inch matinee chain.
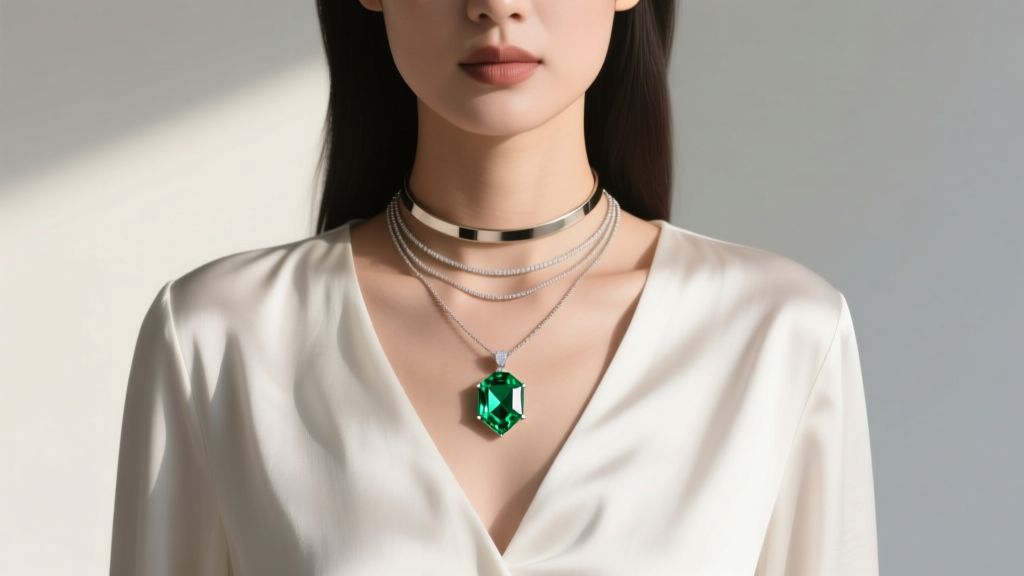
The 22-Inch Matinee Length
Resting at the top of the bust, a 22-inch chain is perfect for larger, statement-making emerald pendants or intricate halo designs. This length is best worn over solid-colored garments, such as a silk blouse or a turtleneck sweater, allowing the vivid green stone to act as the focal point of your outfit.
"A vivid green emerald pendant on an 18-inch yellow gold chain is the ultimate transitional piece. It bridges the gap between daytime office wear and evening elegance without requiring a jewelry change." — Senior Stylist at Jewel Style Radar
Step 5: Care and Maintenance Protocol
Proper care is non-negotiable for emeralds. Even though lab grown emeralds are less likely to have the deep, resin-filled fractures of their mined counterparts, they still require gentle handling to maintain their brilliance and structural integrity.
The Ultrasonic Cleaner Warning
Never put an emerald in an ultrasonic cleaner. The high-frequency vibrations can cause microscopic fissures to expand, potentially shattering the stone or loosening it from its setting. This applies to both natural and lab grown emeralds, particularly those created via the flux method, which may contain internal flux remnants that react poorly to sudden temperature changes and vibrations.
The Safe Cleaning Recipe
To clean your lab grown emerald necklace at home, follow this protocol:
- Mix a solution of lukewarm water and a few drops of mild, ammonia-free dish soap.
- Soak the necklace for 5 to 10 minutes to loosen oils and lotions.
- Gently brush the back of the gemstone (the pavilion) using a soft-bristled baby toothbrush. The back of the stone is where light-blocking grime accumulates.
- Rinse thoroughly under lukewarm running water, ensuring the drain is securely plugged.
- Pat dry with a lint-free microfiber cloth. Avoid air-drying, as hard water spots can dull the metal and the gemstone's surface.
By following these steps, you ensure that your lab grown emerald necklace remains a vibrant, sustainable, and luxurious staple in your jewelry collection for decades to come.


