How to Clean, Restore, and Restring a Sponge Coral Necklace
Learn to safely clean, authenticate, and restring your vintage sponge coral necklace with our expert step-by-step guide for lasting preservation.

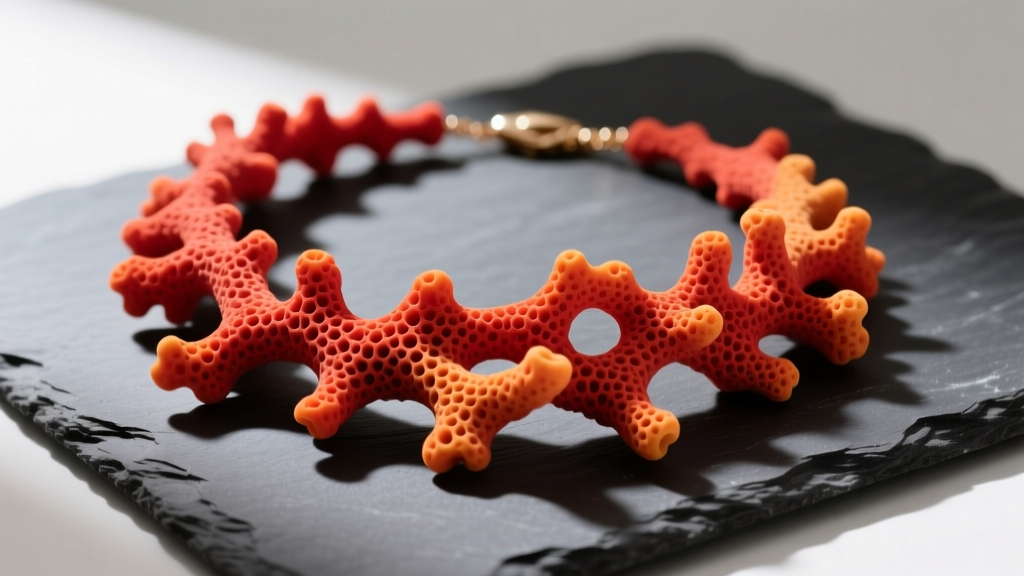
Understanding Sponge Coral: Porosity and Vulnerability
Unlike precious red coral (Corallium rubrum), which is dense and highly polished, a sponge coral necklace is crafted from the skeletal remains of gorgonian or reef-building corals that possess a naturally high porosity. With a Mohs hardness rating of just 3 to 4 and a calcium carbonate matrix, sponge coral is exceptionally vulnerable to acidic environments, harsh chemicals, and structural degradation. Over time, the silk threads holding vintage pieces together rot, and the beads themselves can absorb skin oils, perfumes, and environmental pollutants, leading to a dull, chalky appearance.
Restoring these organic gems requires a meticulous, chemistry-aware approach. Whether you have inherited a mid-century piece or purchased a vintage strand at an estate sale, this comprehensive guide will walk you through authenticating, deep-cleaning, and professionally restringing your sponge coral necklace to ensure its longevity.
Step 1: Authenticating and Assessing Your Coral
Before introducing any moisture or tools to your necklace, you must verify its authenticity and assess its current stabilization. According to the Gemological Institute of America (GIA), sponge coral is frequently dyed and stabilized with epoxy resins to enhance its structural integrity and color.
The Visual and Tactile Inspection
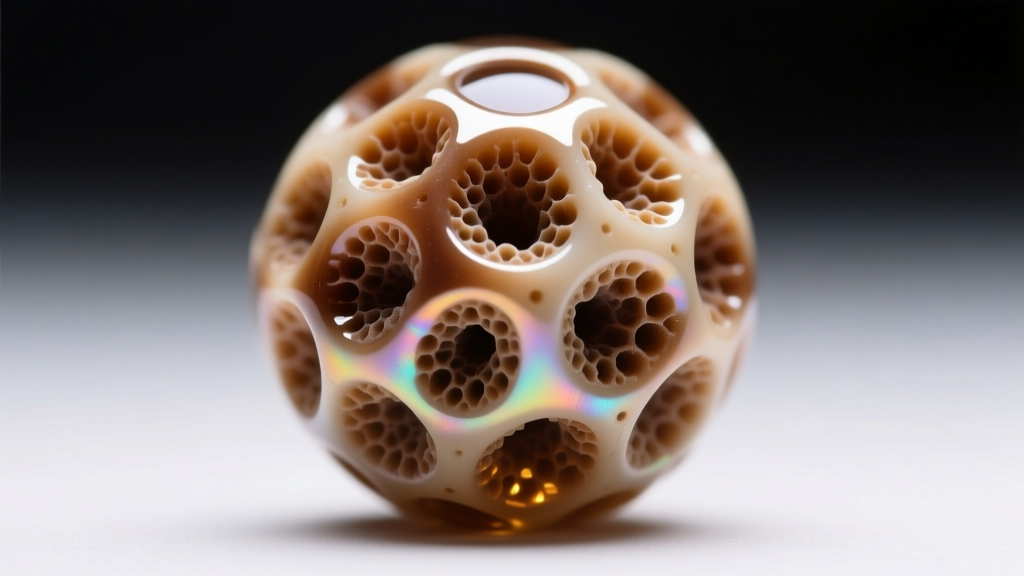
Examine the beads under a 10x gemological loupe. Genuine sponge coral will display natural pitting, organic growth rings, and a matte-to-satin luster. If the surface is perfectly smooth, glassy, and lacks natural inclusions, you may be dealing with a polymer clay or glass imitation. Furthermore, check the drill holes. If you see a white, chalky interior that contrasts sharply with a vibrant red or orange exterior, the beads have likely been surface-dyed.
The Acetone Test for Dye
To test for unstable dyes, dip a cotton swab in pure, non-oily nail polish remover (acetone) and gently rub an inconspicuous area near the drill hole. If the swab picks up red or orange pigment, the coral is dyed. Note: Do not use acetone on the entire bead, as it can dissolve the protective resin stabilization, leaving the porous coral exposed to crumbling.
Step 2: The Safe Cleaning Protocol
Cleaning a sponge coral necklace is a delicate balancing act. You must remove decades of accumulated sebum and grime without dissolving the calcium carbonate or stripping the dye. The Canadian Conservation Institute (CCI) strongly advises against using ultrasonic cleaners, steamers, or any acidic solutions on organic gemstones.
What to Avoid (The Damage List)
- Ultrasonic Cleaners: The high-frequency vibrations will shatter the porous internal structure of stabilized sponge coral.
- Commercial Jewelry Dips: These often contain thiourea and mild acids that will etch the calcium carbonate, leaving permanent white burn marks.
- Baking Soda Paste: Baking soda is alkaline but highly abrasive; scrubbing will wear away the polished surface and dye.
Step-by-Step Wet Cleaning
- Dry Dusting: Use a clean, ultra-soft makeup brush (like a goat-hair powder brush) to gently sweep out the natural pits and drill holes.
- Prepare the Solution: Mix a few drops of pH-neutral, fragrance-free liquid castile soap into a bowl of distilled water. Tap water contains chlorine and trace minerals that can react with the coral.
- The Wipe-Down: Dampen a microfiber cloth in the solution and wring it out until it is barely moist. Gently wipe each bead individually. Never submerge a sponge coral necklace, as water trapped inside the drill holes will rot the silk and degrade the coral from the inside out.
- Drying: Immediately dry the beads with a separate, lint-free cotton cloth and let the strand rest on a flat towel in a climate-controlled room for 24 hours.
Cleaning Agents Comparison Chart
| Cleaning Agent | pH Level | Effect on Sponge Coral | Safety Verdict |
|---|---|---|---|
| Distilled Water + Castile Soap | 7.0 - 8.0 (Neutral) | Gently lifts oils without etching | Highly Recommended |
| Ultrasonic Solution | 9.0 - 10.0 (Alkaline) | Vibrations cause micro-fractures | Never Use |
| Silver Dip / Jewelry Cleaner | 2.0 - 4.0 (Acidic) | Dissolves calcium carbonate matrix | Never Use |
| Rubbing Alcohol | 7.0 (Neutral) | Strips resin stabilization and dye | Avoid |
Step 3: Restringing with Silk and French Wire
Once your beads are clean and fully dried, the structural restoration begins. Vintage sponge coral necklaces were traditionally strung on silk, which degrades over time due to acidity in human sweat. Restringing is not just an aesthetic upgrade; it is a critical preservation step.
Selecting the Right Thread and Needle
For standard 6mm to 8mm sponge coral beads, you must use 100% natural silk thread, such as Griffin or Beadalon. Synthetic threads like nylon or fishing line are too rigid and will act like a saw against the soft interior of the drill holes, eventually cutting through the coral itself.
- Thread Size: Use Size F (0.35mm) or Size G (0.40mm) silk. The thread should pass through the bead twice with a slight resistance to ensure tight, secure knots.
- Needle: Use a 0.8mm or 1.0mm flexible twisted wire needle. Rigid metal needles can chip the edges of the coral drill holes if forced at an angle.
Applying French Wire (Bullion) Guards
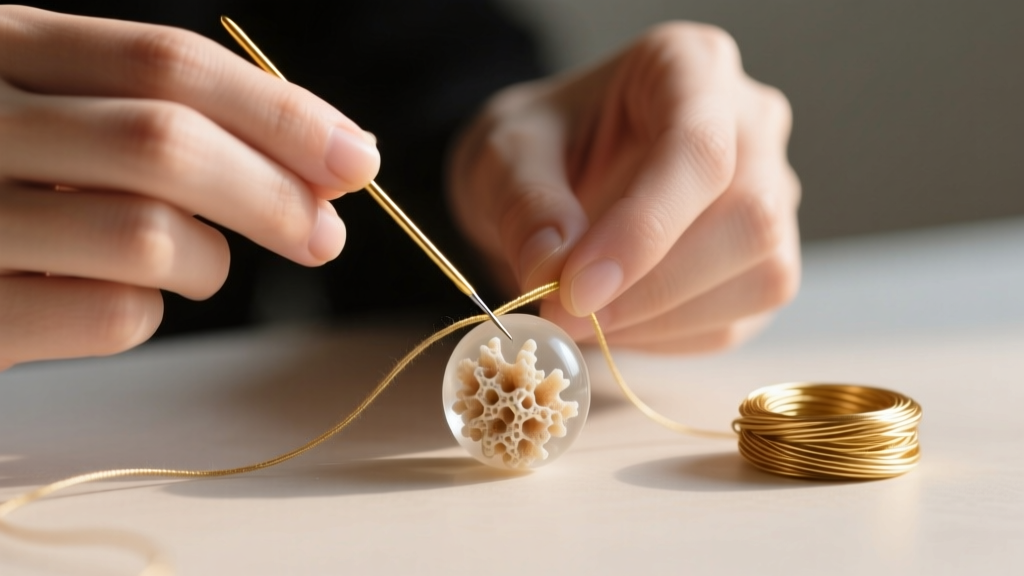
The most common point of failure on any beaded necklace is where the silk rubs against the metal clasp. To prevent fraying, you must use French wire (also known as bullion or gimp). This is a microscopic, coiled metal spring that acts as a protective sleeve for the silk.
- Thread your needle and pass it through the clasp jump ring.
- Slide a 5mm piece of fine French wire (gold or silver-filled, matching your clasp) onto the silk.
- Pass the needle back through the first coral bead, pulling the French wire snugly against the clasp ring.
- This creates a protective metal-on-metal barrier that will extend the life of your silk by decades.
Step 4: Knotting and Finishing
Every single bead on a sponge coral necklace must be individually knotted. Knotting serves two vital purposes: it prevents bead-on-bead abrasion (which grinds away the porous coral edges), and it ensures that if the strand breaks, you lose only one bead rather than the entire necklace.
The Half-Hitch and Surgeon's Knot Technique
Use a beading awl or a pair of fine-tipped tweezers to position the knot flush against the bead. Pull the silk taut, tie a standard overhand knot, and then pass the needle through the loop a second time to create a surgeon's knot. This adds bulk and friction, preventing the soft silk from slipping through the relatively large drill holes of sponge coral. Secure the final knot at the clasp with a microscopic drop of flexible jewelry adhesive (like GS Hypo Cement), avoiding cyanoacrylate (Super Glue), which dries brittle and can crack the coral.
Long-Term Storage and Preservation
How you store your sponge coral necklace is just as important as how you clean it. Organic gems require a specific microclimate to prevent drying out and cracking.
Expert Tip: Never store sponge coral in an airtight plastic bag or a safety deposit box with silica gel packets. The extreme lack of humidity will draw the natural moisture out of the coral, leading to irreversible surface crazing and cracking.
Instead, store the necklace flat in a lined wooden jewelry box or a soft cotton pouch. Keep it away from direct sunlight, which can fade the organic dyes over time. Finally, always adhere to the golden rule of organic jewelry: last on, first off. Apply your perfumes, hairsprays, and lotions at least 15 minutes before putting on your sponge coral necklace to prevent chemical absorption into the porous surface.


